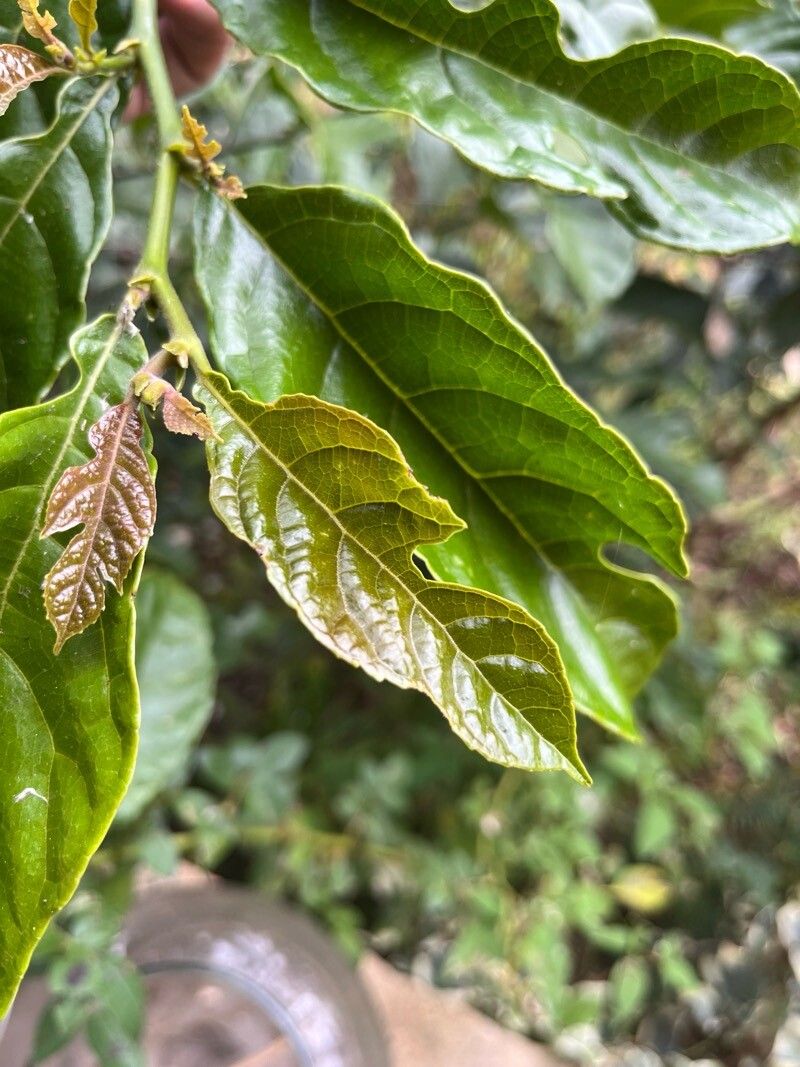
Oh, hello there! Come on in, grab a mug of something warm. I’ve been wanting to chat with you about a truly lovely plant: Cupania glabra. You might know it by its common names, like Pink Euonymus or some folks just call it “that beautiful shiny shrub.” It’s got these gorgeous, glossy leaves that can turn the most delightful shades of pink and red, especially in cooler weather. And the flowers! Tiny little things, almost inconspicuous, but they give way to these stunning seed pods that split open to reveal bright blue seeds. It’s a real showstopper in the garden, and honestly, a joy to grow.
Now, if you’ve been eyeing this beauty and thinking about getting more for your garden, or maybe sharing some with a friend, you’re in luck! Propagating Cupania glabra is absolutely doable, and it’s such a rewarding feeling to watch a tiny cutting transform into a healthy new plant. For beginners? I’d say it’s moderately easy. It’s not quite as fuss-free as a pothos, but with a little attention and the right approach, you’ll be celebrating success before you know it.
The Best Time to Start
When it comes to getting the best results with Cupania glabra, late spring through early summer is your sweet spot. This is when the plant is really hitting its stride, producing new, vigorous growth. You’re looking for what we call “semi-hardwood” cuttings. That means the stems are no longer floppy and green, but they haven’t quite become fully woody and mature either. They’re firm enough to hold their shape but still have a good degree of flexibility. This stage is prime time for successful rooting, as the plant has plenty of energy to put into developing new roots.
Supplies You’ll Need
Gathering your supplies beforehand makes the whole process smooth sailing. Here’s what I always have on hand:
- Sharp Pruning Shears or a Craft Knife: Clean cuts are crucial for healthy healing and preventing disease.
- Rooting Hormone: While not strictly mandatory for every plant, it gives your cuttings a significant boost. I prefer a powder form.
- Propagation Pots or Trays: Small pots (4-6 inches) or seed starting trays with good drainage holes are perfect.
- A Well-Draining Potting Mix: I usually mix equal parts peat moss, perlite, and coarse sand. You can also find specific “cuttings mix” at your local garden center.
- Plastic Bags or a Propagation Dome: This helps maintain high humidity around your cuttings.
- Patience! This is the most important tool, truly.
Propagation Methods
For Cupania glabra, stem cuttings are definitely the way to go. It’s the most reliable method I’ve found for this plant.
Here’s how I do it:
- Take Your Cuttings: On a nice morning, select a healthy stem from your mature Cupania glabra. Look for that semi-hardwood stage I mentioned. Using your clean pruning shears, take cuttings that are about 4-6 inches long. Make sure each cutting has at least two or three sets of leaves.
- Prepare the Cuttings: Gently remove the lower leaves from the bottom half of the cutting. You want at least one leaf node exposed, as this is where the roots will emerge. If the remaining leaves are very large, you can cut them in half horizontally. This reduces water loss through transpiration but still allows the cutting to photosynthesize.
- Apply Rooting Hormone: Dip the cut end of each prepared cutting into your rooting hormone, tapping off any excess.
- Plant the Cuttings: Moisten your propagation mix slightly so it’s damp, not soggy. Make small holes in the mix with a pencil or your finger, large enough to accommodate the cutting. Insert the cut end of the cutting into the hole, gently firming the mix around it. I like to plant 2-3 cuttings per pot initially, just to increase my chances.
- Water Gently: Give the pots a light watering to settle the soil around the cuttings.
- Create a Humid Environment: Cover the pots loosely with a clear plastic bag (making sure the leaves don’t touch the plastic if possible) or place them under a propagation dome. This creates a mini-greenhouse effect.
The “Secret Sauce” (Pro Tips)
After years of playing in the dirt, you pick up a few tricks! Here are a couple that have been game-changers for me:
- Bottom Heat is Your Friend: While not strictly essential, placing your pots on a heat mat specifically designed for propagation can dramatically speed up root formation. The warmth encourages the plant to put energy into developing those roots. I find it makes a noticeable difference.
- Don’t Let the Leaves Touch the Water (if water propagating): Now, I primarily use soil for Cupania glabra, but if you were to try water propagation for other plants, always ensure that no leaves are submerged in the water. Submerged leaves will rot, and that rot can spread to the whole cutting.
- Label Everything: This sounds so simple, doesn’t it? But trust me, if you’re propagating multiple things or from different parent plants, label each pot clearly with the plant name and the date you took the cutting. Future you will be incredibly grateful!
Aftercare & Troubleshooting
Once your cuttings are planted, it’s all about patience and providing the right conditions. Keep them in a bright spot, but out of harsh direct sunlight. The plastic bag or dome should keep the humidity high. Check the soil moisture regularly – it should always feel moist to the touch, but never waterlogged. If the soil surface looks dry, give it a gentle watering.
You’ll know your cuttings have rooted when you see new leaf growth, or when you give a very gentle tug and feel resistance. This usually takes anywhere from 4-8 weeks, sometimes longer. Once they’ve established a good root system, you can start to gradually acclimate them to normal humidity by opening the bag or dome for increasing periods over a week or two. Then, it’s time to transplant them into their own small pots.
The most common sign of failure is wilting and browning. This can be due to a few things: the cutting dried out, it got too much direct sun, or disease. Rotting at the base of the cutting is another sign, usually from overwatering or lack of air circulation. If you see rot, unfortunately, that cutting is likely a goner. Don’t be discouraged, though! Just clean up the area and try again.
A Encouraging Closing
So there you have it! Propagating Cupania glabra is a wonderful way to expand your garden and connect with your plants on a deeper level. Remember, gardening is a journey, and some cuttings will thrive while others might not. That’s all part of the learning process. Be patient with yourself and with your new little plants. Enjoy the miracle of growth, and soon you’ll have a whole collection of these stunning shrubs to admire! Happy propagating!
Resource:
https://identify.plantnet.org/k-world-flora/species/Cupania%20glabra%20Sw./data