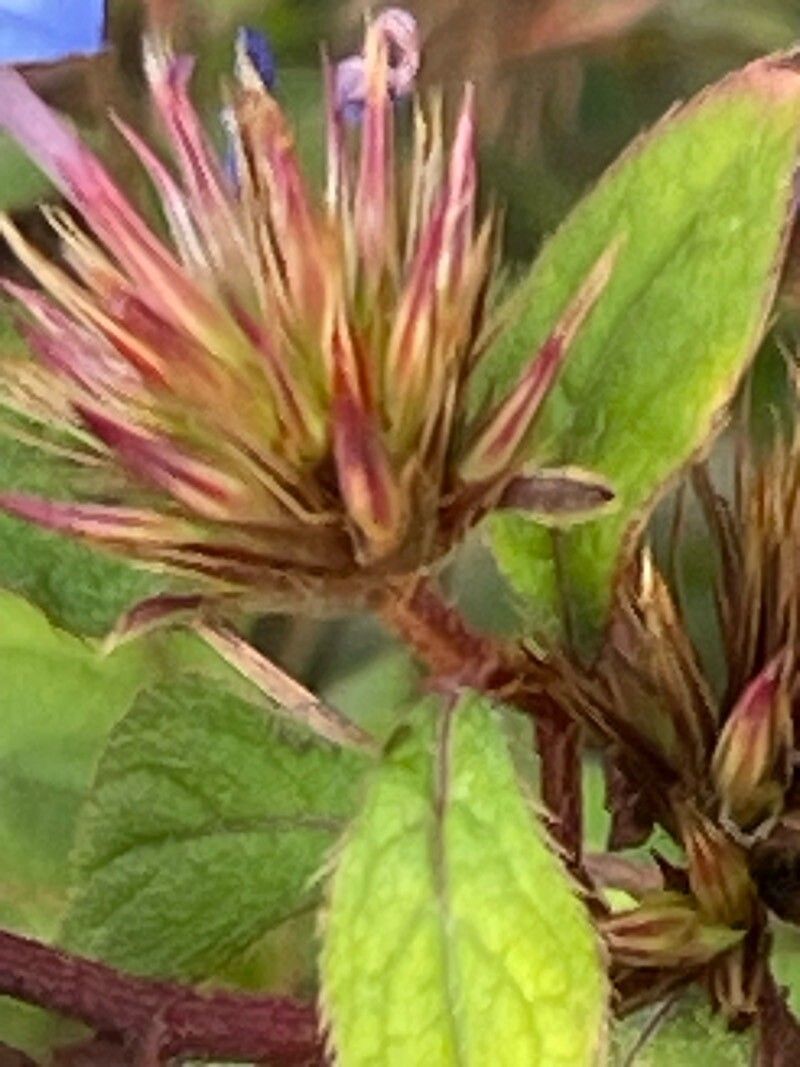
Oh, hello there! So glad you’ve fallen for the charm of Ceratostigma willmottianum, or as I affectionately call it, plumbago. Its vibrant cobalt blue flowers are such a joy, especially when everything else is starting to fade in late summer and fall. And the best part? You can easily fill your garden, or share with friends, by propagating it yourself. It’s a truly rewarding endeavor, and I promise, it’s not as intimidating as it might sound. Most beginner gardeners find it quite forgiving!
The Best Time to Start
For the highest success rate with Ceratostigma willmottianum, I always recommend taking cuttings in late spring or early summer. This is when the plant is actively growing and has plenty of healthy, semi-hardwood stems. You can also try in early fall, but the growth is a bit slower then, and you might find less vigorous rooting.
Supplies You’ll Need
Here’s a little kit to get you started:
- Sharp Pruning Shears or a Craft Knife: A clean cut is crucial.
- Rooting Hormone (Optional but Recommended): This little helper really speeds things up.
- A Good Potting Mix: I prefer a well-draining mix – something like a blend of potting soil, perlite, and a bit of sand works wonders. You can also find specialized seedling or cutting mixes.
- Small Pots or a Propagation Tray: Clean containers are a must to prevent disease.
- Plastic Bags or a Propagator Lid: To create a humid environment.
- Watering Can or Spray Bottle: For gentle watering.
Propagation Methods
Let’s get our hands dirty! The easiest and most effective way to propagate plumbago is through stem cuttings.
- Select Your Cuttings: Look for healthy, non-flowering shoots on your mature plant. You want stems that are pencil-thick and flexible, but not too soft or woody. Aim for cuttings that are about 4-6 inches long.
- Make the Cut: Using your clean shears or knife, take cuttings just below a leaf node. A leaf node is where a leaf joins the stem – this is where the magic of rooting happens. Get rid of any flowers or flower buds on your cutting.
- Prepare the Cuttings: Gently remove the lower leaves, leaving just two or three at the very top. This reduces water loss.
- Apply Rooting Hormone (If Using): Dip the cut end of the stem into your rooting hormone powder or gel. Tap off any excess.
- Plant Your Cuttings: Fill your clean pots or tray with your prepared potting mix. Make a small hole with a pencil or your finger, and gently insert the cut end of the stem into the soil. Firm the soil around it. You can place several cuttings in one pot, ensuring they don’t touch each other.
- Create a Humid Environment: Water the soil lightly until it’s moist but not waterlogged. Then, cover the pots with a plastic bag or a propagator lid. This creates the humid microclimate that cuttings need to thrive.
The “Secret Sauce”
Here are a couple of my little garden secrets that make a big difference:
- Bottom Heat is Your Friend: Plumbago cuttings root best with a bit of warmth from below. If you have a heated propagator or can place your pots on a heat mat, it will significantly speed up root development. You’ll see roots form much faster!
- Don’t Overwater!: This is probably the most common mistake. Soggy soil is a recipe for rot. The plastic bag should keep the humidity high, so the soil will dry out much slower than you think. It’s better to have slightly too dry than drowning.
Aftercare & Troubleshooting
Once your cuttings are potted, place them in a bright spot but out of direct sunlight. Keep the humidity high by misting occasionally if the leaves look a bit limp.
You’ll know your cuttings have rooted when you see new leaf growth. Gently tugging on a cutting will also reveal resistance if roots have formed. Once established, you can gradually remove the plastic bag to acclimate them to normal humidity. Then, it’s time to pot them up into individual, slightly larger pots.
The main thing to watch out for is rot. If your cuttings look mushy or slimy, or develop black spots, it’s usually a sign of too much moisture and poor air circulation. Unfortunately, there’s not much you can do once rot sets in, so prevention through proper watering and drainage is key.
A Little Patience, A Lot of Reward
Propagating your plumbago is a wonderful way to connect with your plants and expand your garden. Don’t be discouraged if not every cutting takes – gardening is all about learning and experimenting. Be patient, enjoy the process of nurturing these little ones, and soon you’ll have a beautiful display of blue flowers to admire. Happy gardening!
Resource:
https://identify.plantnet.org/k-world-flora/species/Ceratostigma%20willmottianum%20Stapf/data