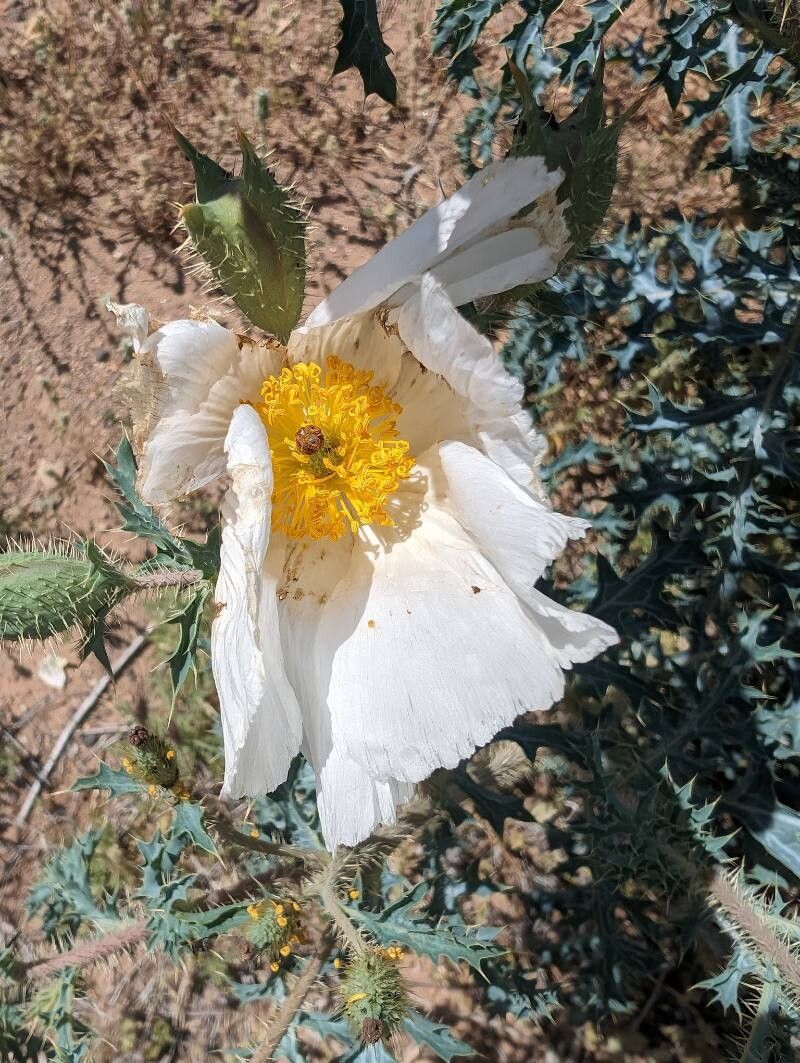
Hello fellow garden enthusiasts! Today, we’re diving into the fascinating world of propagating Argemone pleiacantha, also known as the desert prickly poppy. These beautiful plants, with their vibrant yellow to orange flowers and striking silvery foliage, are a real showstopper in any garden, especially in drier climates. Growing more of these beauties from scratch is incredibly rewarding, and I’m here to share how I do it. Don’t let their prickly nature fool you; with a little know-how, propagating them is quite achievable, even if you’re relatively new to the gardening game.
The Best Time to Start
My personal favorite time to get going with propagating Argemone pleiacantha is in late spring or early summer. This is when the plant is actively growing and has plenty of energy to dedicate to forming new roots. You’re looking for healthy, current-season stems. Avoid trying to propagate from old, woody growth – it’s just not as eager to root!
Supplies You’ll Need
Before we get our hands dirty, let’s gather our essentials:
- Sharp Pruning Shears or a Clean Knife: For taking clean cuttings.
- Rooting Hormone (Optional but Recommended): Especially helpful for encouraging faster root development.
- Well-Draining Potting Mix: A mix of equal parts perlite, coarse sand, and peat moss or coco coir works wonders. You can also use a pre-made cactus and succulent mix.
- Small Pots or Trays: For your cuttings. Make sure they have drainage holes!
- Watering Can or Spray Bottle: For keeping things moist.
- Plastic Bag or Propagator Lid: To create a humid environment.
Propagation Methods
While Argemone pleiacantha can be grown from seed, I find stem cuttings to be the most reliable and quickest method for getting new plants.
- Take Your Cuttings: With your sharp tool, select a healthy stem from a mature plant. Aim for cuttings that are about 4-6 inches long. Make your cut at an angle, just below a leaf node. This is where new roots are most likely to emerge.
- Prepare the Cuttings: Gently remove the lower leaves, leaving the top few leaves intact. If your cuttings are particularly thorny, you might want to wear gloves for this step!
- Apply Rooting Hormone (If Using): Dip the cut end of the stem into your rooting hormone powder, tapping off any excess.
- Plant Your Cuttings: Fill your pots with your well-draining soil mix. Make a small hole with your finger or a pencil and gently insert the cut end of the stem. Press the soil firmly around the base to ensure good contact.
- Create a Humid Environment: Water the soil lightly. Then, cover the pot with a plastic bag or place it inside a propagator lid. This creates a mini-greenhouse effect, which is crucial for preventing the cuttings from drying out before they can form roots.
The “Secret Sauce” (Pro Tips)
Here are a few things I’ve learned over the years that really make a difference:
- Let the Sap Dry: When you first cut the stem, you’ll notice a milky sap. It’s a good idea to let the cut end of the cutting dry out and form a callus for a day or two in a cool, dry place before dipping it in rooting hormone and planting. This helps prevent rot.
- Bottom Heat is Your Friend: If you have access to a heating mat, placing your pots on it can significantly speed up root development. The warmth encourages the plant to put its energy into growing new roots from below.
- Don’t Overwater: This is a classic mistake! While we want humidity, soggy soil is a recipe for disaster and will cause your cuttings to rot before they even have a chance to root. Water only when the top inch of soil feels dry to the touch.
Aftercare & Troubleshooting
Once your cuttings have roots, you’ll start to see new growth. This is a fantastic sign! Gradually remove the plastic bag over a few days to acclimate your new plant to normal humidity levels. Continue to water as needed, allowing the soil to dry out slightly between waterings.
The most common problem you might encounter is rot. If you see your cutting turning mushy or black at the base, it’s likely too much moisture. Unfortunately, once rot sets in, it’s usually game over. This is why proper drainage and careful watering are so important. If a cutting fails, don’t get discouraged! Just try again with a fresh one.
A Encouraging Closing
Propagating plants is a journey, and sometimes the path has a few bumps. Be patient with your new Argemone pleiacantha cuttings. It might take a few weeks, or even a couple of months, for them to establish a strong root system. The joy of watching a new plant unfurl its first leaves, knowing you helped it grow, is truly unmatched. Happy propagating, and may your gardens be ever blooming!
Resource:
https://identify.plantnet.org/k-world-flora/species/Argemone%20pleiacantha%20Greene/data