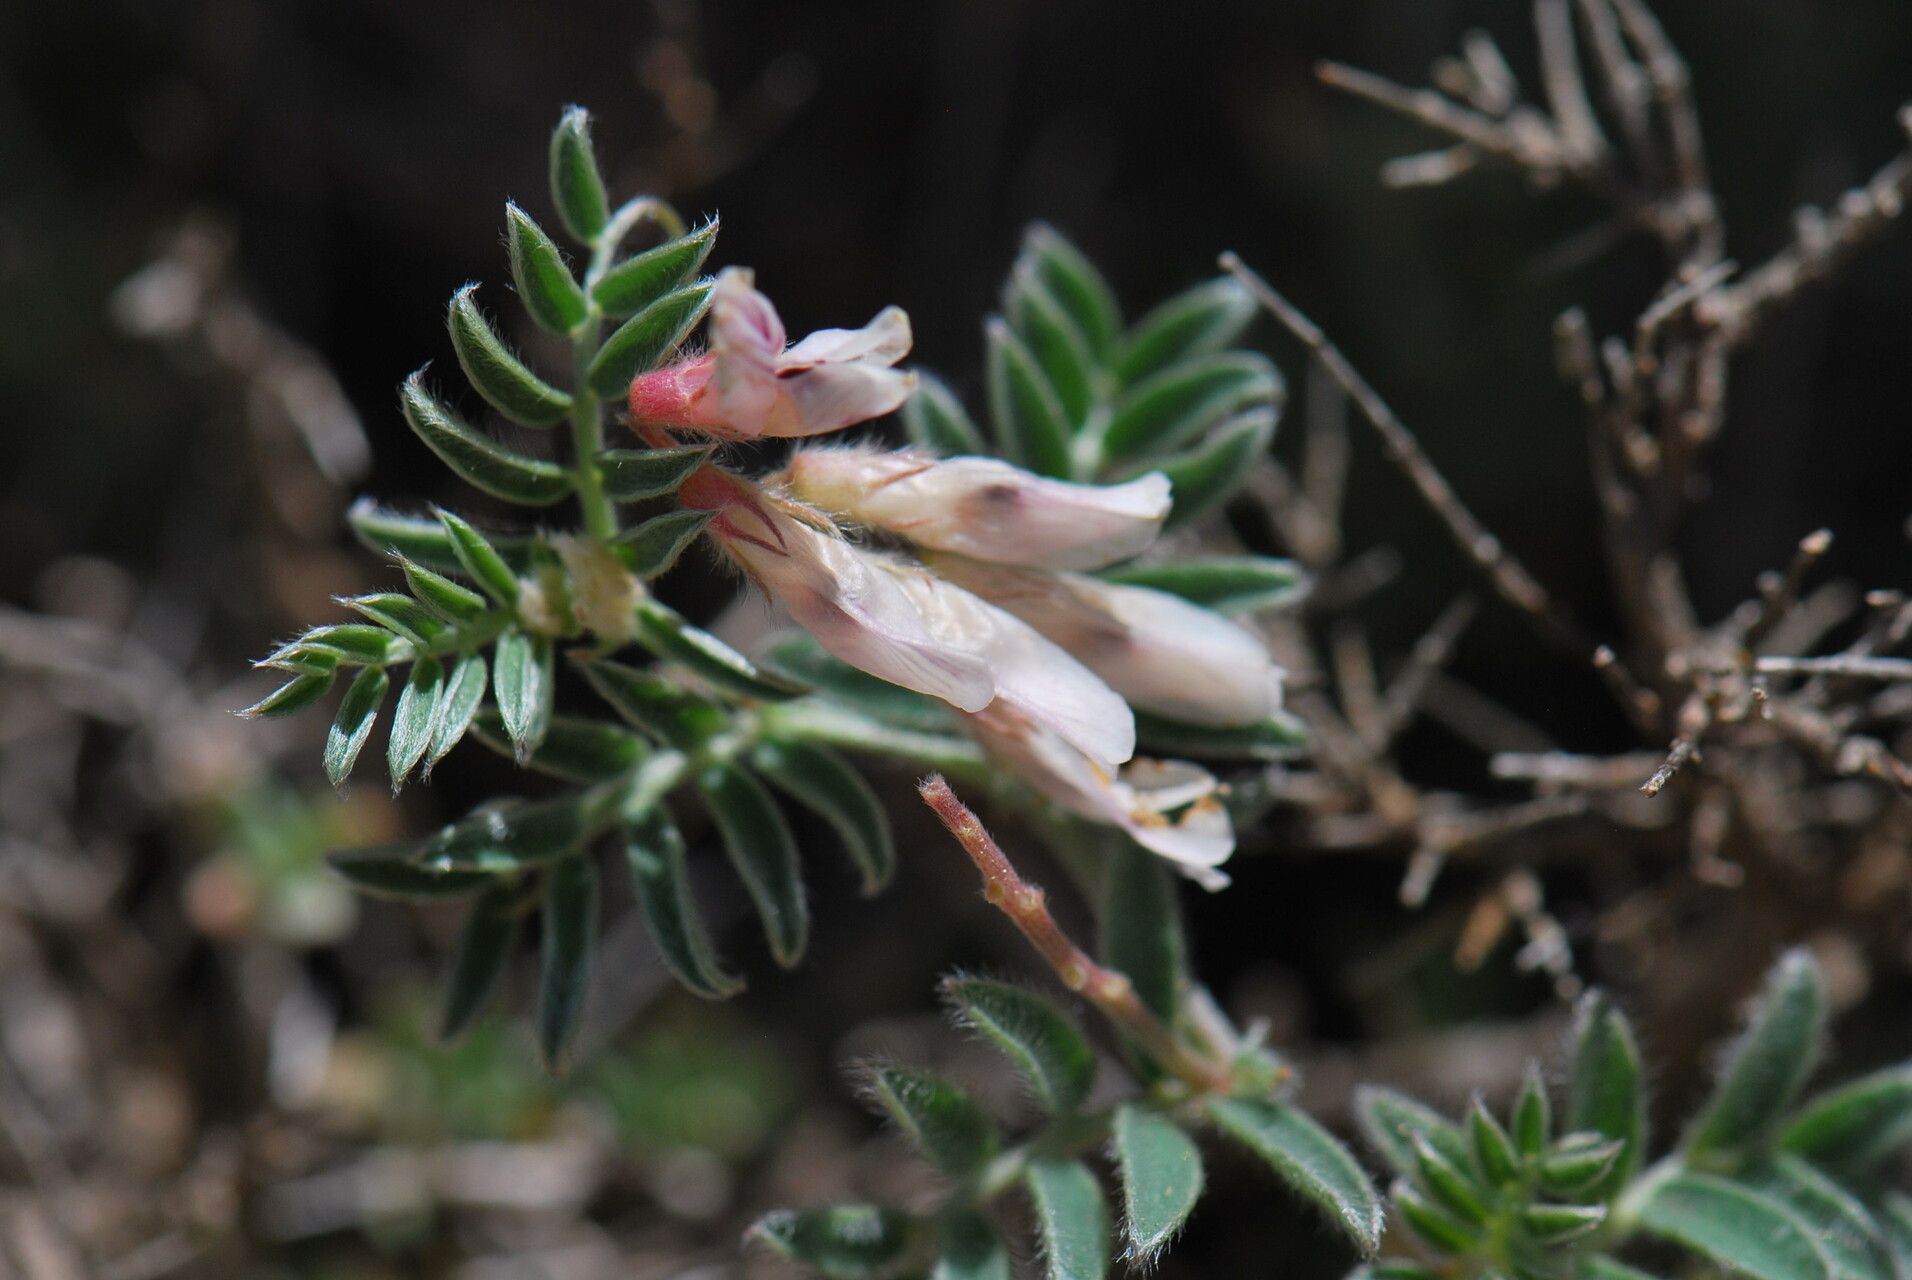
Ah, Vicia glauca! Isn’t it just a charmer? I’ve always loved the soft, almost silvery-green hue of its foliage, and those delicate pea-like flowers that seem to dangle just so. Propagating it has been a little joy of mine for years. It’s a plant that really rewards a bit of patient attention, and seeing a tiny sprout emerge from something you’ve nurtured yourself is just… well, it’s magic, isn’t it?
For beginners, I’d say Vicia glauca is moderately easy to propagate. It’s not quite as foolproof as a succulent, but with a few key steps, you’ll be well on your way to a whole new collection.
The Best Time to Start
My personal favorite time to get started with Vicia glauca propagation is in the late spring or early summer. This is when the plant is actively growing and has plenty of juicy new energy to put into developing roots. You’re looking for those young, tender stems that haven’t gotten too woody yet. They’re much more pliable and receptive to rooting.
Supplies You’ll Need
Gathering your tools ahead of time makes the whole process so much smoother. Here’s what I usually have on hand:
- Sharp pruning shears or a clean craft knife: For making clean cuts.
- Rooting hormone (optional but recommended): A simple powder or gel can give your cuttings a real boost.
- Well-draining potting mix: A blend of peat moss, perlite, and a little bit of compost works wonders. You can also use a specialized seed-starting mix.
- Small pots or propagation trays: With drainage holes, of course!
- Plastic bags or a cloche: To create a mini-greenhouse effect and keep humidity high.
- Watering can with a fine rose: For gentle watering.
- A sunny (but not scorching) spot: Or grow lights if you don’t have enough natural light.
- Labels: So you don’t forget what you’ve planted where!
Propagation Methods
I find two main methods work best for Vicia glauca, and they’re both quite simple.
Stem Cuttings
This is my go-to method:
- Select your stem: Look for healthy, non-flowering shoots that are about 4-6 inches long.
- Make the cut: Using your sharp shears or knife, make a clean cut just below a leaf node. This is where the plant can most easily produce roots. Remove the lower leaves, leaving just a couple at the top.
- Apply rooting hormone: Dip the cut end of the stem into your rooting hormone, tapping off any excess.
- Plant your cutting: Fill your small pots with your moist potting mix. Make a small hole with your finger or a pencil and gently insert the cutting. Press the soil gently around the stem to ensure good contact.
- Water gently: Give the soil a light watering.
- Create humidity: Cover the pot with a plastic bag or cloche. Make sure the leaves aren’t touching the plastic if possible!
- Place in bright, indirect light: Keep the soil consistently moist but not waterlogged.
Water Propagation
This is a slightly more visual method, and you can see the roots forming!
- Choose and cut: Similar to stem cuttings, select a healthy shoot and cut it below a leaf node. Remove the lower leaves.
- Place in water: Fill a small jar or glass with clean water. Place the cutting in the water, ensuring that the leaf nodes where you removed the leaves are submerged. Crucially, don’t let the remaining leaves sit in the water, as this can lead to rot.
- Change the water regularly: Every few days, freshly replace the water to prevent stagnation and bacterial growth.
- Provide light: Keep the jar in a spot with bright, indirect light.
- Watch for roots: You should start to see tiny white nubs appearing at the leaf nodes within a few weeks.
The “Secret Sauce” (Pro Tips)
Here are a couple of things I’ve learned over the years that really make a difference:
- Bottom Heat is Your Friend: If you’re using stem cuttings, placing your pots on a gentle heating mat designed for propagation can significantly speed up root development. It mimics that lovely WARM ground that plants love.
- Don’t Rush Planting: With water propagation, it’s tempting to plant those rooted cuttings as soon as you see a decent root. I like to wait until the roots are at least an inch or two long, with a few smaller secondary roots branching off. This gives them a much better start when you plant them in soil.
Aftercare & Troubleshooting
Once your cuttings have developed a good root system (you’ll know they’re ready when they resist a gentle tug or you see roots poking out of the drainage holes), it’s time to move them into their own pots. Continue to water them gently and keep them in bright, indirect light. Gradually acclimate them to their new environment.
The most common issue you might face is rot. This is usually a sign of overwatering or poor drainage. If you see mushy, dark stems or leaves, sadly, that cutting might be a goner. Remove it immediately to prevent it from affecting others. Another sign of trouble is if your cuttings simply refuse to root. This could be due to the season, the health of the parent plant, or not quite enough humidity. Don’t be discouraged – just try again with fresh cuttings!
A Encouraging Closing
Growing plants from cuttings or seeds is one of the most rewarding aspects of gardening. It teaches us patience, observation, and the incredible resilience of nature. So, be patient with your Vicia glauca cuttings. Some will thrive, and some might not, but each attempt is a learning experience. Enjoy the process, and soon you’ll have beautiful new plants to admire and share! Happy propagating!
Resource:
https://identify.plantnet.org/k-world-flora/species/Vicia%20glauca%20C.Presl/data