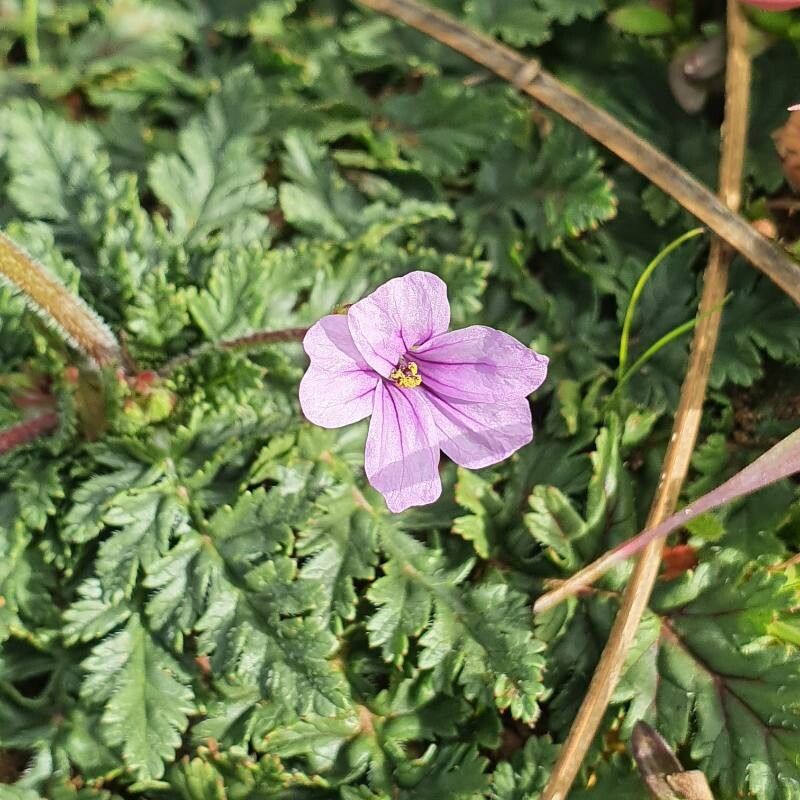
Hello fellow garden enthusiasts! Today, I want to talk to you about a plant that’s really captured my heart over the years: Erodium botrys, often called Mediterranean stork’s-bill. Its delicate, often deeply lobed leaves and cheerful pink to reddish-purple flowers are just a delight. They add such a touch of wild elegance to any garden border or pot. And the best part? Propagating them yourself is incredibly rewarding. It’s not a super fussy plant, making it a good candidate for those of you dipping your toes into the world of propagation. With a little know-how, you’ll soon have a whole posse of these beauties!
The Best Time to Start
For Erodium botrys, I find the late spring to early summer is truly the sweet spot for propagation. This is when the plant is actively growing after its spring bloom, and the new growth is vigorous. You’ll get the best results from semi-ripe cuttings taken just after flowering has finished. Waiting until the plant has put on some new growth is key.
Supplies You’ll Need
To get our little Erodiums off to a good start, you’ll want a few things handy:
- Sharp pruning shears or a clean knife: For taking cuttings cleanly.
- Rooting hormone (optional but helpful): A powder or gel can boost success.
- A well-draining potting mix: I like a blend of good-quality potting soil mixed with perlite or coarse sand. Something that won’t hold too much moisture.
- Small pots or seed trays: With drainage holes, of course!
- A spray bottle: For misting.
- A plastic bag or propagator lid: To create a humid environment.
Propagation Methods
Let’s dive into how we can multiply these charmers.
Stem Cuttings
This is my go-to method for Erodium botrys. It’s straightforward and usually gives me a great success rate.
- Select your cutting: Look for healthy, non-flowering stems that are about 3-4 inches long. They should be firm but also slightly yielding – not too woody, and not too soft and floppy.
- Make the cut: Using your clean shears or knife, take a cutting just below a leaf node (where a leaf attaches to the stem). This is where the magic happens for root development.
- Prepare the cutting: Gently remove the lower leaves, leaving just a couple of leaves at the very top. This prevents them from rotting in the soil.
- Apply rooting hormone (if using): Dip the cut end of the stem into your rooting hormone powder or gel, tapping off any excess.
- Plant the cutting: Make a small hole in your prepared potting mix with a pencil or your finger. Insert the cut end of the Erodium cutting into the hole and gently firm the soil around it.
- Water and cover: Water the pot lightly. Then, place the pot inside a plastic bag or cover it with a propagator lid to maintain high humidity.
Division (For established plants)
If you have an older, established clump of Erodium botrys, you can also propagate it by division.
- Gently unearth the plant: Carefully dig up the entire plant.
- Separate the root ball: Gently tease apart the root ball into sections. Each section should have healthy roots and at least a few shoots. You might need to use a clean knife to help separate tougher clumps.
- Replant immediately: Pot up each division into its own pot with fresh, well-draining soil. Water them in and treat them as you would a newly planted specimen.
The “Secret Sauce” (Pro Tips)
Here are a couple of little tricks I’ve learned over the years that often make a big difference:
- Don’t overwater! This is probably the biggest downfall for many propagators. Erodium botrys can be prone to rot if its cuttings sit in soggy soil. It’s better to err on the side of slightly too dry than too wet. You want the soil to be consistently moist, not waterlogged.
- Bottom heat is your friend (especially for cuttings): If you have a heated propagator or can place your pots on a heat mat, do it! Warmer soil temperatures encourage root development much faster. My propagation bench is always the warmest spot in the greenhouse.
Aftercare & Troubleshooting
Once your cuttings are planted, find them a spot with bright, indirect light. Avoid direct, scorching sun, which can dehydrate them quickly. Keep that humidity up by misting occasionally if the leaves look a bit sad, and check the soil moisture every few days.
You’ll know your cuttings are taking root when you see new leaf growth appearing. This can take anywhere from 3 to 6 weeks, so patience is key! Gently tugging on a cutting – if there’s resistance, it’s usually a good sign.
The most common sign of trouble is rot. If a cutting turns mushy or black at the base, unfortunately, it’s likely gone. This is usually due to too much moisture and not enough air circulation or drainage. Remove any rotting material immediately to prevent it from spreading to other cuttings. If you see any mold on the soil surface, you can try gently scraping it off and allowing the soil to dry out a tad more.
A Encouraging Closing
See? It’s not so daunting! Propagating Erodium botrys is a beautiful way to get more of those lovely plants into your garden or to share them with friends. Don’t get discouraged if a few don’t make it – that’s perfectly normal in gardening. Just keep trying, observe your plants, and enjoy the process of watching new life emerge. Happy propagating!
Resource:
https://identify.plantnet.org/k-world-flora/species/Erodium%20botrys%20(Cav.)%20Bertol./data