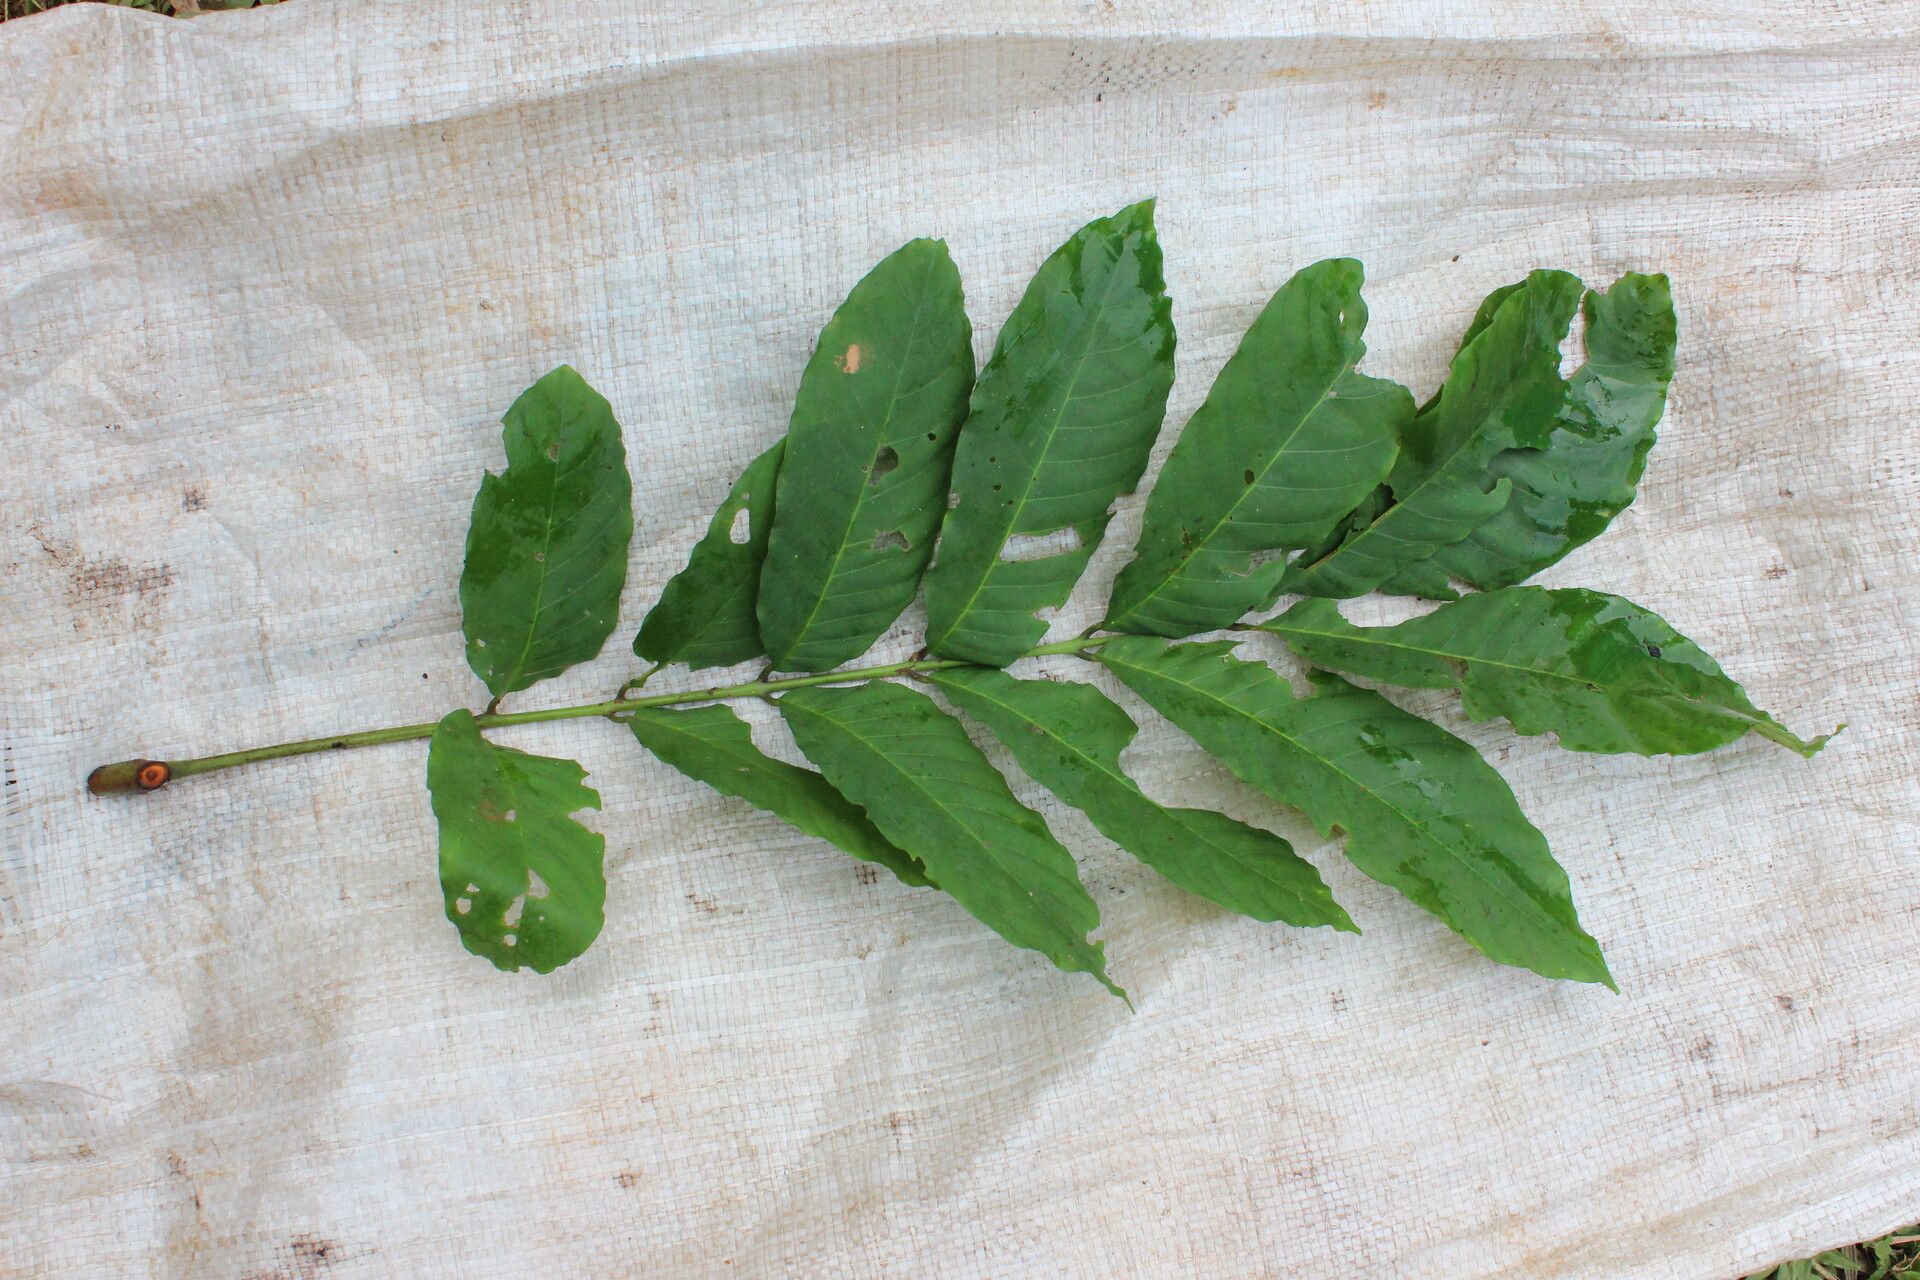
Hello, fellow plant lovers! I’m so excited to chat with you today about a truly special plant: Trichilia rubescens. If you’ve ever seen one of these beauties, you’ll know exactly what I mean. Their glossy, deep green leaves and their tendency to produce delicate, sweet-scented flowers in clusters are just… captivating.
And the best part? You can grow more of them! Propagating Trichilia rubescens is a wonderfully rewarding journey. It’s not necessarily the absolute easiest plant for a complete beginner to propagate, but with a little patience and a few key steps, you’ll be well on your way to success. Think of it as a delightful challenge, a little step up that will make you feel like a true plant wizard.
The Best Time to Start
For Trichilia rubescens, I’ve found the late spring through early summer is absolutely prime time. This is when the plant is actively growing, or just coming into its own after the spring growth spurt. You want to take cuttings from healthy, semi-hardwood growth. This means stems that are no longer brand new and floppy, but not yet woody and tough. They should have a bit of flexibility.
Supplies You’ll Need
Before we get our hands dirty, let’s gather our tools:
- Sharp pruning shears or a clean knife: Essential for making clean cuts to prevent disease.
- Rooting hormone (powder or gel): This is a helpful aid for encouraging root development.
- A well-draining potting mix: I like to use a blend of perlite, peat moss, and a bit of coarse sand. A good seed-starting mix also works well.
- Small pots or seed trays: For your cuttings. Make sure they have drainage holes!
- A clear plastic bag or humidity dome: To create a mini-greenhouse effect.
- Optional: A heating mat: This can significantly speed up root formation.
- Water: For misting and watering.
Propagation Methods
Let’s dive into the methods that work best for Trichilia rubescens.
Stem Cuttings: My Go-To Method
This is my favorite and most reliable way to propagate this plant.
- Select Your Cuttings: Head out to your Trichilia rubescens and look for those semi-hardwood stems. Aim for cuttings that are about 4-6 inches long.
- Make the Cut: Using your clean pruning shears, make a clean cut just below a leaf node. A leaf node is where a leaf attaches to the stem – this is where the magic happens for root formation.
- Prepare the Cutting: Gently remove the lower leaves from the cutting, leaving just two to four leaves at the top. If the remaining leaves are very large, you can carefully cut them in half horizontally. This reduces water loss through transpiration while still allowing for photosynthesis.
- Apply Rooting Hormone: Dip the cut end of the stem into your rooting hormone, tapping off any excess.
- Potting Up: Fill your small pots with your well-draining potting mix. Make a hole in the center with your finger or a pencil.
- Plant the Cutting: Gently insert the treated end of the cutting into the hole. Firm the soil gently around the stem to ensure good contact.
- Create a Humid Environment: Water the soil thoroughly but gently. Then, cover the pot with a clear plastic bag (make sure the bag doesn’t touch the leaves by using stakes or clips) or place it under a humidity dome.
Water Propagation (Use with Caution)
While I prefer soil propagation for Trichilia rubescens, some find success with water.
- Prepare the Cutting: Follow steps 1-3 from the stem cutting method.
- Place in Water: Remove all leaves that would be submerged in the water. Place the cutting in a clean jar or glass of water.
- Monitor and Change: Change the water every few days to keep it fresh and prevent bacterial growth. You should start to see tiny white nubs forming at the leaf nodes.
- Potting Up: Once the roots are about an inch long, carefully pot the cutting into your well-draining potting mix, as described in step 5 and 6 of the soil method. This transition can be a bit stressful, so be gentle!
The “Secret Sauce” (Pro Tips)
Here are a couple of things I’ve learned over the years that can really give your cuttings a boost:
- Bottom Heat is Your Friend: If you have a heating mat, use it! Placing your pots on a gentle heat source can work wonders. It encourages the roots to emerge much faster because the soil stays consistently warm. This is especially helpful if your room temperature fluctuates.
- Don’t Let the Leaves Touch the Water: For water propagation, this is crucial. If those lower leaves sit in the water, they’ll quickly rot and can take your cutting down with them. Always ensure any submerged parts are just stems.
- Misting is Key (But Not Drowning): While we want humidity, we don’t want waterlogged soil. Lightly misting the leaves of your cuttings every day or two can help keep them turgid, especially if you don’t have a perfectly sealed humidity dome. Just a gentle spray!
Aftercare & Troubleshooting
Once you see new leaf growth, that’s usually a good sign that roots have formed!
- Gradual Acclimation: Slowly introduce your new plant to drier air by gradually opening the plastic bag or removing the humidity dome over a week or two. This helps it adjust.
- Consistent Moisture: Keep the soil consistently moist but not waterlogged during this transition.
- Bright, Indirect Light: Place your new plant in a spot with bright, indirect light. Avoid direct sun, which can scorch delicate new growth.
Common Signs of Failure:
- Yellowing and Drooping Leaves: This can mean it’s getting too much water, not enough water, or not enough light.
- Stem Rot: If the cutting turns black and mushy, especially at the cut end, it’s likely rot. This is often due to overwatering or not using sterile methods. Sadly, there’s usually no coming back from this.
- Failure to Root: Sometimes, a cutting just doesn’t take. Don’t get discouraged! It happens to all of us.
Keep Growing!
Propagating Trichilia rubescens is a truly satisfying experience. It’s a little like coaxing new life into being right in your own home, and it allows you to share these gorgeous plants with friends and family. Be patient with your new cuttings, observe them closely, and don’t be afraid to try again if your first attempt isn’t perfect. Happy propagating!
Resource:
https://identify.plantnet.org/k-world-flora/species/Trichilia%20rubescens%20Oliv./data