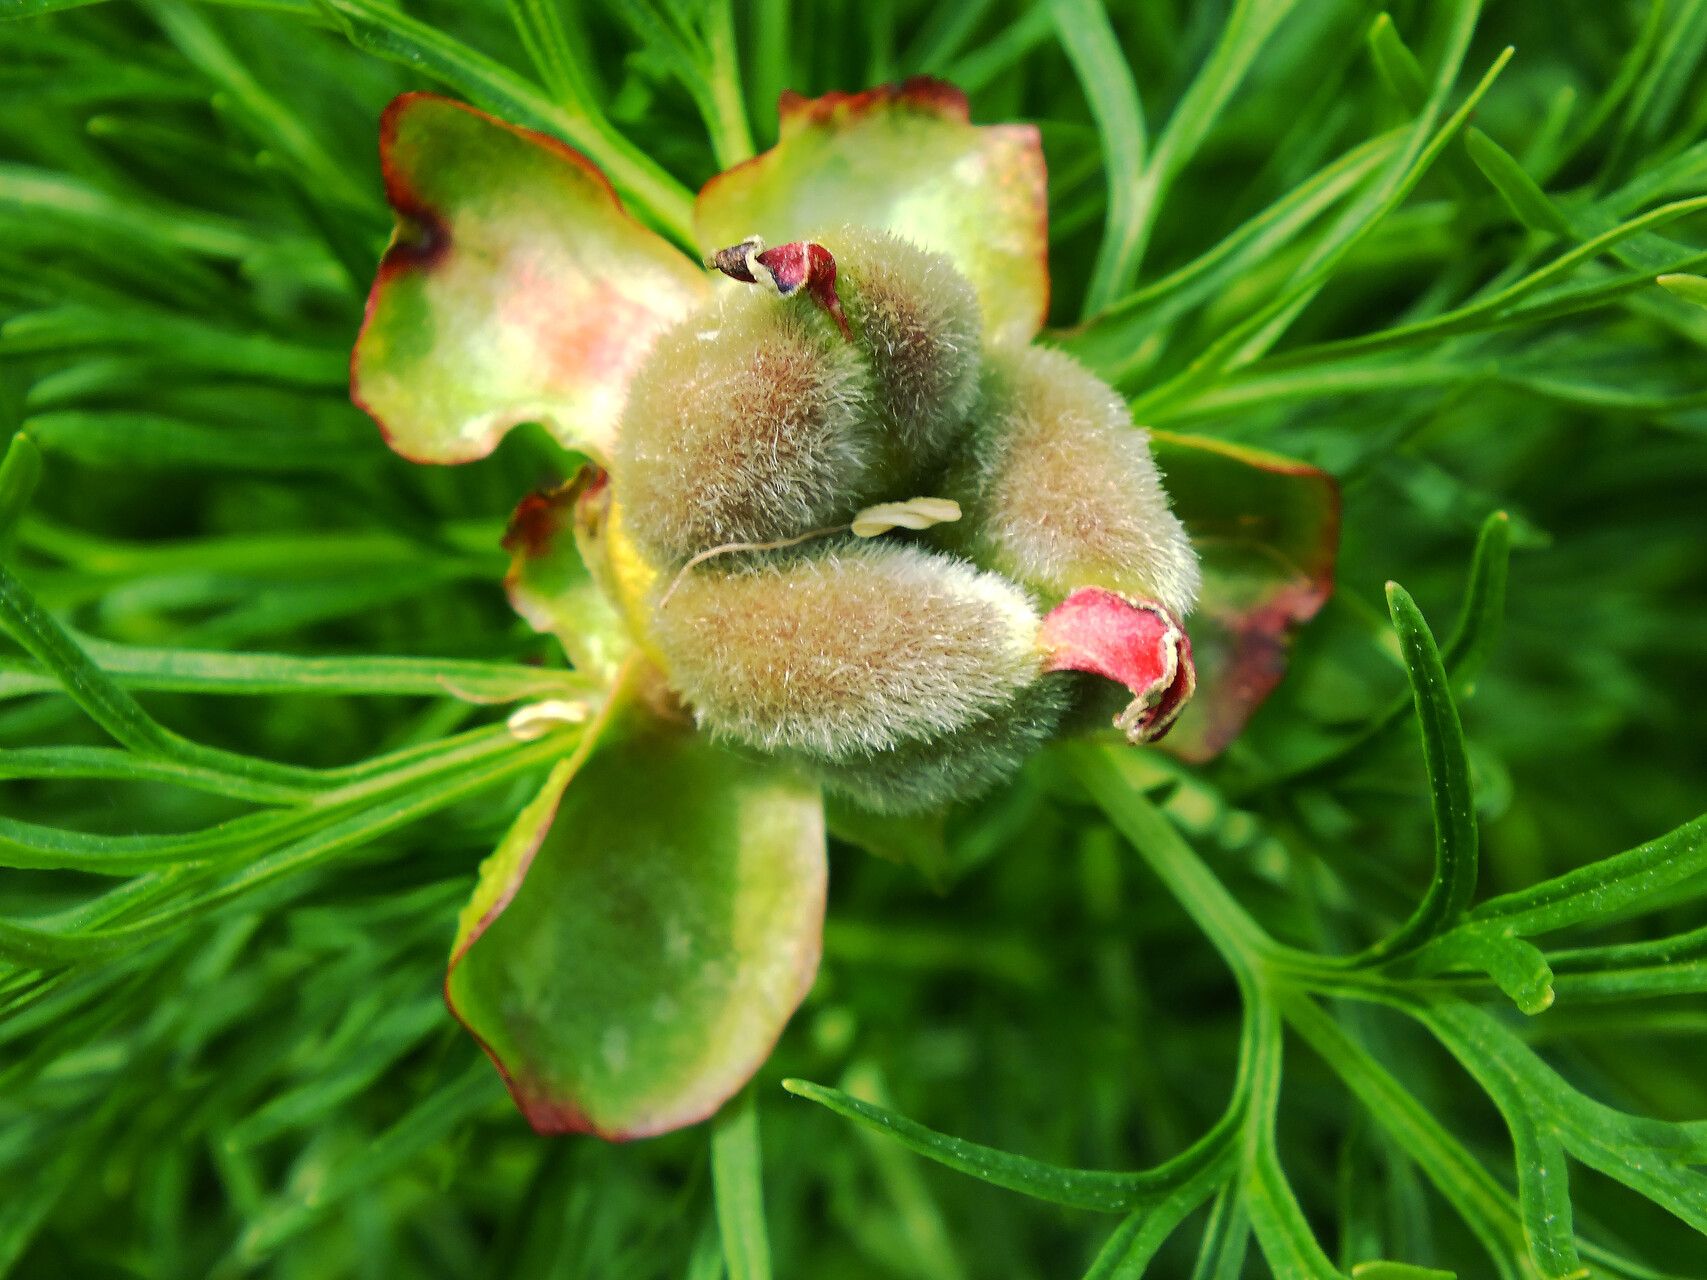
Hello, fellow garden lovers! Today, we’re diving into the captivating world of Paeonia tenuifolia, or the fern-leaf peony. If you’ve ever seen its delicate, feathery foliage and striking crimson blooms, you know why it’s so special. It’s a plant that whispers elegance, a true gem for any garden.
Propagating these beauties might sound a little daunting, and I’ll be honest, it’s not quite as straightforward as tossing a seed in the ground. Fern-leaf peonies can be a bit particular. But with a little patience and the right approach, it’s absolutely a rewarding endeavor. Think of it as earning your stripes as a peony whisperer!
The Best Time to Start
For Paeonia tenuifolia, timing is everything. The ideal window for propagation is late summer to early fall, after the plant has finished its glorious bloom cycle and is starting to head into dormancy. This is when the plant is directing its energy downwards, preparing for winter, which makes it more receptive to new beginnings. Trying to propagate too early in the season, when it’s actively growing and blooming, can stress the parent plant and significantly reduce your success rate.
Supplies You’ll Need
Gathering your tools before you begin is always a good idea. It prevents that frustrating scramble mid-task! Here’s what I recommend:
- Sharp, sterile pruning shears or a clean knife: For making precise cuts.
- Rooting hormone (optional but recommended): A powder or liquid to encourage root development.
- Well-draining potting mix: A good blend of peat moss, perlite, and a bit of compost works wonders. You want something that won’t hold excess moisture.
- Small pots or containers: With drainage holes, of course!
- Labels and a permanent marker: To keep track of what you’ve planted and when.
- A watering can or spray bottle: For gentle moisture.
- A trowel or sturdy spoon: For divvying up roots.
Propagation Methods
While Paeonia tenuifolia can be propagated from seed, it’s a very slow process and often results in plants that don’t resemble the parent. For a more reliable and faster outcome, we’ll focus on the methods that give us the best chance:
Division (The Most Reliable Method)
This is hands-down the most successful way to propagate fern-leaf peonies and also the best way to rejuvenate an older plant.
- Dig with Care: In late summer or early fall, carefully dig up the entire peony clump. It’s best to do this on a dry day. Try to get as much of the root system as possible. Loosen the soil around the plant with a garden fork, then gently lift it out.
- Clean the Roots: Gently brush off excess soil to get a good look at the root system. You’ll see fleshy tuberous roots radiating from a central crown.
- Identify Eyes: Look for the “eyes” – these are small, reddish or pinkish buds on the crown of the plant. Each division needs at least one healthy eye and a good chunk of root attached.
- Divide the Root Ball: Using your sterile knife or pruners, carefully cut through the root ball. Aim for sections that have at least one eye and several inches of healthy root. If the roots are very woody, you might need to use a bit more force, but try to avoid smashing them.
- Treat and Plant: Dust the cut surfaces with a fungicide or allow them to air dry for a few hours to callus over. This helps prevent rot. Dip the cut end of each division into rooting hormone if you’re using it.
- Planting Depth is Crucial: Plant each division in its own pot filled with your well-draining mix. The eyes should be no more than 1-2 inches below the soil surface. Planting too deep is a common mistake and can prevent blooming.
- Water Gently: Water thoroughly after planting to settle the soil.
Stem Cuttings (More Challenging)
This method is less consistently successful with peonies, but it’s worth a try if you have a particularly vigorous parent plant.
- Take Cuttings: In late spring as the young shoots are growing but before they fully develop, take cuttings that are about 4-6 inches long. Make sure each cutting has at least two sets of leaves and no flowers. Use your sterile shears for a clean cut just below a leaf node.
- Prepare the Cutting: Remove the lower leaves, leaving just the top two. You can lightly wound the bottom of the stem where you removed the leaves.
- Dip and Plant: Dip the cut end into rooting hormone, tapping off any excess.
- Potting Medium: Plant the cuttings about an inch deep in a pot filled with a moist, sterile seed-starting mix or a fine perlite and peat moss blend.
- Create a Humid Environment: This is key for cuttings. Cover the pot with a clear plastic bag or a propagator lid to maintain high humidity. Place it in a bright spot, but out of direct sunlight.
The “Secret Sauce” (Pro Tips)
Over the years, I’ve learned that a few little tricks can make a world of difference.
- Don’t Overwater: This is the cardinal sin when propagating fussy plants like peonies. They are very prone to root rot if kept too wet. It’s better to err on the side of slightly dry than soggy.
- Bottom Heat for Cuttings: If you’re trying stem cuttings, placing the pot on a propagation mat set to a low temperature (around 70-75°F) can significantly boost root formation. It mimics the warmth of the soil.
- Patience with Divisions: Even with divisions, don’t expect overnight miracles. It can take a full year, sometimes even two, for a newly divided peony to establish itself and start blooming. Resist the urge to dig them up and check for roots too soon!
Aftercare & Troubleshooting
Once your divisions or cuttings have started to show signs of life – new growth appearing or cuttings feeling firm when gently tugged – you’re on the right track!
- Keep them Moist, Not Wet: Continue to water them gently whenever the top inch of soil feels dry.
- Gradual Acclimation: If you’ve covered your cuttings, gradually remove the plastic over a week or two to let them adjust to normal air humidity.
- Transplanting: Established divisions can often be transplanted into larger pots or their permanent garden spot in the spring of the following year, once the danger of frost has passed.
Now, what if things don’t go as planned?
- Rot: This is the most common issue, usually caused by overwatering. If you see mushy stems or roots, or a foul smell, sadly, that cutting or division is likely lost. It’s a reminder to be extra cautious with watering next time.
- No Growth: Sometimes, a division just doesn’t have enough energy or the conditions aren’t quite right. That’s okay. Don’t take it personally! Try again next year.
A Heartfelt Closing
Propagating Paeonia tenuifolia is a bit of a journey, but oh, so worth it! It requires a keen eye, a gentle touch, and a good dose of patience. Remember to celebrate the small victories. Each new sprout is a testament to your care and the plant’s resilience. Enjoy the process, and soon you’ll be rewarded with more of these exquisite blooms to cherish. Happy gardening!
Resource:
https://identify.plantnet.org/k-world-flora/species/Paeonia%20tenuifolia%20L./data