Hey there, fellow plant lovers!
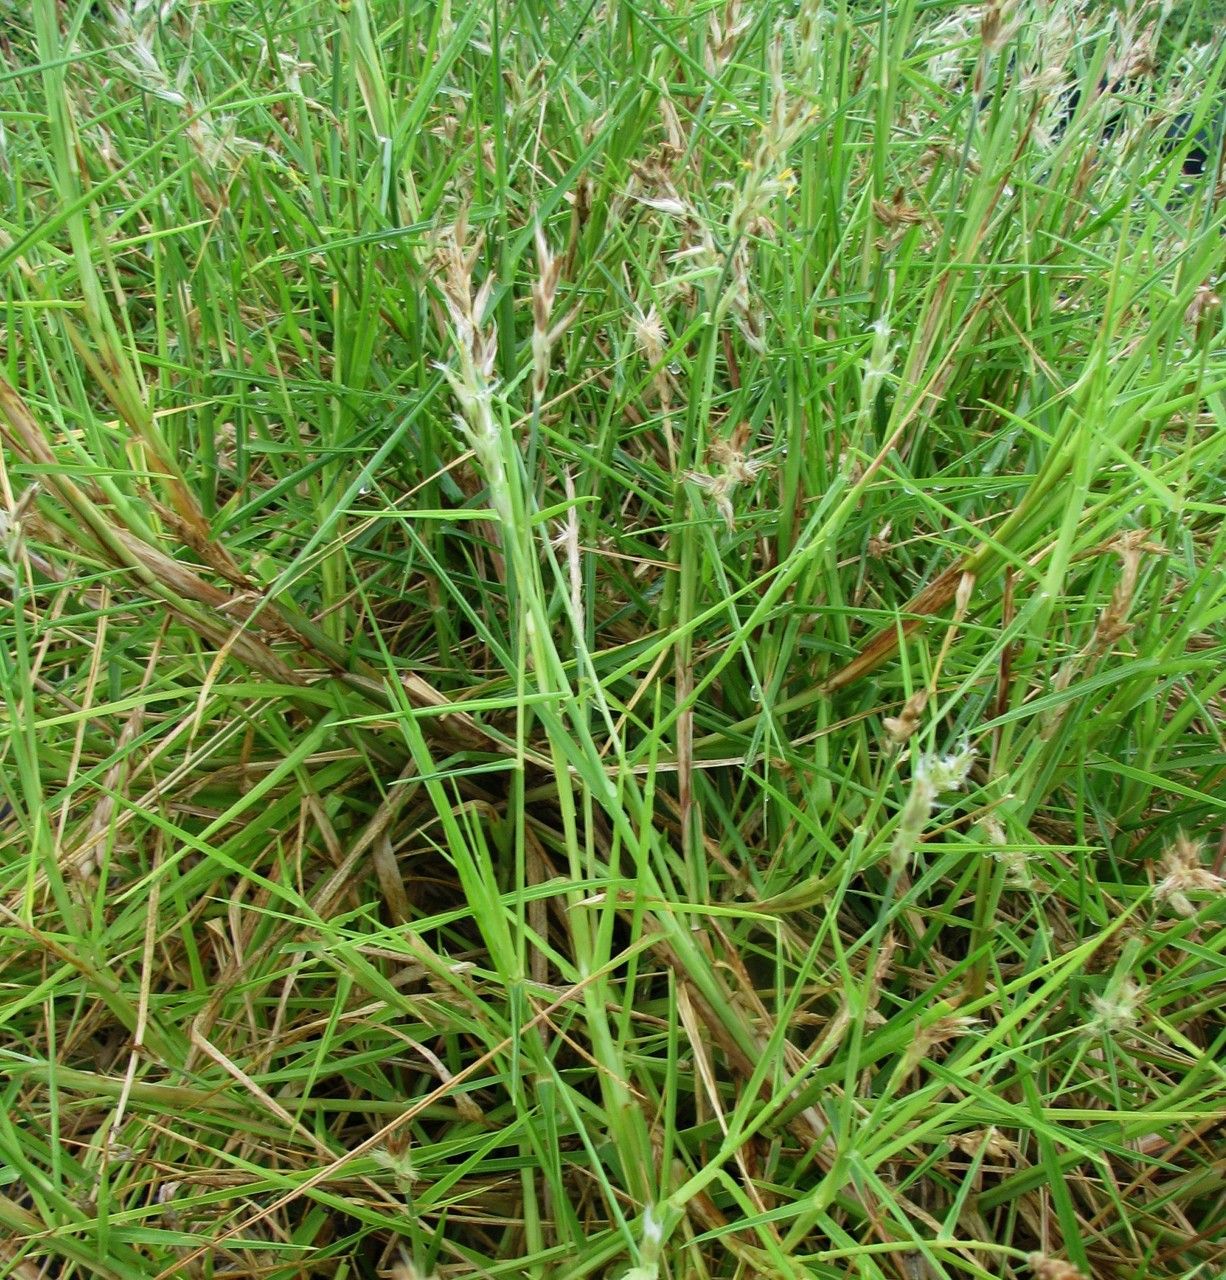
If you’ve ever admired the graceful, feathery plumes of Cenchrus agrimonioides (often called the “Desert Foxtail” or just “Foxtail Grass”) and thought, “I wish I had more of that!” then you’re in for a treat. Propagating this beauty is incredibly rewarding, and while it might sound a bit technical, I promise it’s more approachable than you think. For beginners, I’d say it’s moderately easy – with a little patience and the right approach, you’ll be greening up your space in no time.
The Best Time to Start
Timing is everything in the garden, and for Cenchrus agrimonioides, the sweet spot for propagation is late spring to early summer. This is when the plant is actively growing and has plenty of energy to put into developing new roots. You can also have some success by taking cuttings in early autumn, but aim for that vibrant growth phase for your best bet.
Supplies You’ll Need
Gathering your tools before you dive in makes the whole process smoother. Here’s what I usually have on hand:
- Sharp pruning shears or a clean knife: For making precise cuts.
- Rooting hormone (optional but helpful): Especially if you’re new to this. It really gives your cuttings a boost.
- Potting mix: A well-draining mix is crucial. I like to use a blend of perlite, coarse sand, and a good quality potting soil. You can also find specific succulent or cactus mixes that work wonders.
- Small pots or trays: Clean containers with drainage holes are a must.
- Watering can or spray bottle: For gentle watering.
- Plastic bag or humidity dome: To create a mini greenhouse effect.
- Labels: To remember what you’ve planted and when!
Propagation Methods
While you could technically try starting from seed, the most reliable and quickest way to get more Cenchrus agrimonioides is through stem cuttings or division.
Stem Cuttings: My Favorite Approach
This is how I usually expand my collection, and it’s pretty straightforward.
- Select your source plant: Look for a healthy, vigorous Cenchrus agrimonioides.
- Take your cuttings: Using your clean shears, cut stems that are about 4-6 inches long. Make your cut just below a leaf node (where a leaf grows from the stem). Remove the lower leaves, leaving just a few at the top.
- Let them callus (optional but recommended): For a few hours, or even overnight, let the cut ends of your cuttings dry out a bit. This helps prevent rot.
- Dip in rooting hormone (optional): If you’re using rooting hormone, dip the cut end into it.
- Plant your cuttings: Stick the cut end of each stem about 1-2 inches deep into your prepared potting mix. Gently firm the soil around them.
- Create humidity: Water the soil lightly. Then, cover the pot with a clear plastic bag or a humidity dome. This traps moisture and helps the cuttings root.
Division: For Established Clumps
If you have a mature plant that’s looking a bit crowded, division is a fantastic way to get multiple new plants.
- Gently remove the plant from its pot: Slide it out carefully.
- Inspect the root ball: Look for natural divisions where you can separate clumps.
- Separate the clumps: Using your hands or a clean knife, gently pull or cut the root ball into sections, ensuring each section has a good amount of roots and some foliage.
- Pot them up: Plant each new division into its own pot with fresh, well-draining soil. Water them in.
The “Secret Sauce”: Pro Tips
Here are a couple of things I’ve learned over the years that really make a difference:
- Air circulation is key! While you want humidity, don’t leave that plastic bag sealed tight forever. Lift the bag for a few minutes each day to let fresh air in and prevent fungal issues. Once you see signs of new growth, you can gradually remove the cover.
- Don’t overwater! This is probably the most common mistake. Cenchrus agrimonioides prefers to dry out slightly between waterings. Stick your finger into the soil – if it feels dry about an inch down, it’s time for a gentle watering. Soggy soil is the enemy of successful propagation.
Aftercare & Troubleshooting
Once your cuttings have developed a good root system (you might see roots peeking out the drainage holes or feel resistance when you gently tug on a stem), you can treat them like a small, established plant. Continue to water when the soil is dry to the touch and place them in bright, indirect light.
The most common sign of trouble is rot. If your cuttings turn mushy and dark, or if the leaves start to yellow and fall off rapidly, it’s usually a sign of too much moisture. Unfortunately, if rot sets in, it’s hard to save them. The best solution is prevention: use well-draining soil, don’t overwater, and ensure good air circulation.
A Warm Encouraging Closing
Propagating plants is a wonderful way to connect with nature and fill your home with green friends. Don’t be discouraged if your first attempt isn’t perfect. Every gardener has a few “learning experiences”! Be patient, enjoy the process of watching new life emerge, and celebrate each tiny success. Happy propagating!
Resource:
https://identify.plantnet.org/k-world-flora/species/Cenchrus%20agrimonioides%20Trin./data