Oh, hello there! It’s wonderful to virtually sit down with you. I’ve been coaxing life out of the soil for two decades now, and there’s a special kind of joy I get from sharing those little victories with fellow plant lovers. Today, we’re going to talk about a truly delightful grass, Capillipedium assimile.
The Whisper of the Wind: Why Capillipedium assimile is a Gem Worth Multiplying
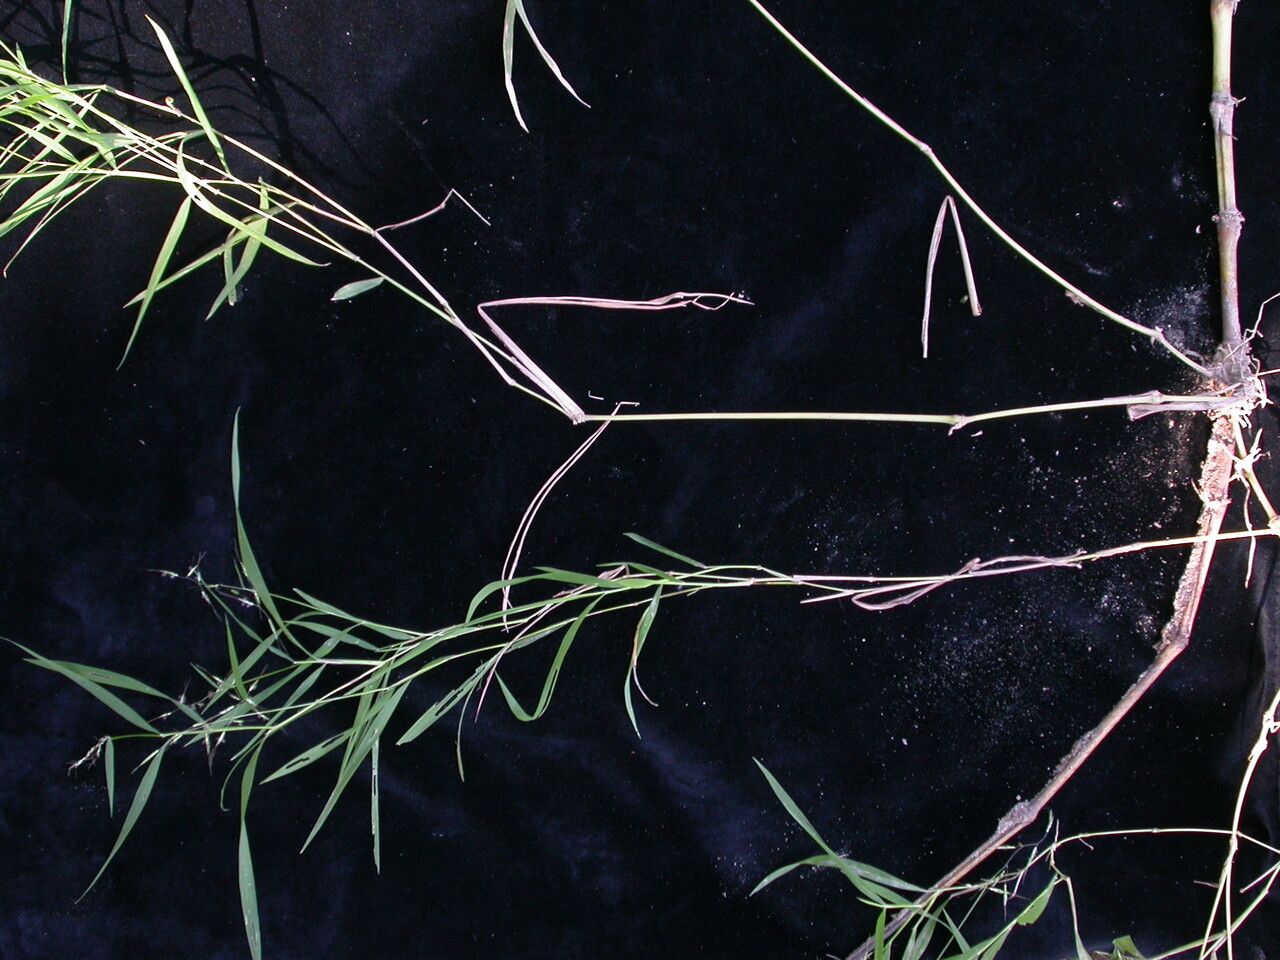
This graceful grass, with its delicate plumes and lovely airy texture, brings such a calming presence to any garden. It sways with the slightest breeze, adding movement and a touch of wild beauty. If you’re looking for a plant that offers understated elegance, you’ve found a winner. Now, I’ll be honest, Capillipedium assimile isn’t the absolute easiest plant for a complete beginner to propagate, but with a little patience and the right approach, it’s absolutely achievable. Think of it as a rewarding challenge that you’ll be proud to master.
When the Sap is Rising: The Best Time to Start
For Capillipedium assimile, your best bet is to propagate in late spring or early summer. This is when the plant is in its active growing phase. You can tell because you’ll see new, vibrant shoots emerging from the base. Taking cuttings or dividing at this time gives them the longest growing season to establish themselves before any potential cooler weather arrives.
What You’ll Need to Get Started
Gathering your supplies beforehand makes the whole process so much smoother. Here’s what I always have on hand:
- Sharp Pruning Shears or a Craft Knife: Cleanliness is key to preventing disease.
- Rooting Hormone (Optional, but Recommended): This really encourages faster root development. Look for a powdered form specifically for stem cuttings.
- Propagating Mix: A light, well-draining blend is crucial. I like a mix of equal parts perlite and seed-starting or coco coir.
- Small Pots or Seedling Trays: Clean ones, of course!
- Watering Can with a Fine Rose: Gentle watering is important.
- Clear Plastic Bag or Propagator Lid: To create a humid environment.
- Soft Brush (for dust/debris): To gently clean your cuttings.
- Labels: So you don’t forget what you planted where!
Bringing New Life: Propagation Methods
Capillipedium assimile can be propagated by both stem cuttings and division. Both are effective, and I often use both depending on what I’m working with.
Stem Cuttings
This is my go-to for increasing my numbers quickly.
- Select Your Cuttings: Look for healthy, non-flowering stems. Choose pieces that are at least 4-6 inches long. They should have several nodes (the small bumps where leaves emerge).
- Make the Cut: Using your sharp shears or knife, make a clean cut just below a node. This is where the magic of root formation often begins.
- Prepare the Cutting: Gently remove the lower leaves, leaving just the top few to provide energy for the cutting. If the leaves are large, you can even cut them in half to reduce water loss.
- Apply Rooting Hormone: Dip the cut end into the rooting hormone powder, tapping off any excess. This isn’t strictly necessary, but it really does give your cuttings a boost.
- Plant Your Cuttings: Fill your clean pots or trays with your propagating mix. Make a small hole in the center with your finger or a pencil. Carefully insert the cut end of the stem into the hole.
- Firm the Soil: Gently firm the soil around the cutting to ensure good contact.
- Water Gently: Water the mix thoroughly but gently. You don’t want to disturb the cuttings.
Division
This is a fantastic method if you have an established clump of Capillipedium assimile that’s getting a bit crowded.
- Prepare the Plant: Water the parent plant the day before you plan to divide it. This helps the soil stay together and reduces stress.
- Lift the Clump: Carefully dig around the clump with your spade or trowel and gently lift it from the ground.
- Separate the Divisions: You can often break the clump apart with your hands. If it’s a bit stubborn, use two forks with their tines facing each other, working them into the center of the clump to gently pull it apart. Each division should have a good amount of roots and some healthy foliage.
- Trim Damaged Roots: Trim off any really damaged or mushy roots.
- Replant: Plant your divisions in pots with fresh, well-draining soil or back into the garden, giving them enough space to grow. Water them in well.
The “Secret Sauce”: My Insider Tips
After years of trial and error, I’ve learned a few tricks that really make a difference.
- The Humidity Dome is Your Friend: Once your cuttings are planted, I like to pop them into a clear plastic bag or cover them with a propagator lid. This creates a mini greenhouse, keeping humidity high, which is crucial for them to develop roots before they can take up water through their roots. Just make sure the leaves aren’t directly touching the sides of the bag or lid, as this can encourage rot. I often use small stakes to hold the bag away from the foliage.
- Bottom Heat is a Game Changer: If you’re serious about propagation and want to speed things up, investing in a heated propagator mat can be wonderful. Capillipedium assimile loves a bit of warmth from below. It encourages root development much more rapidly than ambient room temperature alone.
Giving Them the Best Start: Aftercare & Troubleshooting
Once your cuttings are planted and tucked into their humid environment, patience is your greatest tool. Keep the soil consistently moist but not waterlogged. You should start seeing signs of new growth within a few weeks to a couple of months.
The first sign of success is usually new leaf growth appearing from the tips or the base of a cutting. For divisions, you’ll see them firming up and looking more vigorous.
Now, things can go wrong, and that’s okay! The most common issue is rot. If you see your cuttings turning black and mushy, it’s usually a sign of too much moisture combined with poor air circulation. Make sure your soil mix is draining well and gently remove any rotting material. If you’ve covered your cuttings, you might need to open the bag or lid for a few hours each day to allow for some air exchange.
Keep Growing!
Propagating Capillipedium assimile is a beautiful way to expand your garden and share its charm. Don’t be discouraged if your first few attempts aren’t perfect. Every gardener has lost a cutting or two (or more!). The important thing is to keep learning, keep trying, and most importantly, enjoy the process of nurturing new life. Happy gardening!
Resource: