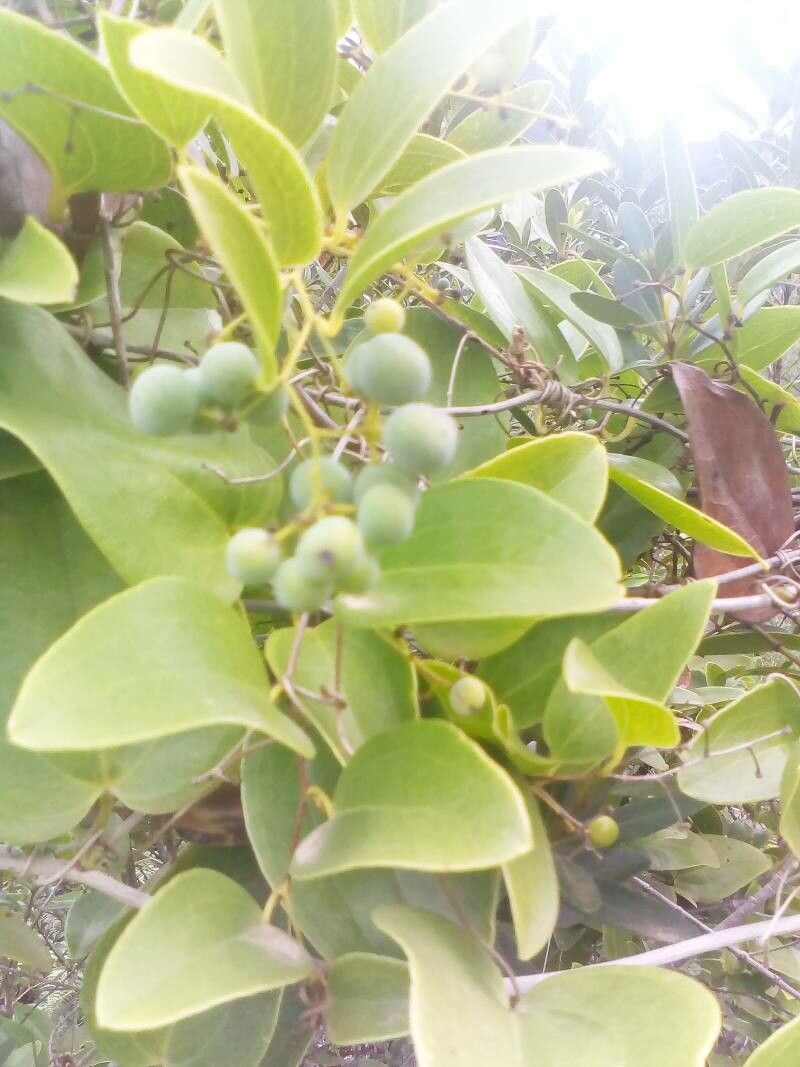
Hello fellow plant lovers! Have you ever found yourself captivated by the cascading elegance of Smilax purpurata, also known as Wild Sarsaparilla? Its leathery, heart-shaped leaves and charming clusters of berries make it a delightful addition to any garden, especially those aiming for a wilder, more naturalistic feel. Propagating it yourself is incredibly satisfying. It’s not the trickiest plant to propagate, but it does reward a little patience and attention to detail. Let’s dive in!
The Best Time to Start
For most gardeners, late spring to early summer is your golden window for propagating Smilax purpurata. This is when the plant is actively growing, and most energized. Softwood cuttings taken during this time have the best chance of rooting. You can also have success with semi-hardwood cuttings a little later in the season, as the new growth begins to firm up.
Supplies You’ll Need
- Sharp pruning shears or a clean, sharp knife: Essential for making clean cuts.
- Rooting hormone powder or gel: While not strictly necessary for all Smilax, it can definitely give your cuttings a helpful boost.
- Well-draining potting mix: A good blend is often equal parts peat moss or coco coir, perlite, and coarse sand. This keeps things airy and avoids soggy roots.
- Small pots or seed trays: With drainage holes, of course!
- Plastic bags or a propagation dome: To create a humid environment.
- Watering can with a fine rose: For gentle watering.
- Labels and a permanent marker: Because you will forget which cutting is which!
Propagation Methods
I find stem cuttings to be the most reliable method for Smilax purpurata. Here’s how I do it:
- Take Your Cuttings: When your Smilax is actively growing in late spring or early summer, select healthy, vigorous stems. Look for new growth that is flexible but not completely floppy. Use your sharp shears to cut a section about 4-6 inches long. Make your cut just below a leaf node (where a leaf attaches to the stem).
- Prepare the Cuttings: Gently remove the lower leaves from your cutting, leaving just a few at the top. This prevents them from rotting in the soil. If you’re using rooting hormone, dip the cut end into the powder or gel, tapping off any excess.
- Plant Your Cuttings: Fill your small pots or trays with your well-draining potting mix. Make a small hole in the center of the mix with your finger or a pencil. Carefully insert the cut end of the stem into the hole, ensuring the prepared end is fully in contact with the soil. Gently firm the soil around the stem.
- Create Humidity: Water the soil gently until it’s moist but not waterlogged. Then, cover the pot or tray with a plastic bag or a propagation dome. This traps moisture and creates the humid microclimate cuttings need to root.
If you’re feeling adventurous, water propagation can also work, though it’s a bit more hit-or-miss for this particular plant. Simply place your prepared cuttings in a jar of water, ensuring no leaves are submerged. Change the water every few days and place it in bright, indirect light. Once you see a good root system forming, you can transplant them into soil.
The “Secret Sauce” (Pro Tips)
Here are a few little tricks I’ve picked up over the years that I think make a difference:
- Cleanliness is Key: Always use sterilized tools! This might seem obvious, but it significantly reduces the risk of fungal diseases or rot taking hold of your precious cuttings. A quick wipe with rubbing alcohol does wonders.
- Bottom Heat is Your Friend: If you have a heat mat designed for propagation, use it! A gentle warmth from below can really speed up root development. Just place your potted cuttings on top of the mat.
- Patience with the Leaves: When rooting in water, it bears repeating: don’t let the leaves touch the water. Even a single submerged leaf can quickly turn mushy and encourage rot, which can travel down to the cutting itself.
Aftercare & Troubleshooting
Once your cuttings have been planted, the waiting game begins! Keep them in a bright spot with indirect light. Check the soil moisture regularly and water as needed, always aiming for consistently moist, but not soggy, conditions. You’ll know your cuttings have rooted when you see new leaf growth, or when they resist gently being tugged.
The biggest challenge you’ll face is rot. If you notice the stem turning black and mushy, or the leaves wilting and yellowing without drying out, it’s a sign of too much moisture and not enough air circulation. If this happens, try to remove the affected cutting immediately to prevent it from spreading. You might need to slightly adjust your watering schedule or increase ventilation.
A Little Nurturing for New Beginnings
Propagating Smilax purpurata is a wonderful way to expand your garden and share this lovely vine with friends. It takes a bit of patience, yes. But watching those tiny roots emerge and feeling the thrill of success is truly rewarding. So gather your supplies, pick a sunny spot, and give it a go. Happy propagating!
Resource:
https://identify.plantnet.org/k-world-flora/species/Smilax%20purpurata%20G.Forst./data