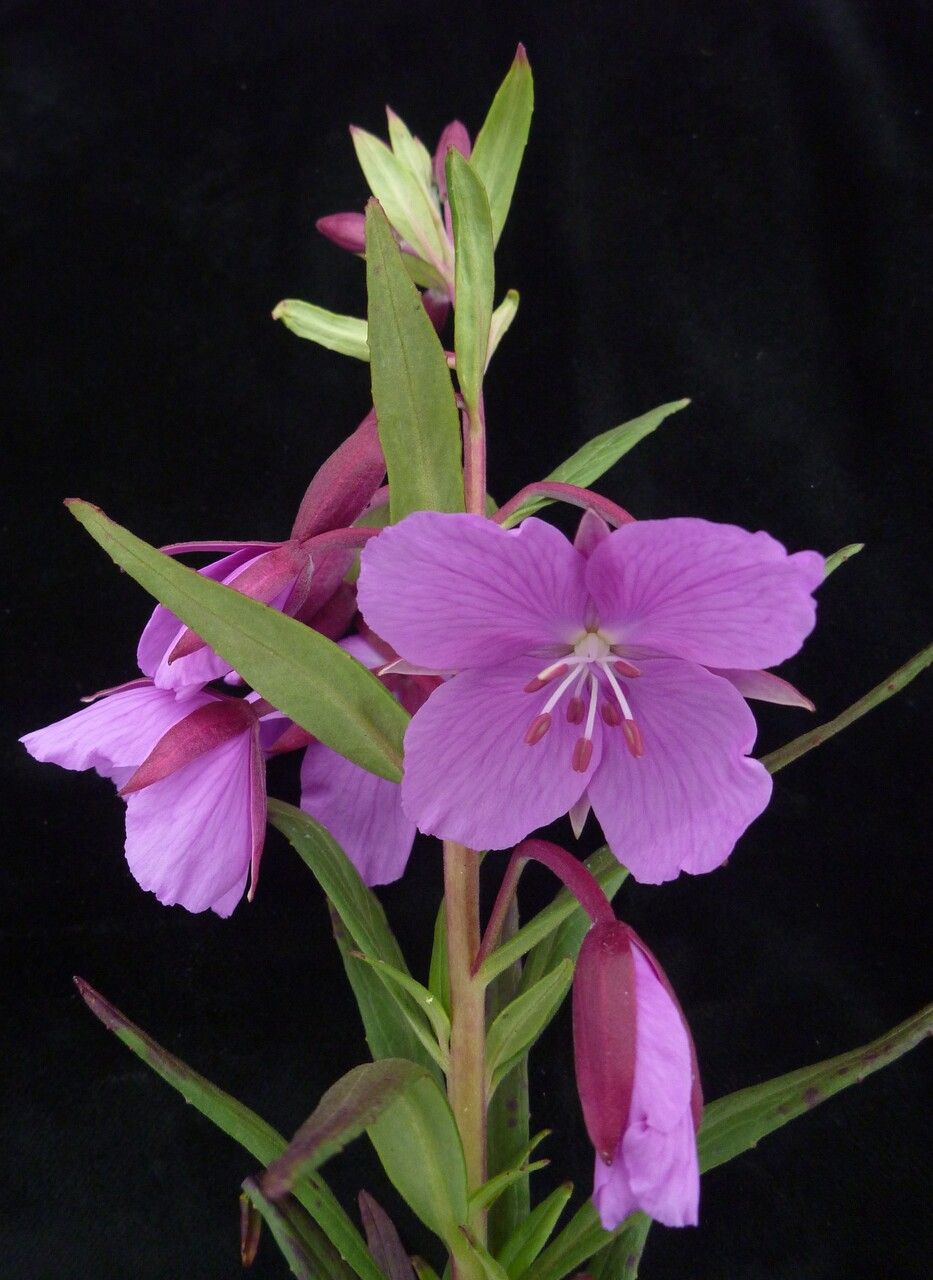
Hello, fellow garden lovers! Today, we’re diving into the enchanting world of Epilobium speciosum, also known as the Hawaiian Fuchsia. This beauty, with its vibrant, bell-shaped blooms that cascade with such grace, is an absolute showstopper. I’ve spent years marveling at its ability to brighten up any shady corner. Propagating it, bringing more of that magic into your garden, is a deeply satisfying endeavor. For those just starting out, I’d say Epilobium speciosum is moderately easy to propagate – a delightful challenge that’s most certainly achievable!
The Best Time to Start
When it comes to getting new Epilobium speciosum plants going, I’ve found that the late spring to early summer is your sweet spot. This is when the plant is actively growing, bursting with energy. You’re looking for new, non-woody growth – soft stems that bend easily rather than snap. These are the most receptive to rooting. Avoid taking cuttings from old, woody stems or from right after flowering; the plant needs that energy for itself then.
Supplies You’ll Need
Before we get our hands dirty, let’s gather our tools. Having everything ready makes the process so much smoother:
- Sharp, clean pruning shears or a sharp knife: Disinfect them with rubbing alcohol to prevent disease.
- Rooting hormone (optional but recommended): A powder or liquid can significantly boost your success rate.
- Small pots or seedling trays: Ensure they have drainage holes.
- A good potting mix: I prefer a blend of equal parts peat moss or coco coir, perlite, and a bit of compost. This mix offers excellent drainage and aeration.
- Watering can or spray bottle: For gentle watering.
- Plastic bags or a clear dome: To create a humid environment for your cuttings.
- Gravel or pebbles (for water propagation): If you choose that method.
Propagation Methods
There are a couple of ways to get more Epilobium speciosum plants. I find stem cuttings to be the most reliable, but water propagation is also quite rewarding.
Stem Cuttings: My Go-To Method
- Take Your Cuttings: Select healthy stems and make 4-6 inch long cuttings. Cut just below a leaf node (where a leaf attaches to the stem). Remove the lower leaves, leaving just 2-3 at the top. This reduces water loss and prevents leaves from rotting in the soil.
- Prepare for Rooting: If you’re using rooting hormone, lightly dampen the cut end of the stem and dip it into the powder or solution, tapping off any excess.
- Plant Your Cuttings: Fill your small pots with the prepared potting mix. Make a hole with your finger or a pencil, and gently insert the cut end of the stem, ensuring the leaf nodes are below the soil surface.
- Water Gently: Water well, but don’t soak the soil. You want it moist but not waterlogged.
- Create Humidity: Cover the pot with a clear plastic bag or a propagation dome. This creates a mini-greenhouse, keeping the humidity high, which is crucial for cuttings to root. Secure the bag around the pot with a rubber band.
- Find a Sunny Spot: Place the pots in a bright location that receives indirect sunlight. Direct sun will scorch the delicate cuttings.
Water Propagation: A Watchful Eye
- Prepare Your Cuttings: Similar to stem cuttings, take 4-6 inch cuttings, removing the lower leaves.
- Place in Water: Fill a clean jar or glass with fresh water. You can add a few small pebbles to the bottom to help keep the cuttings upright.
- Submerge Just the Stems: Make sure only the leafless portion of the stem is submerged in the water. We don’t want any leaves touching the water, as this can lead to rot.
- Change Water Regularly: Change the water every few days to keep it fresh and prevent bacteria buildup.
- Bright, Indirect Light: Place the container in a bright spot with indirect sunlight.
- Watch for Roots: You should start seeing tiny white roots emerge from the nodes within a few weeks. Once the roots are about an inch long, it’s time to move them to a pot.
The “Secret Sauce” (Pro Tips)
Here are a couple of things I’ve learned that really make a difference:
- The Power of Bottom Heat: If you have a heat mat designed for propagation, use it! Applying gentle bottom heat to your pots encourages faster root development. It’s like giving those developing roots a warm hug to get them going.
- Don’t Be Afraid to Prune: Once your cuttings have rooted and you’ve transplanted them into their own pots, pinch back the tips of the new growth. This encourages the plant to branch out and become bushier, rather than just growing tall and leggy.
Aftercare & Troubleshooting
Once you see signs of new leaf growth on your cuttings, that’s usually a good indicator that roots have formed. At this point, you can gradually acclimate them to normal room humidity by opening the plastic bag slowly over a few days. If you used water propagation, gently plant your rooted cuttings into pots with your soil mix. Water them well and continue to keep them in bright, indirect light.
The most common issue you might encounter is rot. If your cuttings look mushy, discolored, or start to fall apart, it’s usually a sign of too much moisture and not enough air circulation. Ensure your soil drains well, and if you’re using a plastic bag, open it up for a few hours a day to let the air circulate. If it’s water propagation, make sure you’re changing the water consistently and that no leaves are submerged.
Happy Propagating!
Creating new life from an existing plant is one of the most rewarding aspects of gardening. Be patient with your Epilobium speciosum cuttings. Some may take longer than others, and not every single one will be a success, and that’s perfectly okay! The journey of learning and watching those first tiny roots appear is a joy in itself. So go ahead, gather your supplies, and happy propagating!
Resource:
https://identify.plantnet.org/k-world-flora/species/Epilobium%20speciosum%20Decne./data