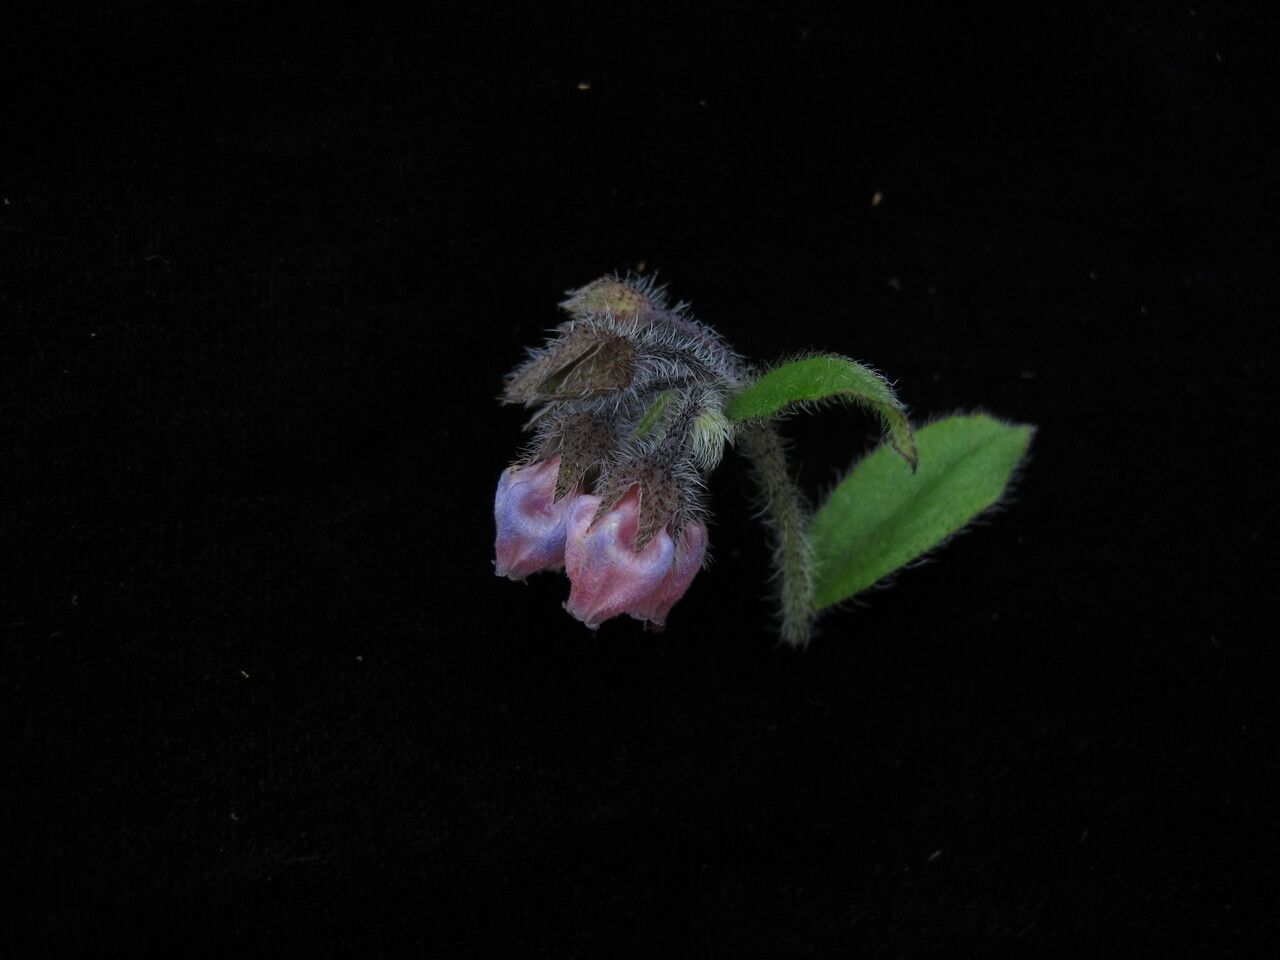
Oh, hello there! Pull up a chair and let’s chat about a truly special plant: Maharanga emodi. You know, the one with those striking, architectural leaves that look like something out of a prehistoric jungle? It’s such a joy to have in the garden or even as a dramatic houseplant. And the best part? It’s surprisingly rewarding to multiply! If you’ve ever admired its presence and wished for more, you’re in for a treat. We can absolutely coax new life from an existing beauty. For beginners, I’d say Maharanga emodi is moderately easy to propagate. It’s not as foolproof as, say, a pothos, but with a little attention to detail, you’ll be successful.
The Best Time to Start
When it comes to Maharanga emodi, spring and early summer are your champions. This is when the plant is bursting with energy and new growth. Hormones are flowing, making it more receptive to rooting. I’ve had success with cuttings taken just as the weather begins to warm, but waiting until new shoots are clearly emerging and actively growing will give you the best chance.
Supplies You’ll Need
Gathering your tools beforehand makes the whole process smooth sailing. Here’s what I usually have on hand:
- Sharp, clean pruning shears or a knife: We want to make clean cuts to prevent damage and disease.
- Rooting hormone (optional but recommended): A little boost can work wonders. Look for one suitable for stem cuttings.
- Well-draining potting mix: A mix of perlite, coir, and a good quality potting soil is ideal. Some growers like adding a bit of coarse sand too, for extra aeration.
- Small pots or propagation trays: Whatever you have available, just make sure they have drainage holes.
- Clear plastic bag or a humidity dome: To keep the moisture levels high around your cuttings.
- Watering can with a fine rose: For gentle watering.
- Labels and a marker: Trust me, you’ll thank yourself later for labeling what you’ve done!
Propagation Methods
Maharanga emodi is most commonly propagated through stem cuttings. It’s a straightforward method that yields great results.
Here’s how I do it:
- Select Your Cuttings: Look for healthy, non-flowering stems that are at least six inches long. Ideally, they should have a few sets of leaves. You want wood that’s firm but not old and woody – think of a pencil’s thickness.
- Make the Cut: Using your sharp shears, make a clean cut just below a leaf node (where a leaf attaches to the stem). This is where roots are most likely to form.
- Prepare the Cutting: Gently remove the lower leaves from the bottom half of the stem. This prevents them from rotting when buried in the soil. You can leave a couple of leaves at the top, but you might even want to trim larger ones in half horizontally – this reduces water loss.
- Apply Rooting Hormone (Optional): Dip the cut end of the stem into your rooting hormone powder. Tap off any excess. This isn’t strictly necessary, but it can significantly speed up the rooting process.
- Plant Your Cuttings: Fill your pots or trays with your well-draining potting mix. Make a small hole in the center with your finger or a pencil. Insert the cut end of the stem into the hole, ensuring it’s deep enough to be stable, usually about an inch or two. Gently firm the soil around the cutting.
- Water Gently: Water the soil thoroughly until you see water draining from the bottom of the pot. You want the soil to be moist, but not soggy.
- Create a Humid Environment: This is crucial! Place a clear plastic bag over the pot, securing it with a rubber band, or use a propagation lid. This traps humidity, which is essential for cuttings to root before they can absorb water through roots. You can prop up the bag with a few small sticks to keep it from touching the leaves.
The “Secret Sauce” (Pro Tips)
After years of coaxing plants into new life, I’ve picked up a few tricks that make a difference:
- Bottom Heat is Your Friend: If you have it, place your pots on a seedling heat mat. This warmth encourages root development from below, giving your cuttings that extra push. It’s like giving them a warm hug from the soil up!
- Don’t Let Leaves Touch the Soil: This is a big one! If leaves from your cutting or neighboring cuttings are touching the damp soil, they’re far more prone to rotting. Regularly check and trim any leaves that are in danger.
- Air Circulation Matters (Once Rooted!): While you want high humidity before roots form, once you start seeing signs of new growth (a tiny leaf unfurling, or resistance when you gently tug), it’s time to gradually introduce air. Start by opening the bag for a few minutes each day, increasing the time slowly over a week or two. This helps the new plant adapt to a less humid environment and prevents fungal issues.
Aftercare & Troubleshooting
Once roots have started to form (you might see them peeking out the drainage holes, or the cutting will resist a gentle tug), it’s time to transition your new baby.
- Remove the Humidity Cover: Gradually acclimate your rooted cuttings to normal room humidity over a week or two.
- Watering: Water when the top inch of soil feels dry to the touch. Remember, they don’t have a massive root system yet, so don’t overwater.
- Light: Place your new plants in bright, indirect light. Direct sun can scorch young leaves.
Now, what if things don’t go as planned? The most common culprit is rot. If your cutting turns mushy, black, or smells foul, it’s probably rotted. This is usually due to:
- Too much moisture: The soil was too wet for too long.
- Poor drainage: Your soil mix wasn’t airy enough.
- Lack of air circulation: The humidity built up too much without enough airflow.
Don’t be discouraged if you lose a few cuttings! It happens to everyone. Just pull out the rotted ones, check your conditions, and try again.
A Encouraging Closing
Growing new plants is always a bit of an adventure, and Maharanga emodi is a delightful companion on that journey. Be patient, observe your cuttings, and don’t be afraid to experiment. The joy of seeing those first tiny roots emerge and a new leaf unfurl is truly unparalleled. Happy propagating, and may your efforts result in many more beautiful Maharanga emodi to share!
Resource:
https://identify.plantnet.org/k-world-flora/species/Maharanga%20emodi%20(Wall.)%20DC./data