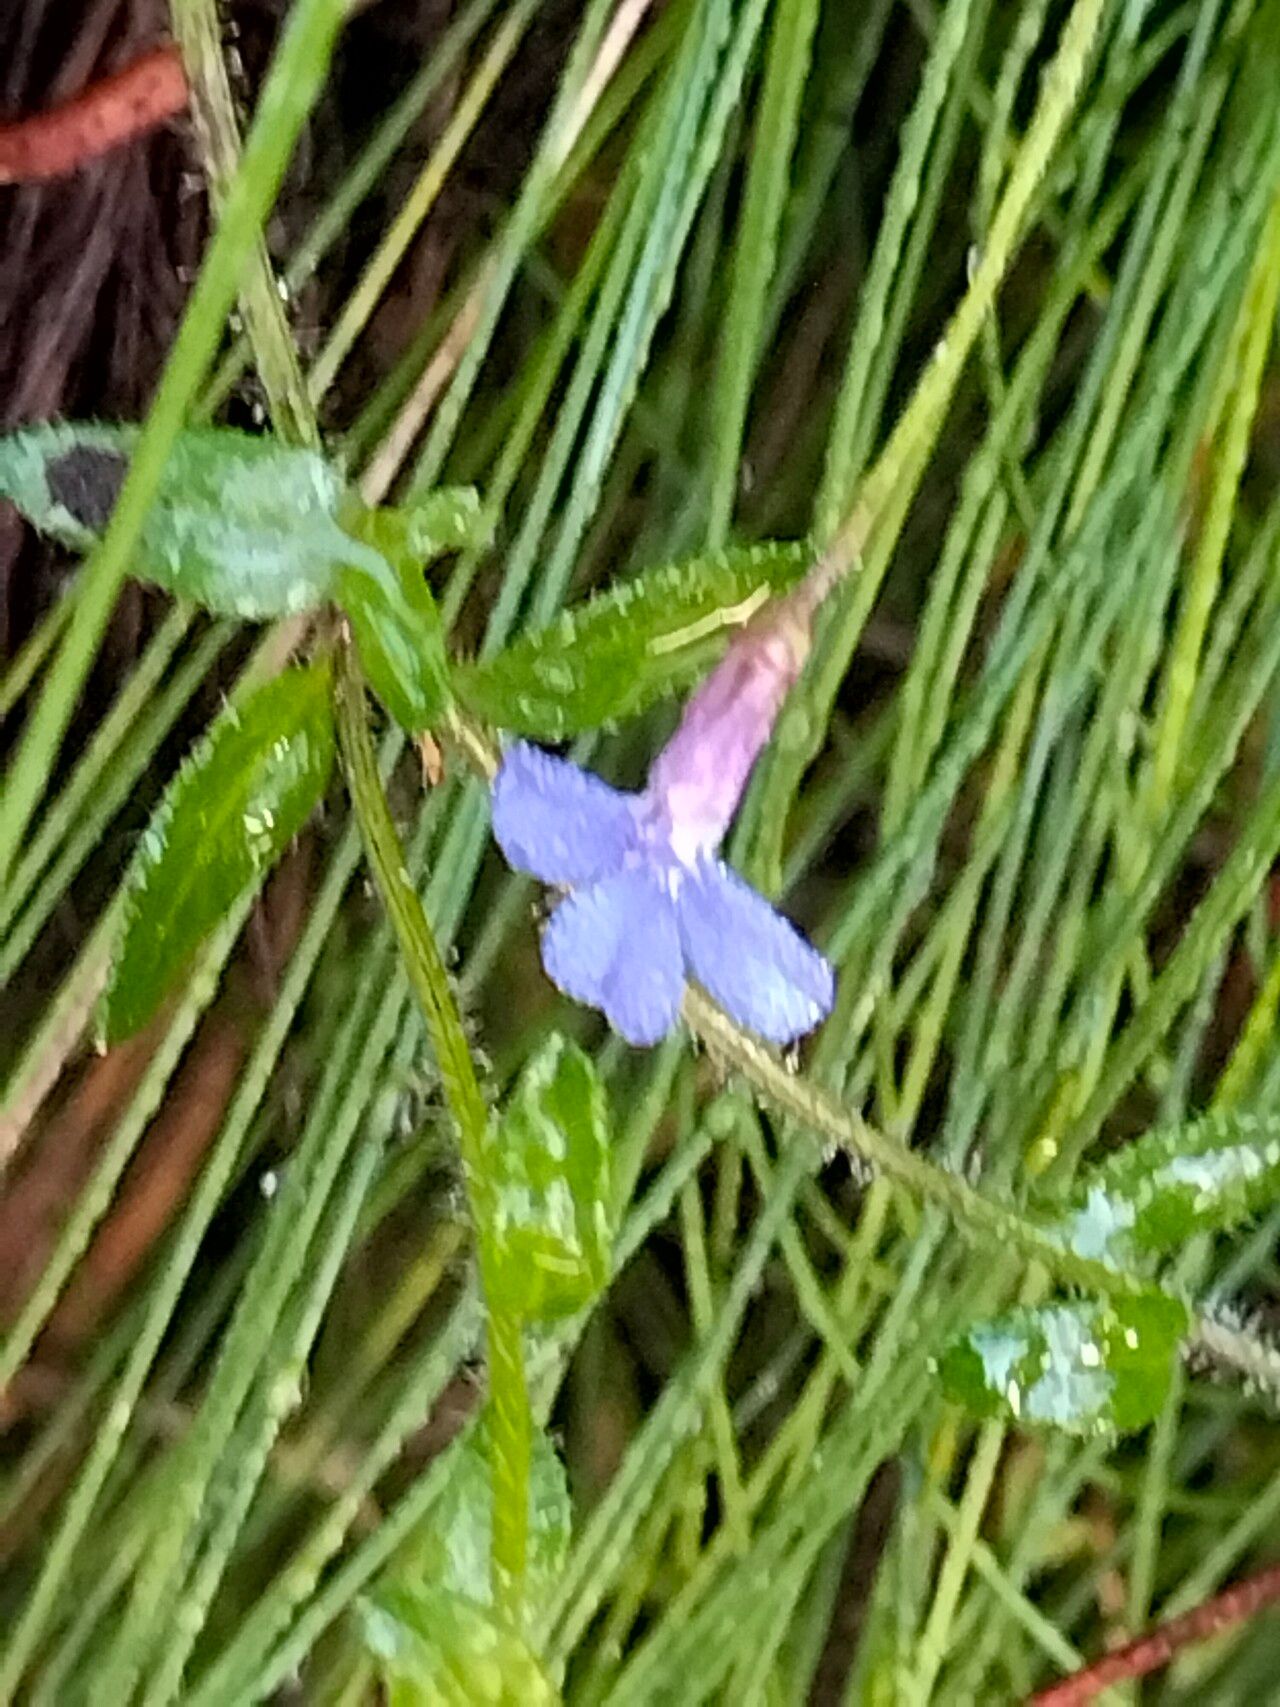
Oh, hello there! Come on in, grab a mug of something warm. You know, I’ve always had a soft spot for Lobelia neglecta. There’s something so charming about those delicate, often electric blue, flowers. They just add this wonderful splash of color to the garden, especially when they cascade over a wall or tumble out of a hanging basket. And the best part? It’s incredibly rewarding to grow more of them yourself! Many gardeners find Lobelia neglecta quite approachable, even if you’re just starting out with propagation.
The Best Time to Start
For Lobelia, I find that early to mid-spring is your sweet spot. This is when the plant is really waking up and has that vibrant, new growth that’s perfect for taking cuttings. Aim for when you see fresh, green shoots emerging but before the plant gets too woody or starts thinking about flowering. Summer can also work, but you might find less vigorous growth then.
Supplies You’ll Need
Here’s what I like to have on hand before I get my hands dirty:
- Sharp pruning shears or a clean knife: For making neat cuts.
- Potting mix: A light, well-draining mix is key. I often use a blend of peat moss, perlite, and a little bit of compost. You can even find seed-starting mixes that work beautifully.
- Small pots or trays: Clean containers are essential to prevent disease.
- Rooting hormone (optional but helpful): This encourages faster and stronger root development.
- Watering can with a fine rose: To water gently without disturbing new cuttings.
- Plastic bag or propagator lid: To create a humid environment.
- Labels: So you don’t forget what you’ve planted!
Propagation Methods
Let’s get these little beauties started!
1. Stem Cuttings: My Go-To Method
This is usually the most successful for getting a good number of new plants.
- Taking the Cuttings: In spring, look for healthy, non-flowering shoots. Using your sharp shears, take cuttings about 3-4 inches long. Make the cut just below a leaf node (where a leaf joins the stem).
- Preparing the Cuttings: Gently remove the leaves from the bottom half of each cutting. If you have larger leaves, you can even cut them in half to reduce water loss.
- Applying Rooting Hormone: Dip the cut end of each stem into rooting hormone, tapping off any excess. This step really gives them a helping hand.
- Planting the Cuttings: Fill your small pots with the light potting mix. Make a small hole with a pencil or your finger and insert the cuttings, ensuring the leaf nodes are buried. Gently firm the soil around them.
- Creating Humidity: Water the soil lightly. Then, cover the pots with a plastic bag or propagator lid. This trap’s moisture and creates the humid environment cuttings crave. Place the pots in a bright spot, but out of direct sunlight.
2. Water Propagation: A Visual Treat
This method is less common for Lobelia, as they can be a bit finicky, but it’s fun to watch!
- Taking Cuttings: Similar to stem cuttings, take 3-4 inch cuttings from healthy, non-flowering stems. Remove the lower leaves.
- Placing in Water: Put the cuttings in a clean jar or glass of water. Make sure no leaves are submerged below the water line.
- Location: Keep them in a bright spot away from direct sun.
- Changing Water: Change the water every few days to keep it fresh and prevent rot. You’ll start to see little roots emerging from the nodes.
- Potting Up: Once the roots are about an inch long, carefully transplant them into pots with your prepared potting mix. They can be a bit shocky at first, so keep the soil consistently moist.
The “Secret Sauce” (Pro Tips)
After years of playing around with these lovely plants, I’ve picked up a few tricks:
- Bottom Heat is Your Friend: If you’re serious about speed, using a heated propagator mat under your pots can make a HUGE difference. It encourages faster root development, especially if your house tends to be on the cooler side.
- Don’t Drown Them in Doubts (or Water!): While they need humidity, soggy soil is the enemy. If it feels like a swamp, your cuttings are more likely to rot than root. Ensure your pots have good drainage, and only water when the top inch of soil feels dry.
- Watch for the Lean: Sometimes, if a cutting is struggling, it might start to lean over. This doesn’t always mean it’s a lost cause, but keep a close eye on it. Sometimes a gentle repotting or a fresh mist can perk them up.
Aftercare & Troubleshooting
Once you see signs of new growth peeking out from the soil, that’s your cue that roots have formed!
- Acclimatizing: Gradually remove the plastic bag or propagator lid over a week or so. This helps the new plants get used to normal humidity levels.
- Watering: Continue to water them consistently, but let the top layer of soil dry slightly between waterings.
- Feeding: Once they have a few true leaves and are actively growing, you can start feeding them with a diluted liquid fertilizer.
- Signs of Trouble: The biggest issue you’ll likely encounter is rot. If a cutting looks black and mushy, it’s usually a goner. This is often due to overwatering or poor air circulation. If you see a plant wilting even when the soil is moist, it might be a sign of root rot, which can be tricky to recover from.
A Encouraging Closing
So there you have it! Propagating Lobelia neglecta is a wonderfully accessible way to fill your garden with more of that delightful blue. Don’t be discouraged if your first few attempts aren’t perfect – gardening is all about learning and experimenting. Just be patient, enjoy the process, and soon you’ll be admiring your own homegrown treasures. Happy gardening!
Resource:
https://identify.plantnet.org/k-world-flora/species/Lobelia%20neglecta%20Schult./data