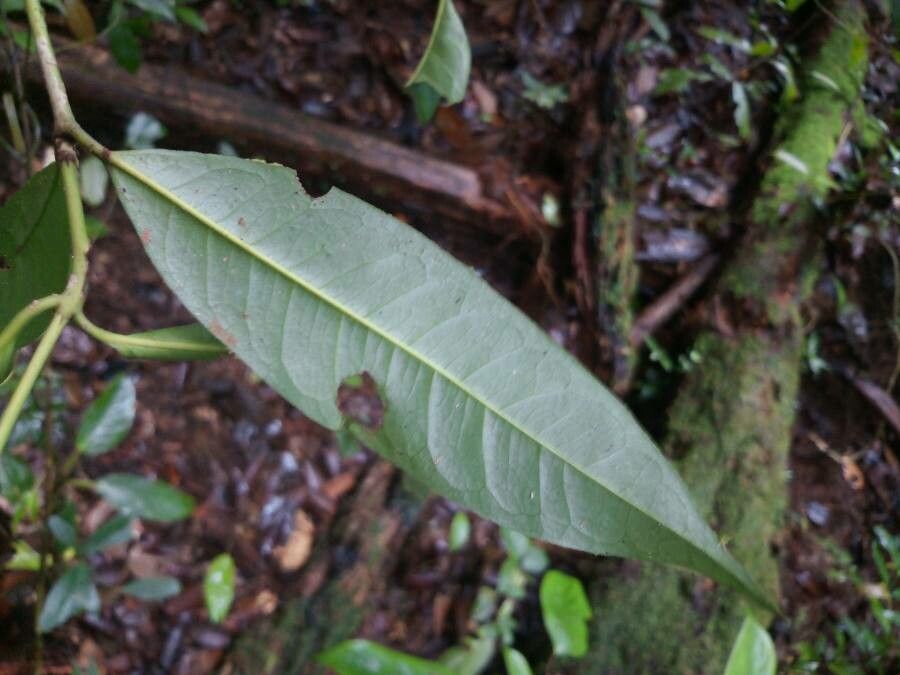
Oh, hello there! Come on in and pull up a chair. It’s so lovely to have you here. Today, we’re diving into the wonderful world of Ixora ferrea propagation. If you’ve ever admired those vibrant, fiery blooms on their glossy, deep green leaves, you’re not alone. They truly are showstoppers! And the joy of coaxing a brand new ixora into existence from a humble cutting? Honestly, it’s one of the most satisfying feelings a gardener can experience. Now, I won’t lie and say ixora is as foolproof as a pothos for absolute beginners, but with a little care and attention, it’s more than achievable. Think of it as a delightful little challenge that rewards your efforts tenfold.
The Best Time to Start
My favorite time to take cuttings is when the plant is actively growing, usually in the late spring or early summer. You want to see new, but not super soft, growth. This is when the plant has plenty of energy to put into developing new roots. Avoid taking cuttings from flowering stems or from very old, woody bits. Think of it as asking the plant for a healthy “baby” that’s ready to grow.
Supplies You’ll Need
Getting your supplies ready beforehand makes the whole process smooth sailing. Here’s what I always have on hand:
- Sharp, clean pruning shears or a razor blade: Crucial for a clean cut to prevent disease.
- Rooting hormone (optional but recommended): A little powder or gel can significantly boost your success rate. Look for one that contains IBA.
- Well-draining potting mix: A good blend of peat moss, perlite, and vermiculite works wonders. A mix designed for cuttings or succulents is also a great option.
- Small pots or seed trays: Clean ones, of course!
- Plastic bags or a clear plastic dome: To create a humid environment.
- Watering can with a fine rose or mister: For gentle watering.
- Labels and a permanent marker: So you can remember what you planted and when!
Propagation Methods
For Ixora ferrea, stem cuttings are generally the most successful and straightforward method here.
- Select Your Cuttings: Look for healthy, semi-hardwood stems that are about 4-6 inches long. You want stems that have finished their initial flush of very soft new growth but are still flexible, not brittle. Gently snap a stem; if it bends without breaking cleanly, it’s likely a good candidate.
- Make the Cut: Using your sharp pruning shears or razor blade, make a clean cut just below a leaf node (where a leaf attaches to the stem). This is where roots are most likely to form.
- Prepare the Cuttings: Carefully remove the lower leaves, leaving just the top two or three leaves. If the remaining leaves are very large, you can even cut them in half horizontally to reduce water loss through transpiration.
- Apply Rooting Hormone (Optional): Dip the cut end of the stem into your rooting hormone, tapping off any excess. This creates a good surface for root development.
- Plant the Cuttings: Moisten your potting mix slightly. Make a small hole in the mix with a pencil or your finger, and gently insert the cutting, ensuring the leaf nodes are below the surface. Firm the soil gently around the base of the cutting.
- Create a Humid Environment: Water the soil gently until it’s evenly moist but not soggy. Then, cover the pots with a plastic bag, securing it around the pot with a rubber band, or place a clear plastic dome over your cuttings. Make sure the plastic doesn’t touch the leaves if possible.
The “Secret Sauce” (Pro Tips)
Here are a couple of things that have really made a difference for me over the years with ixora:
- Don’t Let the Leaves Touch the Water (in Water Propagation): While I primarily recommend soil cuttings for ixora, if you do try water propagation, never let the leaves submerge in the water. They’ll rot very quickly. Only the stem should be in the water.
- Bottom Heat is Your Friend: Ixora roots really appreciate a bit of warmth. Placing your pots on a heat mat designed for seedlings can dramatically speed up root formation. It’s like giving your little cuttings a cozy, warm hug.
- Patience is a Virtue, and So is Air Circulation: Once you’ve got your cuttings covered, resist the urge to peek and prod constantly. Ventilate occasionally by lifting the plastic bag or dome for an hour or so every couple of days to prevent fungal issues.
Aftercare & Troubleshooting
Once you see tiny white root nubs peeking out from the drainage holes, or if you gently tug on a cutting and feel resistance, your ixora has rooted! Now it’s time for continued care.
- Acclimatization: Gradually remove the plastic cover over a week or two. Start with a few hours a day, then increase the time until the cutting is used to normal household humidity.
- Light: Place your new plants in a bright spot, but avoid direct, harsh sunlight initially. A few hours of gentle morning sun is ideal.
- Watering: Water when the top inch of soil feels dry. Ixora doesn’t like to be waterlogged, so good drainage is key.
- Troubleshooting: The most common issue you’ll face is rot, often due to overwatering or poor air circulation. If a cutting turns black and mushy, it’s succumbed. Remove it immediately to prevent it from affecting others. Yellowing leaves can sometimes indicate too much or too little water, or not enough light. Don’t give up – every cutting is a learning experience!
A Little Encouragement
There you have it! Propagating Ixora ferrea is a rewarding journey. Be patient, observe your little cuttings closely, and don’t be discouraged if not every single one makes it. The process itself is half the fun. Happy propagating, and may your new ixoras bloom beautifully!
Resource:
https://identify.plantnet.org/k-world-flora/species/Ixora%20ferrea%20(Jacq.)%20Benth./data