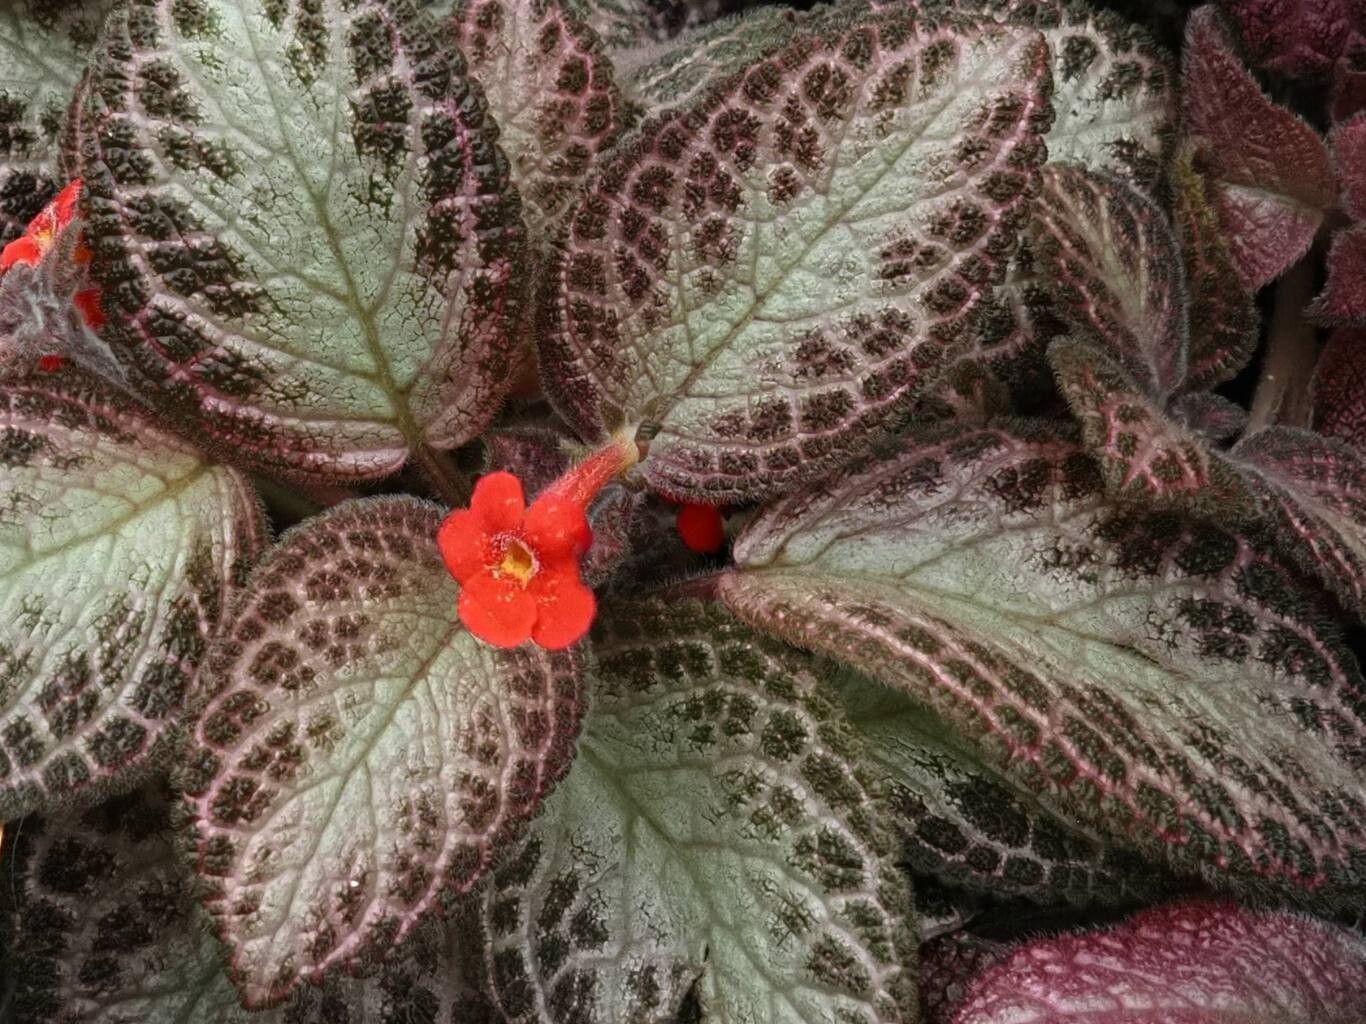
Hello fellow plant lovers! Today, we’re diving into the wonderful world of African Violets’ glamorous cousins, the Epicias, specifically Episcia cupreata. If you’ve ever admired their velvety, often metallic-sheened leaves and delicate, tubular flowers, you’re not alone. These beauties are truly captivating, and the joy of creating more of them from just one is a seriously rewarding part of gardening. Good news for those just starting out: propagating Episcia cupreata is quite forgiving! You’ll likely have plenty of success, even if you’re new to the plant parent game.
The Best Time to Start
For the most vigorous growth and quickest rooting, I find that spring and early summer are your absolute best friends when it comes to propagating Episcia cupreata. The days are longer, the light is generally brighter, and the plant is in its natural growing season, meaning it’s putting out lots of energy. You can certainly try at other times, but you might find it a bit slower going.
Supplies You’ll Need
Gathering your tools before you begin always makes the process smoother. Here’s what I like to have on hand:
- Sharp Pruning Shears or a Clean Knife: For making clean cuts.
- Small Pots or Seedling Trays: Clean ones are key to preventing disease.
- Well-Draining Potting Mix: A blend of peat moss, perlite, and a little bit of vermiculite works wonders. You can also use a good general houseplant mix amended with extra perlite.
- Rooting Hormone (Optional but Recommended): A powdery or gel form helps speed things up.
- Plastic Bags or a Clear Dome: To create a humid environment.
- Watering Can with a Fine Rose or Spray Bottle: For gentle watering.
- Labels and a Marker: To keep track of what you’ve propagated!
Propagation Methods
There are a couple of tried-and-true ways to get more Episcia cupreata plants. My personal favorite is stem cuttings, but division is also a great option for a mature plant.
Stem Cuttings (My Go-To!)
This is how I multiply my collection most often. It’s straightforward and usually yields fast results.
- Identify Healthy Runners: Look for those long, trailing stems (called stolons or runners) that grow from the base of your mother plant. You’ll often see tiny baby plants forming at the tips.
- Make the Cut: Using your sharp pruning shears or knife, cut a healthy runner about 1-2 inches below a node. A node is where a leaf attaches to the stem. You want to include at least one or two leaves on your cutting.
- Prepare the Cutting: Gently remove any lower leaves that might end up below the soil line. If you’re using rooting hormone, dip the cut end into it, tapping off any excess.
- Plant Your Cutting: Fill your small pot or seedling tray with your prepared potting mix. Make a little hole with your finger or a pencil and insert the cut end of the stem. Gently firm the soil around the cutting to ensure it has good contact.
- Create a Humid Environment: Water the soil lightly. Then, cover the pot with a plastic bag or a clear dome. This traps moisture and helps the cutting stay hydrated while it forms roots. Make sure the leaves don’t touch the plastic if possible.
Division
If your Episcia has become a bit of a clump, dividing it is a fantastic way to get multiple new plants.
- Gently Remove from Pot: Ease your Episcia plant out of its current pot.
- Inspect the Root Ball: Look for natural divisions within the plant. You’ll often see separate crowns (the growth point where leaves emerge).
- Separate the Divisions: Use your fingers or a clean knife to carefully separate the root ball into smaller sections. Try to ensure each section has a good amount of roots and at least one or two healthy leaves.
- Pot Up: Pot each division into its own small pot filled with your well-draining potting mix. Water gently to settle the soil.
The “Secret Sauce” (Pro Tips)
Here are a couple of things I’ve learned that make a big difference:
- Don’t Let Leaves Touch the Water: If you’re water propagating (which you can do with Episcia, though I find soil is generally easier for them), it’s crucial that no leaves are submerged in the water. Leaves will rot very quickly if they’re constantly wet, and that’s how you lose your cutting.
- Bottom Heat is Your Friend! Episcia really loves warmth. Placing your pots on a heating mat (the kind used for seedlings) can dramatically speed up rooting. It mimics the cozy temperatures they’d experience in their natural habitat.
Aftercare & Troubleshooting
Once your cuttings have developed a good root system – you can check this by giving a gentle tug; there should be resistance – or your divisions are settled in, it’s time for standard care.
- Gradually Acclimate: Slowly remove the plastic covering over a few days to help the new plant adjust to lower humidity.
- Watering: Water when the top inch of soil feels dry. Avoid overwatering, as this is a common culprit for rot.
- Light: Provide bright, indirect light. Direct sun can scorch their delicate leaves.
- Troubleshooting: The most common issue you’ll face is rot. This usually happens from too much moisture and poor air circulation. If a cutting or division turns mushy and black, sadly, it’s usually a goner. Be sure to use clean tools and pots to prevent fungal issues from the start. If you see browning leaf tips, it might be too dry or the humidity is too low.
A Little Patience Goes a Long Way
Watching a tiny cutting transform into a full, lush plant is one of the purest joys in gardening. Be patient with your new Episcia babies. They’ll show you their gratitude with their stunning foliage and lovely blooms if you give them a little consistent care and affection. Happy propagating!
Resource:
https://identify.plantnet.org/k-world-flora/species/Episcia%20cupreata%20(Hook.)%20Hanst./data