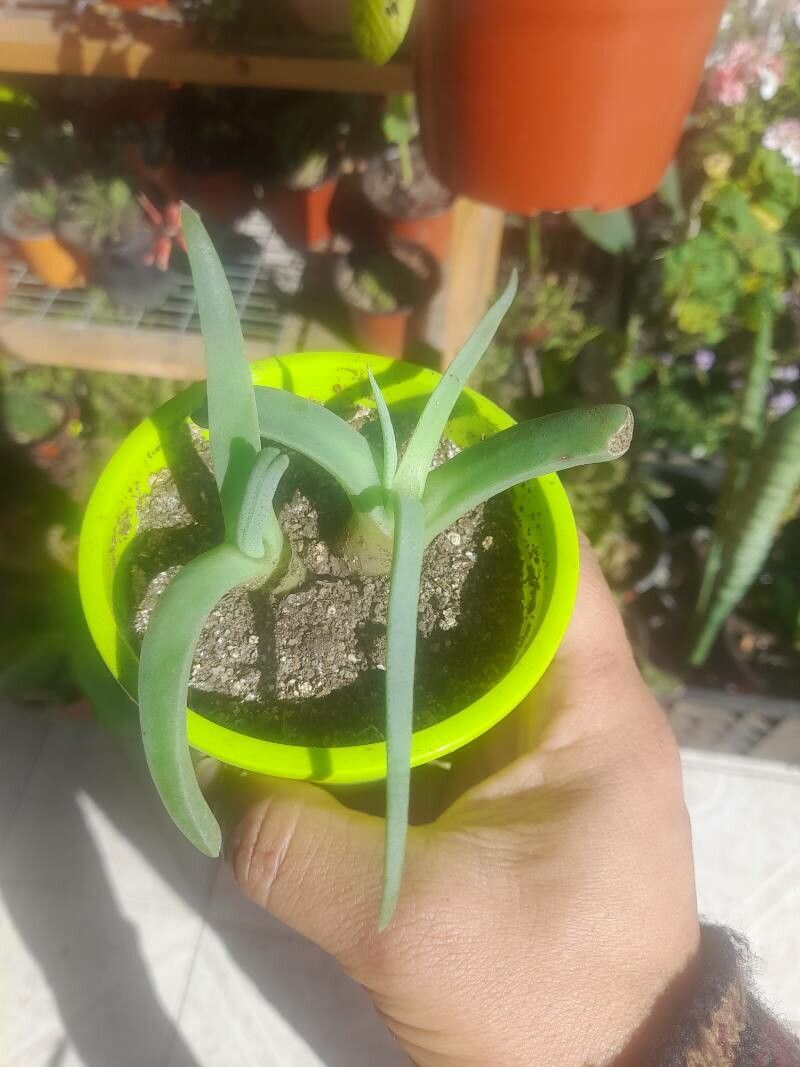
Ah, Cheiridopsis rostrata. If you’re looking for a plant that brings a little splash of velvety charm and intriguing form to your collection, you’ve found a gem! Their soft, silvery-grey leaves, often with a delightful beak-like tip, are just gorgeous. And the reward? Watching those tiny new plants flourish, knowing you helped them come to life, is truly special. For beginners, I’d say Cheiridopsis rostrata is moderately easy. It’s not quite as forgiving as, say, a Pothos, but with a little attention, you’ll do wonderfully.
The Best Time to Start
The sweet spot for propagating Cheiridopsis rostrata is when the plant is actively growing, usually in late spring or early summer. You’ll want to take cuttings or divide established plants when they’re showing good, firm growth. Avoid propagating during the hottest, driest part of summer or when it’s cold and dormant – that’s when they’re most stressed.
Supplies You’ll Need
Gathering your supplies beforehand makes the whole process smoother. Here’s what I find essential:
- Well-draining potting mix: A mix specifically for succulents and cacti is ideal. You can also make your own by combining equal parts potting soil, perlite, and coarse sand.
- Sharp, clean pruning shears or a craft knife: Cleanliness is key to preventing disease.
- A small trowel or spoon: For gently handling soil and new plants.
- Rooting hormone (optional but recommended): Some varieties benefit from a little boost.
- Small pots or seedling trays: Terracotta pots are great because they breathe.
- Watering can with a fine rose or a spray bottle: For gentle watering.
- Labels and a marker: So you don’t forget what you propagated!
Propagation Methods
Cheiridopsis rostrata is quite amenable to stem cuttings and division. Let’s walk through them.
Stem Cuttings
This is my go-to method for increasing my Cheiridopsis numbers.
- Select your stem: Look for a healthy, mature stem on your plant. You’ll want something at least 3-4 inches long.
- Make a clean cut: Using your sharp shears or knife, make a clean cut just below a leaf node. A sterile cut helps the plant heal and reduces the risk of rot.
- Prepare the cutting: Gently remove the lower leaves from the cutting. This exposes the leaf nodes where roots will form.
- Let it callus (crucial step!): This is so important. Place the cuttings in a dry, airy spot for 2-3 days, or even up to a week. You’ll see the cut end form a dry, almost calloused surface. This prevents rot when you plant it.
- Dip and plant: Once callused, you can optionally dip the cut end in rooting hormone. Then, gently insert the callused end into your prepared, dry potting mix. Don’t pack the soil too tightly around it.
- Water sparingly: Water very lightly – just enough to settle the soil. You don’t want the cutting sitting in soggy conditions.
Division
If your Cheiridopsis has become a bit of a clump, division is a fantastic way to get multiple plants.
- Remove from pot: Carefully tip your plant out of its pot.
- Gently separate: Examine the root ball. You’ll often see natural divisions where new growth has emerged. Gently tease apart the root system with your fingers or a small tool. If roots are tangled, a gentle wiggle and pull is usually enough. If you need to cut, use your clean shears.
- Inspect and trim: Check the roots for any signs of damage or rot. Trim away any obviously dead material.
- Pot up: Replant the healthy divisions into their own pots filled with your succulent mix. Ensure the top of the root ball is just at the soil surface.
- Water lightly: Water as you would the parent plant – sparingly at first.
The “Secret Sauce” (Pro Tips)
Here are a couple of things I’ve learned over the years that really make a difference.
- Don’t rush the callusing: Seriously, this is where many beginners stumble. That dry, callused wound is your cutting’s best defense against rot. Be patient and let it dry out completely.
- Consider bottom heat: If you’re propagating a bit earlier or later in the season, or if your home is on the cooler side, providing a little gentle bottom heat can really speed up root development. A seedling heat mat set on low is perfect for this.
Aftercare & Troubleshooting
Once your cuttings or divisions are planted, it’s time for them to settle in.
- Light: Place them in a spot with bright, indirect light. Avoid intense, direct sun, which can scorch young plants.
- Watering: This is still the most critical part. Water only when the soil is dry, and even then, water sparingly. For cuttings, you might only need to mist occasionally to keep things from drying out completely, but never let them sit in wet soil. You’re looking for signs of root formation, which you’ll often see as the plant starts to plump up or show new growth.
- Troubleshooting: The most common issue is rot. If you see mushy stems or leaves that turn yellow and drop off rapidly, it’s likely overwatering. Sadly, if something has rotted, it’s usually best to discard it and try again. Look for firm, healthy new growth as a sign of success!
Go on, give it a try! Propagating plants is a journey of observation and patience. Don’t get discouraged if your first attempt isn’t perfect. Each plant you nurture from a tiny cutting is a little bit of magic you’ve cultivated yourself. Happy gardening!
Resource:
https://identify.plantnet.org/k-world-flora/species/Cheiridopsis%20rostrata%20(L.)%20N.E.Br./data