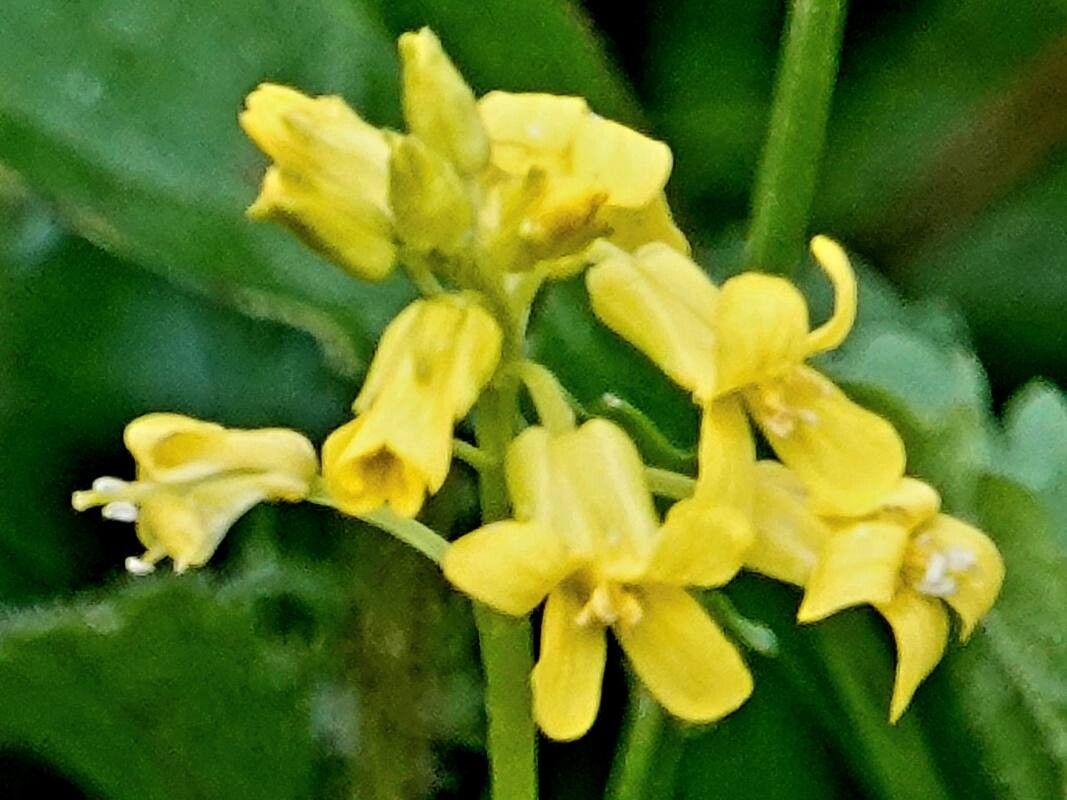
Hello, fellow garden enthusiasts! Today, we’re diving into the wonderful world of Barbarea vulgaris, often known as American cress or wintercress. It’s a plant that brings a bit of wild charm to the garden with its bright yellow flowers and slightly peppery edible leaves. What I love most about it is its resilience and its willingness to spread, which makes propagating it a truly rewarding experience. And for those of you just starting out with plant propagation? You’re in luck! Barbarea vulgaris is surprisingly forgiving, making it a fantastic choice for beginners.
The Best Time to Start
Honestly, Barbarea vulgaris is quite forgiving, but I find my highest success rates come from taking cuttings in late spring or early summer. This is when the plant is actively growing and has plenty of energy to put into developing new roots. You can also try in early fall, but growth might be a bit slower. Look for pieces of stem that are somewhat firm but not woody – that ‘soft-but-not-too-soft’ stage is perfect.
Supplies You’ll Need
Here’s what you’ll want to have on hand to set yourself up for success:
- Sharp Pruning Shears or a Knife: Clean cuts are crucial for preventing disease.
- Potting Mix: A light, well-draining mix is best. I often use a blend of peat moss, perlite, and a bit of compost. For cuttings, a mix specifically for propagation works wonders.
- Small Pots or Seed Trays: Whatever you plan to plant your cuttings in. Make sure they have drainage holes!
- Rooting Hormone (Optional but Recommended): This can give your cuttings a little boost.
- Water: For keeping things moist.
- Plastic Bags or a Propagation Dome: To create a humid environment.
- Gloves: If you prefer, especially if handling a lot of plants.
Propagation Methods
Barbarea vulgaris is a plant that often gives us options, and here are my two favorite ways to multiply it:
Stem Cuttings
This is my go-to method for Barbarea vulgaris. It’s efficient and you can get quite a few new plants from a single mother plant.
- Select Your Cuttings: Find healthy stems on your mature plant. You’re looking for pieces that are about 4-6 inches long.
- Make the Cut: Using your clean pruning shears or knife, make a clean cut just below a leaf node (where a leaf attaches to the stem). This is where the magic happens for rooting.
- Prepare the Cuttings: Gently remove the leaves from the bottom half of each cutting. You want to expose the nodes where roots will form. If the top leaves are very large, you can even cut them in half to reduce water loss.
- Dip in Rooting Hormone (Optional): If you’re using rooting hormone, dip the cut end into it, tapping off any excess.
- Plant Your Cuttings: Fill your pots with your well-draining potting mix. Make a small hole with your finger or a pencil and gently insert the cuttings, ensuring at least one or two leaf nodes are below the soil surface.
- Water Gently: Water thoroughly but gently so you don’t dislodge the cuttings.
- Create Humidity: Cover the pots with a plastic bag or a propagation dome. Poke a few small holes in the bag for ventilation.
Division
This method is best done when you’re transplanting or dividing an established clump of Barbarea vulgaris.
- Dig Up the Plant: Carefully dig up the entire plant, trying to disturb the roots as little as possible.
- Gently Separate: Examine the root ball. You’ll often see that the plant has sent out new shoots and roots from different points. Gently tease apart these divisions using your hands or a trowel. You want each division to have a healthy amount of roots and some top growth.
- Replant Immediately: Replant the divisions into prepared spots in your garden or into pots with fresh potting mix. Water them in well.
The “Secret Sauce” (Pro Tips)
Here are a couple of things I’ve learned over the years that can really make a difference:
- Once you’ve potted your stem cuttings, don’t let the leaves touch the water below the soil line. They can rot very quickly and that’s a sure way to kill your cutting before it even tries to root. Ensure all leaves are above the soil.
- For stem cuttings, bottom heat can be a game-changer. Placing your pots on a heat mat specifically designed for seedlings can significantly speed up root development. It signals to the plant that it’s time to get to work underground!
Aftercare & Troubleshooting
Once your cuttings have roots (you can gently tug on them to check – if there’s resistance, they’ve likely rooted!), it’s time for normal plant care. Gradually remove the plastic covering over a few days to acclimate them to normal humidity. Water them when the top inch of soil feels dry. Keep them in bright, indirect light.
The most common sign of failure I see is rot. If your cuttings turn black and mushy, it’s usually a sign of too much moisture and not enough air circulation. This is why that well-draining soil and the ventilation in your humidity dome are so important. If a cutting fails, don’t get discouraged! Just clean out the pot and try again.
A Encouraging Closing
Propagating plants is a journey of discovery, and Barbarea vulgaris is a wonderful companion on that path. Be patient, observe your cuttings, and most importantly, enjoy the process of growing something new from something you already love. Happy gardening!
Resource:
https://identify.plantnet.org/k-world-flora/species/Barbarea%20vulgaris%20W.T.Aiton/data