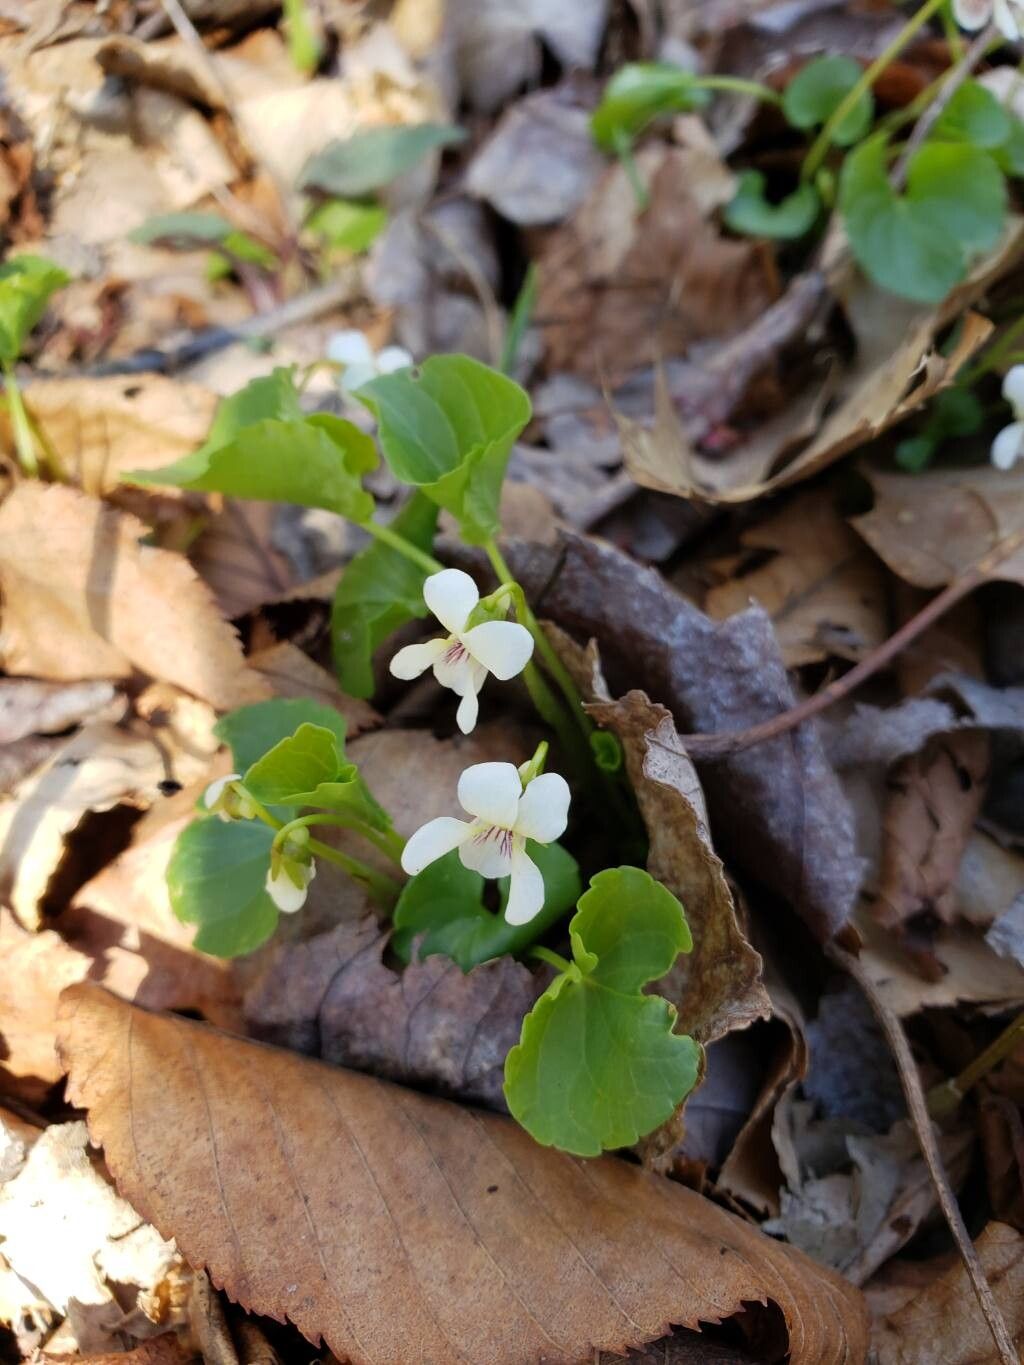
Hello fellow plant lovers! Today, we’re going to talk about a little gem that brings so much charm to shady spots: Viola blanda, or the sweet white violet. These delicate beauties, with their innocent white petals often kissed with purple veins, are remarkably generous. They spread gently, creating a lovely, low-lying carpet that’s a real treat to have in the garden. Propagating them is a wonderful way to fill in bare patches or share these sweethearts with friends. And for those of you just starting out with your green thumb journey, you’ll be happy to hear that Viola blanda is quite forgiving, making it a fantastic plant to practice propagation on!
The Best Time to Start
My favorite time to get started with Viola blanda propagation is in the late spring or early summer. This is when the plant is actively growing, and the shoots are often tender and pliable, which is ideal for most methods. You’ll see lots of new growth popping up, giving you plenty of material to work with.
Supplies You’ll Need
Here’s what you’ll want to have on hand:
- Sharp pruning shears or scissors: For clean cuts.
- Well-draining potting mix: A good blend of peat moss, perlite, and a bit of compost works wonderfully.
- Small pots or trays: For starting your new plants. Make sure they have drainage holes!
- A spray bottle: For gentle misting.
- Rooting hormone (optional, but helpful): Especially if you’re not using division.
Propagation Methods
Viola blanda is pretty easy to propagate, and I find two methods work best.
Division: The Easiest Route
This is hands-down the simplest way to go. Viola blanda naturally forms clumps, and as they grow, they’ll send out runners that root themselves.
- Gently excavate: Carefully dig up a clump of your Viola blanda using your trowel.
- Separate the roots: Gently tease apart the divisions. You’re looking for sections that have both roots and some healthy leaf growth.
- Replant: Place each division into its own pot filled with your potting mix, or directly into a prepared spot in the garden. Water them in well.
Stem Cuttings: For More Plants
If you want to expand even further, taking stem cuttings is a great option.
- Select healthy stems: Look for non-flowering stems that are about 2-4 inches long. They should be firm but not woody.
- Make the cut: Using your clean shears, cut just below a leaf node (where a leaf attaches to the stem).
- Prepare the cutting: Remove the lower leaves from the cutting, leaving just two or three at the top. This prevents them from rotting when placed in the soil.
- Rooting hormone (optional): If you’re using rooting hormone, dip the cut end into it.
- Planting: Stick the cut end into your prepared potting mix. Make sure the leaf nodes are below the soil surface.
- Potting: Place a few cuttings in each pot, giving them a little space.
The “Secret Sauce” (Pro Tips)
Now for a couple of insider tricks that really boost success.
- Don’t let the leaves touch the water or soil: If you’re trying water propagation (though I prefer soil for violets), make sure the leaves aren’t submerged. They’ll just rot. For cuttings in soil, ensure the lower leaves are trimmed so they don’t sit on the damp surface.
- Humidity is your friend: After planting your cuttings, pop a clear plastic bag loosely over the pot or tray, or even use a propagation dome. This creates a humid environment that helps cuttings stay hydrated while they root. Just be sure to air it out daily to prevent mold.
Aftercare & Troubleshooting
Once your Viola blanda divisions or cuttings have settled in, keep the soil consistently moist but not waterlogged. A good misting with your spray bottle is usually enough to keep them happy. You’ll know successful rooting has occurred when you see new leaf growth or feel a gentle resistance when you tug on the cutting.
The most common issue you might encounter is rot. This usually happens if the soil is too wet or if there isn’t enough air circulation. If you see mushy stems or leaves turning yellow and limp, it’s likely rot. Sadly, it’s hard to save those, but it’s a good learning moment to adjust your watering or humidity levels for the next batch.
So there you have it! Propagating Viola blanda is a delightful way to multiply these sweet little flowers. Be patient with your new plants; they have their own rhythm. Enjoy the process and the satisfaction of seeing your garden flourish with these lovely, delicate blooms. Happy gardening!
Resource:
https://identify.plantnet.org/k-world-flora/species/Viola%20blanda%20Willd./data