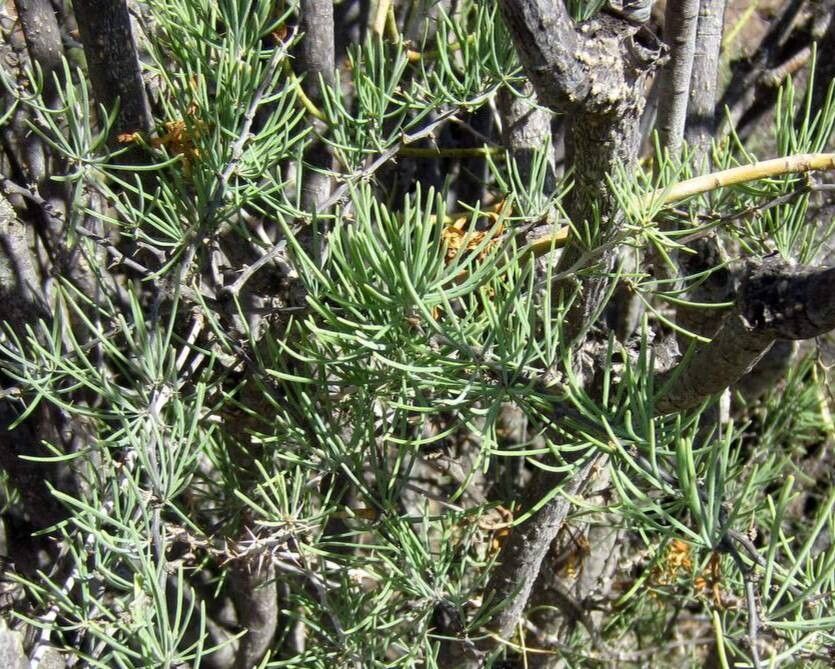
Ah, the Asparagus arborescens! If you’re smitten with its elegant, feathery foliage and the way it brings a touch of the Mediterranean to your home, you’re not alone. I’ve been growing and propagating these beauties for two decades, and I can tell you, sharing their charm by creating new plants is incredibly rewarding. For beginners, I’d say it leans towards moderately easy – a little patience and attention to detail go a long way.
The Best Time to Start
When the plant is actively growing is when you’ll have the most success. Think late spring or early summer. The stems are robust, and the plant has plenty of energy to put into developing new roots. Avoid propagating when the plant is stressed, like during extreme heat or cold snaps, or if it’s just been repotted.
Supplies You’ll Need
- Sharp pruning shears or a clean knife: For taking cuttings.
- Rooting hormone (optional but recommended): A powder or gel to encourage root development.
- Well-draining potting mix: A good blend would be half potting soil and half perlite or coarse sand.
- Small pots or containers: With drainage holes, of course!
- Clear plastic bag or propagator: To create a humid environment for cuttings.
- Watering can or spray bottle: For gentle watering.
- Labels: So you know what you’ve planted and when!
Propagation Methods
Let’s get our hands dirty! The most straightforward way to propagate Asparagus arborescens is through stem cuttings.
- Take Your Cuttings: Look for healthy, non-flowering stems that are a few inches long. Using your sharp shears or knife, make a clean cut just below a leaf node (where a leaf joins the stem). Aim for cuttings that are about 4-6 inches long.
- Prepare the Cuttings: Gently remove the lower leaves from the cutting, leaving just a few at the top. This prevents them from rotting in the soil. If you’re using rooting hormone, dip the cut end into the powder or gel, tapping off any excess.
- Plant Your Cuttings: Fill your small pots with your prepared, moist potting mix. Make a small hole in the center with your finger or a pencil. Insert the cut end of the stem into the hole, firming the soil gently around it.
- Create Humidity: Water the soil lightly. Then, cover the pot with a clear plastic bag or place it in a propagator. This traps moisture and creates the humid environment essential for root formation. Make sure the leaves don’t touch the sides of the bag if possible.
The “Secret Sauce” (Pro Tips)
- My absolute favorite trick for these guys is bottom heat. Placing your pots on a gentle seedling heat mat can significantly speed up root development. It mimics the warmth of spring and really tells those cuttings, “It’s time to grow!”
- When taking cuttings, don’t shy away from using slightly older, woodier stems. Sometimes, these have more reserves to put into rooting than very soft, new growth. Just make sure they are still healthy and green.
- Never let your cuttings sit in water! If you’re trying water propagation (though I find soil is generally more successful for arborescens), ensure that no leaves are submerged. They’ll rot faster than you can say “new plant.”
Aftercare & Troubleshooting
Once your cuttings have been planted, keep them in a bright, indirect light spot. Water them sparingly, allowing the top inch of soil to dry out slightly between waterings. You want the soil to be consistently moist, not soggy.
You’ll know you’ve got roots when you see new growth appearing, or if you gently tug on the cutting and feel resistance. This can take anywhere from 4 to 8 weeks, so be patient!
The most common problem you’ll encounter is rot. This usually happens from too much moisture or poor air circulation. If a cutting looks mushy or black at the base, it’s likely gone. Don’t be discouraged; just start again with a fresh cutting and perhaps a drier mix. Ensure good airflow around your cuttings – that’s key!
A Encouraging Closing
Happy propagating! Remember, gardening is a journey, and each plant is a lesson learned. Don’t be afraid to experiment. Enjoy the process of nurturing these little green shoots into magnificent plants. Before you know it, you’ll have a whole collection of your own Asparagus arborescens!
Resource: