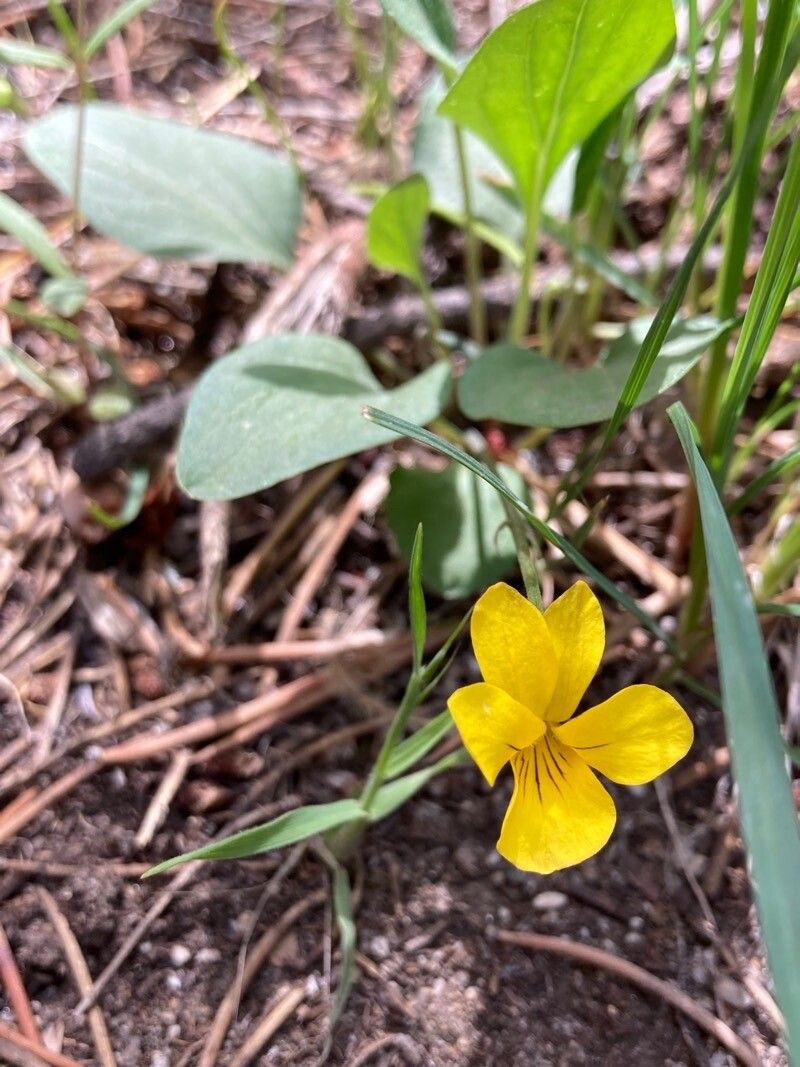
Oh, hello there! Grab a mug, settle in, and let’s talk about a little gem I’ve grown to adore: Viola bakeri. You know, these aren’t your everyday violas. They’re often called Baker’s Violet, and they have this lovely, subtle charm that just brightens up a shady corner. Propagating them is such a rewarding way to fill your garden with these sweet little blooms. For those of you just starting out, I’d say Viola bakeri is moderately easy to propagate, but with a few tricks up our sleeves, we’ll have success.
The Best Time to Start
For the most joy and the highest success rate, I find the late spring or early summer is absolutely perfect. This is when the plant is actively growing and has plenty of energy to put into new roots. You want to work with healthy, vigorous stems that aren’t flowering.
Supplies You’ll Need
Here’s what you’ll want to have on hand:
- Sharp pruning shears or a clean craft knife: For making those precise cuts.
- Potting mix: A good quality, well-draining seed starting mix or a blend of peat moss, perlite, and a little bit of compost works wonders.
- Small pots or trays: Clean ones are a must to prevent disease.
- Rooting hormone (optional but helpful): A powder or liquid can give your cuttings a good start.
- Watering can with a fine rose: For gentle watering.
- Clear plastic bags or a propagator: To create a humid environment.
Propagation Methods
We’ll focus on a couple of reliable methods for Viola bakeri:
1. Stem Cuttings: My Go-To Method
This is how I usually get the most new plants.
- Choose your cuttings: Look for healthy, non-flowering stems about 3-4 inches long. Gently snap or cut a stem just below a leaf node. A leaf node is where a leaf attaches to the stem; that’s where the magic happens for root formation.
- Prepare the cuttings: Remove the lower leaves, leaving just a couple at the top. This helps the cutting conserve energy. If the leaves are quite large, you can even trim them in half to reduce water loss.
- Dip in rooting hormone (if using): Lightly dip the cut end into the rooting hormone. Tap off any excess.
- Plant your cuttings: Fill your small pots with the prepared potting mix. Make a small hole with your finger or a pencil, then gently insert the cutting, ensuring the leaf nodes are buried in the soil. Firm the soil gently around the stem.
- Water and cover: Water thoroughly but gently. Then, cover the pot with a clear plastic bag or place it in a propagator to create a mini greenhouse. This keeps the humidity high, which is crucial for cuttings.
2. Division: For Established Plants
If you have a larger, more established clump of Viola bakeri, dividing it is a great way to get new plants and refresh the parent plant, too.
- Gently dig up the clump: In the spring or fall, carefully dig up the entire plant.
- Separate the roots: Gently pull apart the root ball. You’re looking for sections that have both roots and shoots. You can use your fingers or a clean trowel to help separate them.
- Replant immediately: Plant the divisions as you would a new plant, in well-prepared soil. Water them in well.
The “Secret Sauce” (Pro Tips)
Here are a few things I’ve learned over the years that make a real difference:
- Keep those leaves out of the water: When you’re water propagating, it’s tempting to let leaves dip in. Don’t! Only the stem should be submerged. Submerged leaves tend to rot, and that’s a sure way to lose your cutting before it even gets a chance to root.
- Bottom heat works wonders: If you can, place your pots on a gentle heat mat. This encourages root development from below, giving your cuttings a significant advantage. Just a little warmth from the soil can make them root much faster.
Aftercare & Troubleshooting
Once you see new growth appearing, that’s a good sign roots are forming!
- Gradually acclimate: Slowly remove the plastic bag over a few days to let the new plants adjust to normal humidity.
- Keep them moist but not soggy: Continue with gentle watering. Avoid letting them dry out completely.
- Watch for rot: The most common sign of failure is rot. If your cutting turns mushy or black, it’s usually a goner. This often happens from too much moisture or not enough airflow. Ensure your potting mix is well-draining and don’t overwater.
Don’t get discouraged if you lose a few along the way. Gardening is all about learning and adapting. Each new plant you nurture into being is a tiny victory. Be patient, enjoy the process of watching life sprout, and soon you’ll have a small army of Viola bakeri to grace your garden. Happy propagating!
Resource:
https://identify.plantnet.org/k-world-flora/species/Viola%20bakeri%20Greene/data