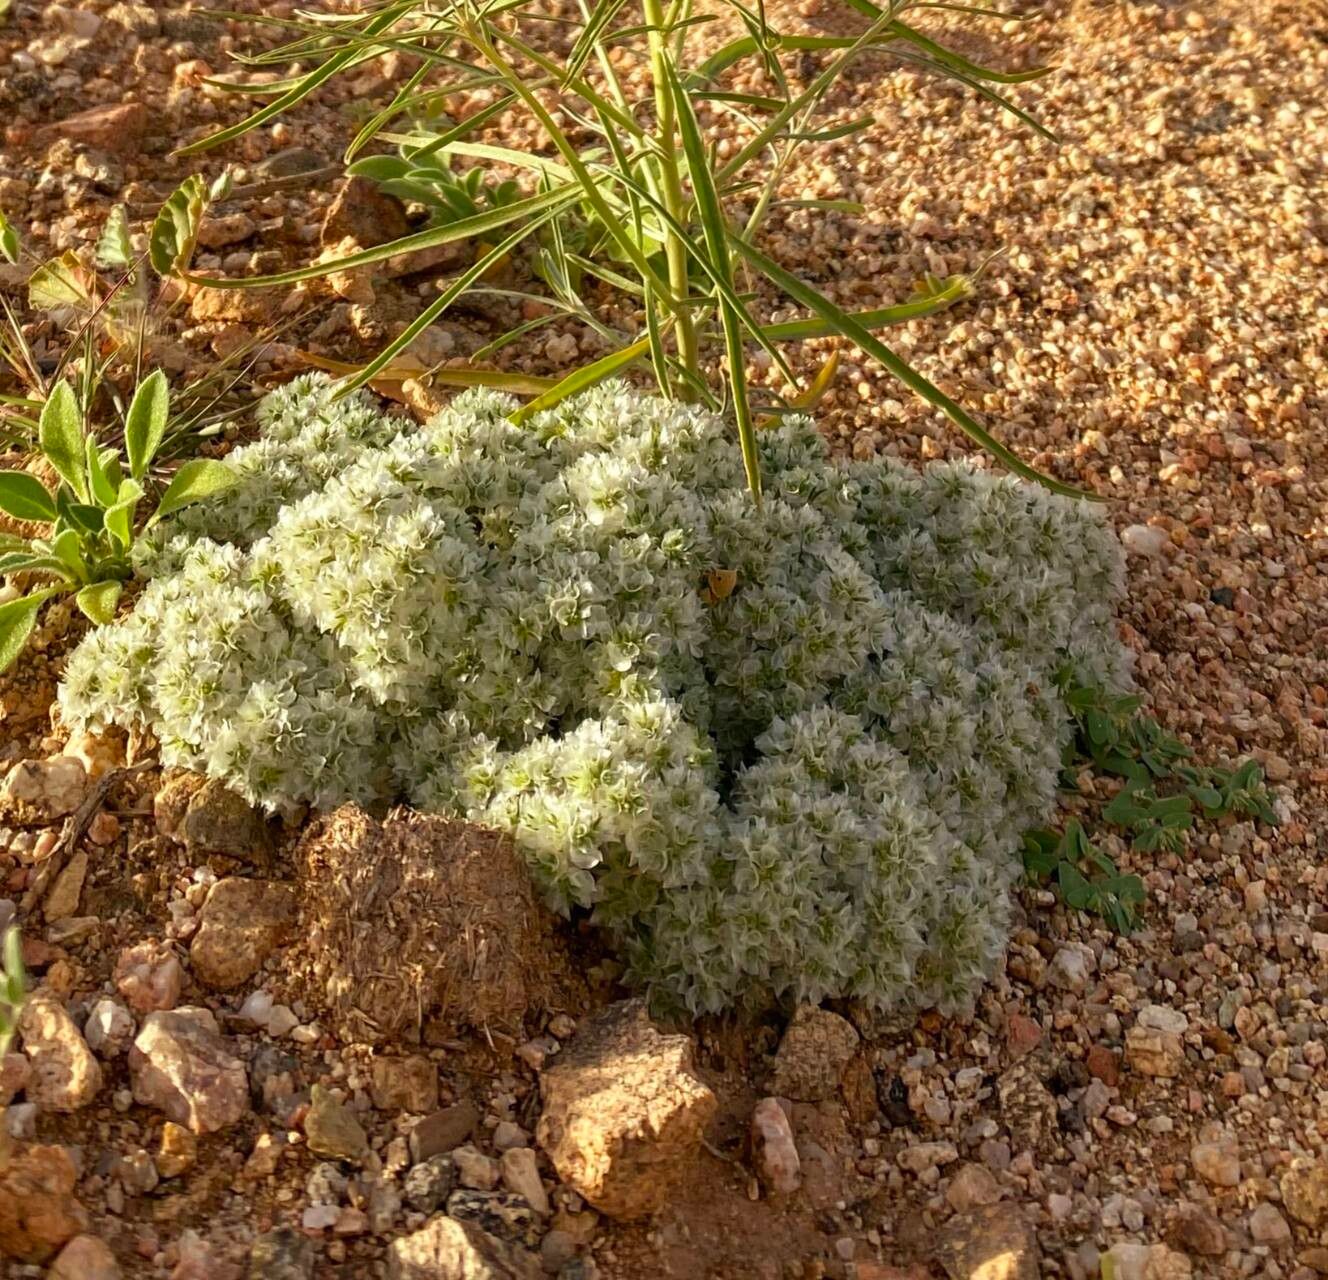
Hello, fellow plant lovers! Today, I want to chat about a truly charming little plant: Paronychia capitata. You might know it as Oriental Naiad or maybe the White Twig. It’s that delightful, low-growing charmer with its tiny, papery white flowers that look like delicate confetti scattered across a bed of silvery-green foliage. It’s absolutely stunning tumbling over rock walls or spilling out of containers. And the best part? It’s surprisingly rewarding to propagate! If you’re new to the gardening game, I’d say Paronychia capitata is a friendly introduction to the world of plant propagation. It’s not overly fussy, which is always a good start in my book.
The Best Time to Start
For the highest success rate with Paronychia capitata, I find that spring is your absolute best friend. This is when the plant is really waking up and putting on vigorous new growth. If you miss spring, don’t fret! Early summer can also work well, as long as you’re still getting plenty of active growth. The key is to take cuttings from healthy, non-flowering stems.
Supplies You’ll Need
Gathering your supplies before you begin makes the whole process so much smoother. You’ll want to have these on hand:
- Sharp Pruning Shears or a Clean Knife: For making clean cuts.
- Rooting Hormone (Optional but Recommended): A good powdered or liquid hormone can really give your cuttings a head start.
- Well-Draining Potting Mix: I like a blend of equal parts peat moss or coco coir and perlite or coarse sand. You can also buy a specific cuttings mix.
- Small Pots or Trays: Clean pots are essential to prevent disease.
- Clear Plastic Bag or Humidity Dome: To create a mini-greenhouse effect.
- Spray Bottle: For misting.
- Labels and a Marker: To keep track of what you’ve planted!
Propagation Methods
Paronychia capitata is quite amenable to propagation from stem cuttings. It’s my go-to method for this plant.
Stem Cuttings:
- Select Your Cuttings: Look for healthy, actively growing stems that are about 3-4 inches long. Gently bend a stem; if it snaps cleanly, it’s likely a good candidate. Avoid any stems that are woody or flowering.
- Make the Cut: Using your clean pruning shears or knife, make a cut just below a leaf node. This is where the roots will be most likely to form.
- Prepare the Cutting: Gently remove the lower leaves from the cutting, leaving just a few at the top. This prevents them from rotting in the soil.
- Apply Rooting Hormone (Optional): Dip the cut end of the stem into your rooting hormone, tapping off any excess.
- Plant the Cuttings: Make small holes in your prepared potting mix using a pencil or your finger. Insert the cuttings into the holes, ensuring the leaf nodes are buried. Gently firm the soil around the base of each cutting.
- Water Gently: Water the soil lightly with your spray bottle until it’s evenly moist.
- Create a Humid Environment: Cover the pots or tray with a clear plastic bag, or place them under a humidity dome. Make sure the leaves do not touch the plastic. You can use small stakes to prop up the bag if needed.
- Provide Light and Warmth: Place the pots in a bright spot, but out of direct, harsh sunlight. A little warmth from below can be beneficial.
The “Secret Sauce” (Pro Tips)
Here are a couple of tricks I’ve picked up over the years that seem to make a big difference:
- Bottom Heat is Your Friend: While not strictly necessary, placing your cuttings on a heated propagator mat can significantly speed up root development. It mimics the warmth of summer soil and gives those roots a real boost. I’ve found it’s especially helpful for those plants that are a little slower to root.
- Patience with the “Tap Test”: When you think your cuttings might be rooted, resist the urge to tug on them! Instead, give them a very gentle tug. If you feel resistance, that’s a good indication that roots have formed. You might also start to see new growth emerging from the tip – another great sign.
Aftercare & Troubleshooting
Once your cuttings have developed a good root system (you’ll see them peeking out from the drainage holes or feel that resistance when you gently tug), it’s time for a little extra care.
- Acclimatize: Gradually remove the plastic bag or humidity dome over a few days to help your new plants get used to the drier air.
- Potting Up: Once they are well-rooted and a bit larger, you can pot them up into their own small pots using a good quality potting mix.
- Watering: Continue to keep the soil consistently moist but not soggy. Overwatering is the quickest way to invite trouble.
- Watch for Rot: The most common sign of failure is rotting. If your cuttings turn black and mushy, it’s usually a sign of too much moisture and not enough air circulation, or perhaps a bit of disease introduced from unclean tools. If you see this, discard the affected cuttings and keep the remaining ones on the drier side.
A Encouraging Closing
Propagating plants is a wonderful way to connect with nature and build your garden. Don’t be discouraged if not every single cutting takes. Gardening is a journey of learning and observation. Be patient with your new Paronychia capitata babies, give them the right conditions, and enjoy the quiet satisfaction of watching them grow. Happy propagating!
Resource:
https://identify.plantnet.org/k-world-flora/species/Paronychia%20capitata%20(L.)%20Lam./data