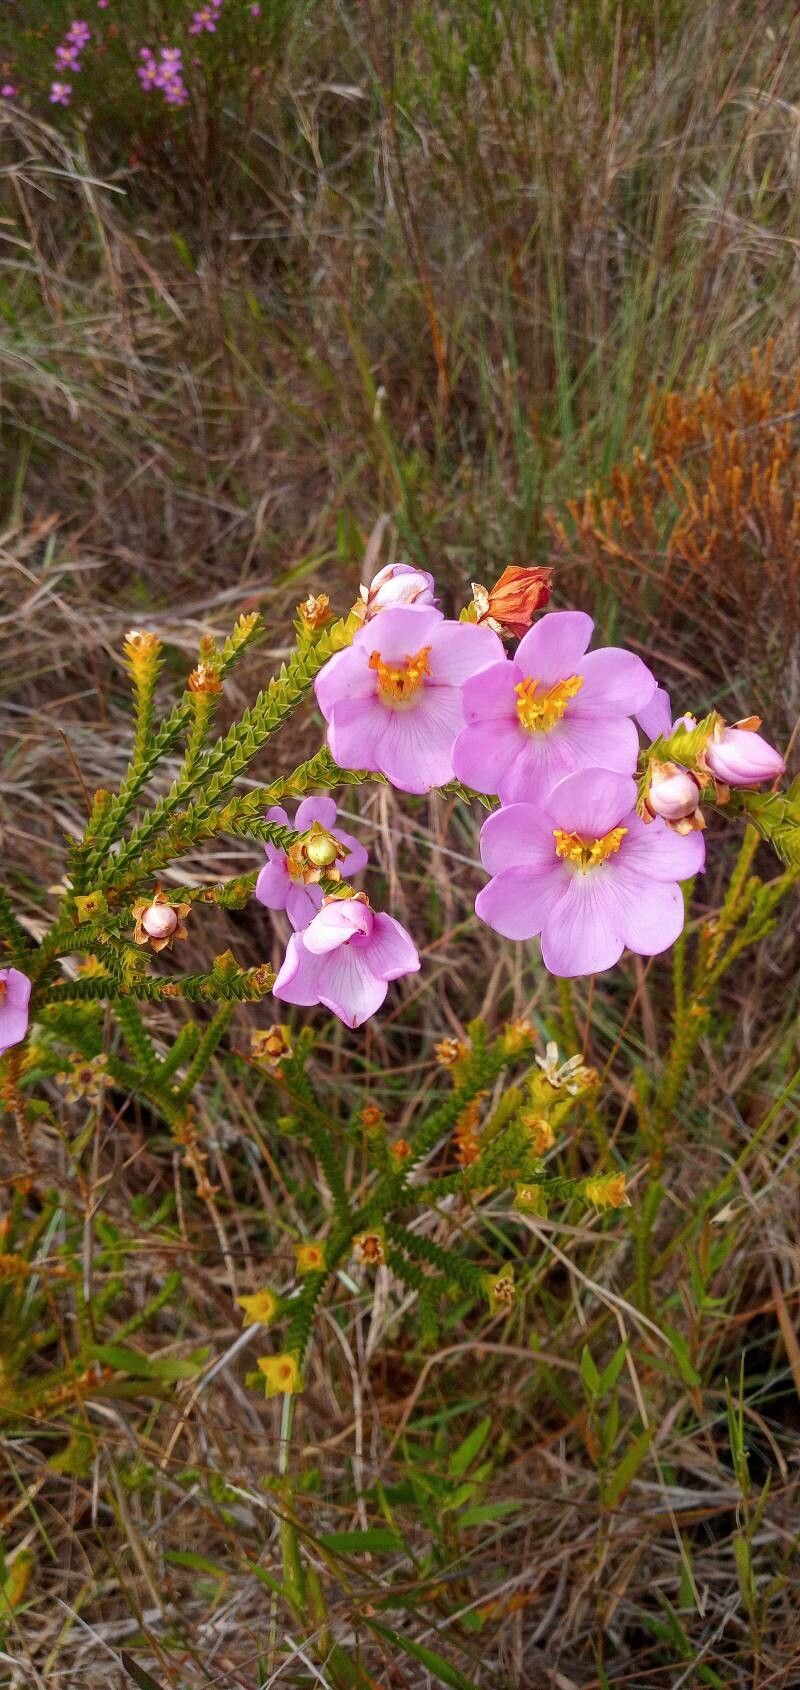
Oh, hello there! Come on in, pull up a chair. I’ve got the kettle on. Today, we’re diving into something truly special: Orphium frutescens, also known as the Fynbos Wonder. Honestly, this little shrub is a gem. Its delicate, star-shaped purple flowers are simply enchanting, and they bloom for ages. Plus, it has this lovely, slightly woody scent. The best part? It’s surprisingly easy to bring more of this beauty into your garden, which is incredibly rewarding. If you’re new to propagating, I’d say Orphium frutescens is a fantastic plant to start with. You’ll be hooked!
The Best Time to Start
When it comes to cuttings, timing is everything. For Orphium frutescens, the sweet spot is late spring to early summer, right after it’s finished its main flush of blooming. You want to take cuttings from healthy, non-flowering side shoots. This is when the plant has a good amount of energy stored up, and the stems are mature enough to root but still flexible. Avoid taking cuttings from very soft, new growth or old, woody stems.
Supplies You’ll Need
Don’t worry, you probably have most of these already! Here’s a little checklist to get you going:
- Sharp Pruning Shears or a Craft Knife: Cleanliness is key here! A sharp tool makes a clean cut, which helps prevent disease.
- Rooting Hormone (Optional but Recommended): While Orphium can root without it, a rooting hormone really gives your cuttings a boost. Look for one with IBA for best results.
- Planting Medium: A good blend is crucial. I like a 50/50 mix of perlite and well-draining potting soil, or even a specific seed-starting mix. You want something airy that won’t hold too much moisture.
- Small Pots or Seed Trays: Clean ones, of course! Standard nursery pots or even repurposed yogurt containers with drainage holes will work.
- Watering Can with a Fine Rose: For gentle watering.
- Clear Plastic Bag or Propagation Dome: To create a mini-greenhouse effect.
- Labeling Stakes: Don’t forget to label your cuttings! Trust me on this.
Propagation Methods
I find stem cuttings to be the most reliable way to go with Orphium frutescens. It’s straightforward and gives you a great success rate.
Stem Cuttings:
- Select Your Stems: Head out to your Orphium plant and look for those healthy, semi-hardwood side shoots from late spring. You’re aiming for stems that are about 4-6 inches long.
- Make the Cut: Using your clean pruners or craft knife, make a clean cut just below a leaf node (where a leaf joins the stem). This is where the rooting hormones are most concentrated.
- Prepare the Cuttings: Gently remove the leaves from the bottom half of the cutting. You want to expose at least one or two nodes for root development. If your cuttings have any flower buds, pinch those off. They’ll just drain energy from the cutting.
- Apply Rooting Hormone: Dip the cut end of the stem into your rooting hormone powder or gel. Gently shake off any excess.
- Plant Them Up: Fill your clean pots or trays with your prepared potting mix. Make a small hole with a pencil or your finger, then carefully insert the cutting. Firm the soil gently around the base.
- Water Gently: Water thoroughly with your fine-rose watering can until the soil is evenly moist but not soggy.
- Create a Humid Environment: Place the pots inside a clear plastic bag, sealing it loosely with twist ties, or put them under a propagation dome. This is vital for keeping the humidity high. Stick the whole setup in a bright spot, but out of direct sunlight.
The “Secret Sauce” (Pro Tips)
Here are a few little tricks I’ve picked up over the years that can make a big difference:
- Bottom Heat is Your Friend: If you have one, place your pots on a heat mat. This gentle warmth from below encourages root development much faster than ambient room temperature alone. It’s like giving your cuttings a cozy heated blanket!
- Don’t Let Leaves Touch the Water: If you’re tempted to try water propagation (which Orphium can do, but I still prefer soil), make sure no leaves are submerged in the water. Any leaves sitting in water will just rot and potentially infect the rest of the cutting.
- Mist Regularly (Especially if No Dome): If you’re not using a bag or dome, you’ll need to replicate that humidity by misting your cuttings once or twice a day. Be light with it, though – you want dew, not puddles.
Aftercare & Troubleshooting
Once your cuttings are potted, the waiting game begins! Keep them in that bright, indirect light and that humid environment. Check the soil moisture every few days and water gently if the top feels dry.
You’ll know your cuttings have taken root when you see new leaf growth or gently tug on a cutting and feel resistance. This usually takes anywhere from 4 to 8 weeks, but can sometimes take a bit longer. Be patient!
Now, for the troubleshooting:
- Wilting: This is usually a sign of too little water or too much direct sun. Check the soil moisture and move the pots to a shadier spot. Sometimes, if the cuttings are stressed, they might wilt initially even with good moisture; the humidity dome should help them recover.
- Rotting: If the stems turn black and mushy, that’s rot. This is almost always down to overwatering or poor drainage. Make sure your potting mix is airy and that the pots have drainage holes. If you see rot, it’s best to discard that cutting and start fresh, ensuring better conditions.
- No New Growth: Sometimes, they just don’t take. It happens to the best of us! Don’t get discouraged. It could be the time of year, the vigor of the parent plant, or just a fluke. Try again with a few more cuttings at the next ideal time.
A Little Encouragement
Propagating plants is a journey, not a race. There’s so much joy in nurturing a tiny cutting into a beautiful new plant. Be patient with your Orphium frutescens, enjoy the process of watching for those first signs of life, and celebrate every success. Happy propagating!
Resource:
https://identify.plantnet.org/k-world-flora/species/Orphium%20frutescens%20(L.)%20E.Mey./data