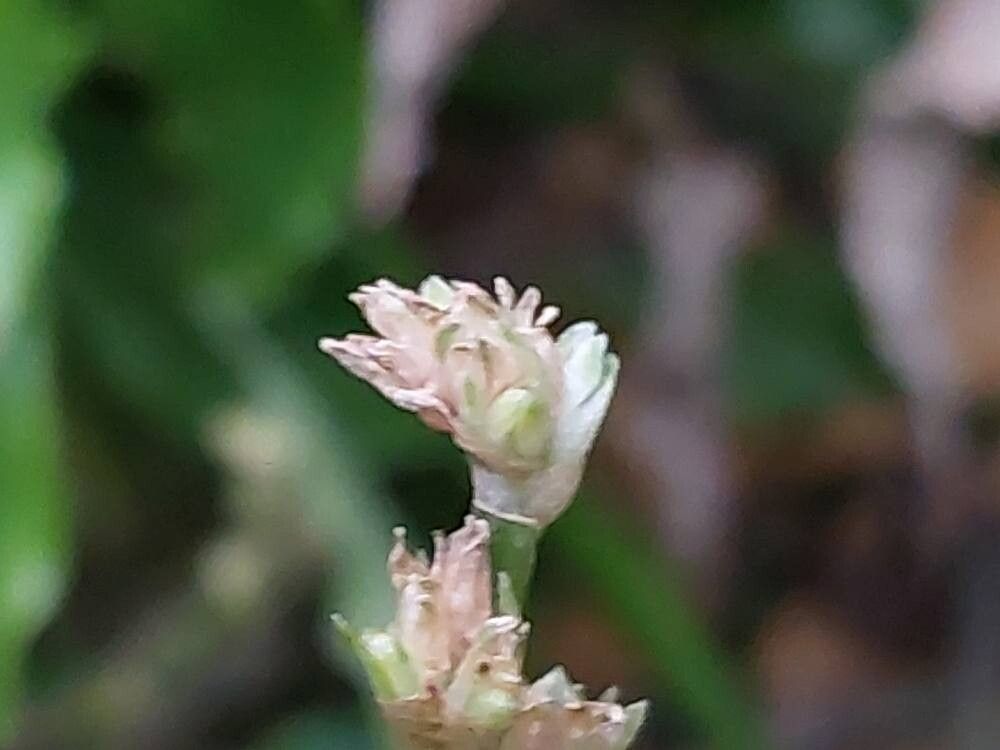
Hello, fellow plant lovers! I’m thrilled to share a little bit about one of my absolute favorite houseplants: Callisia soconuscensis. You might know it by its more common names, like Creeping Inch Plant or Bolivian Jew. Whatever you call it, this plant is a stunner with its beautiful, striped foliage and its wonderfully cascading habit. It adds such a vibrant splash of color and lushness to any corner of your home or even your hanging baskets.
And the best news? It’s incredibly rewarding to propagate! If you’re new to the plant world, you’ll be delighted to know that Callisia soconuscensis is wonderfully forgiving. It’s a fantastic choice for beginners looking to expand their plant collection or share the green beauty with friends.
The Best Time to Start
When it comes to giving your new plant babies the best start, spring and early summer are your golden ticket. This is when the plant is actively growing, meaning it’s full of energy and ready to unfurl new roots. You can certainly propagate them at other times of the year, but you’ll find the process is a bit quicker and more successful when the natural growing season is in full swing.
Supplies You’ll Need
Gathering your tools before you start makes the whole process much smoother. Here’s what I always have on hand:
- Sharp Pruning Shears or Scissors: Clean cuts are crucial.
- A Well-Draining Potting Mix: I like a blend of regular potting soil with perlite or coarse sand for good aeration.
- Small Pots or Containers: Seedling pots or even repurposed yogurt cups with drainage holes work beautifully.
- Rooting Hormone (Optional but Recommended): This can give your cuttings a little extra boost.
- Water: For water propagation.
- A Spray Bottle: For keeping things moist.
Propagation Methods
Callisia soconuscensis is wonderfully versatile, and you can propagate it using a few different, straightforward methods.
Stem Cuttings: My Go-To
This is the most common and arguably the easiest way to get new Callisia plants.
- Select a healthy stem from your mature plant. Look for a piece that’s at least 4-6 inches long and has several sets of leaves.
- Using your sharp shears, make a clean cut just below a leaf node (that little bump where a leaf grows from).
- Gently remove the lower leaves from the cutting, leaving perhaps one or two sets at the very top. This prevents them from rotting once planted.
- (Optional but recommended) Dip the cut end into rooting hormone, tapping off any excess.
- Prepare your small pot with your well-draining potting mix.
- Make a small hole in the soil with your finger or a pencil.
- Insert the cut end of the stem into the hole, ensuring at least one leaf node is buried under the soil.
- Firm the soil gently around the cutting.
- Water lightly until the soil is moist but not soggy. You can cover the pot with a clear plastic bag or place it in a propagator to create a humid environment, but ensure there’s some ventilation.
Water Propagation: Watching Roots Grow!
I love this method because you get to see the magic happen!
- Follow steps 1-3 above for preparing your stem cuttings.
- Grab a clean glass jar or vase.
- Fill it with fresh water.
- Place the cuttings in the water, making sure that all the leaf nodes where you removed the leaves are submerged, but the remaining leaves stay above the water line.
- Place the container in bright, indirect light.
- Change the water every few days to keep it fresh and prevent bacterial growth. You’ll start to see tiny white roots emerging in a couple of weeks!
The “Secret Sauce” (Pro Tips)
Over the years, I’ve picked up a few little tricks that can make all the difference.
- Don’t let the leaves touch the water when propagating in a jar. Anything that goes below the water surface is more prone to rot. Keep those leaves high and dry!
- A little bottom heat can work wonders. If you’re water propagating or have your cuttings in soil and want to speed things up, placing the pot on a seedling heat mat can encourage root development. Just set it to a gentle warmth – you don’t want to cook your little plants!
- Don’t be afraid to be a bit ruthless. When taking cuttings, using stems that are actively growing and perhaps a little leggy encourages the parent plant to produce even more lush growth.
Aftercare & Troubleshooting
Once you see those lovely little roots developing – either peeking out of the drainage holes in the pot or clearly visible in your water jar – it’s time to transition them to their own homes.
If you propagated in water, carefully pot your rooted cuttings into your well-draining potting mix. Water them in gently, and then keep the soil consistently moist but not waterlogged for the first couple of weeks as they adjust.
If you propagated directly in soil, continue to keep the soil lightly moist. You can remove any plastic covering gradually once you see new leaf growth.
Signs of failure? The most common culprit is rot. If your cuttings turn mushy and brown, it usually means they’re getting too much moisture and not enough air circulation. If you notice this, try to salvage any healthy stem pieces if possible and start again, adjusting your watering or humidity levels. Yellowing leaves can sometimes indicate overwatering, while wilting can mean they need a bit more moisture or aren’t getting enough light.
A Little Patience Goes a Long Way
Propagating plants is a journey, and like all good things, it requires a bit of patience. Enjoy the process of watching your new Callisia soconuscensis plants grow and thrive. Soon, you’ll have a whole collection to admire or share. Happy propagating!
Resource:
https://identify.plantnet.org/k-world-flora/species/Callisia%20soconuscensis%20Matuda/data