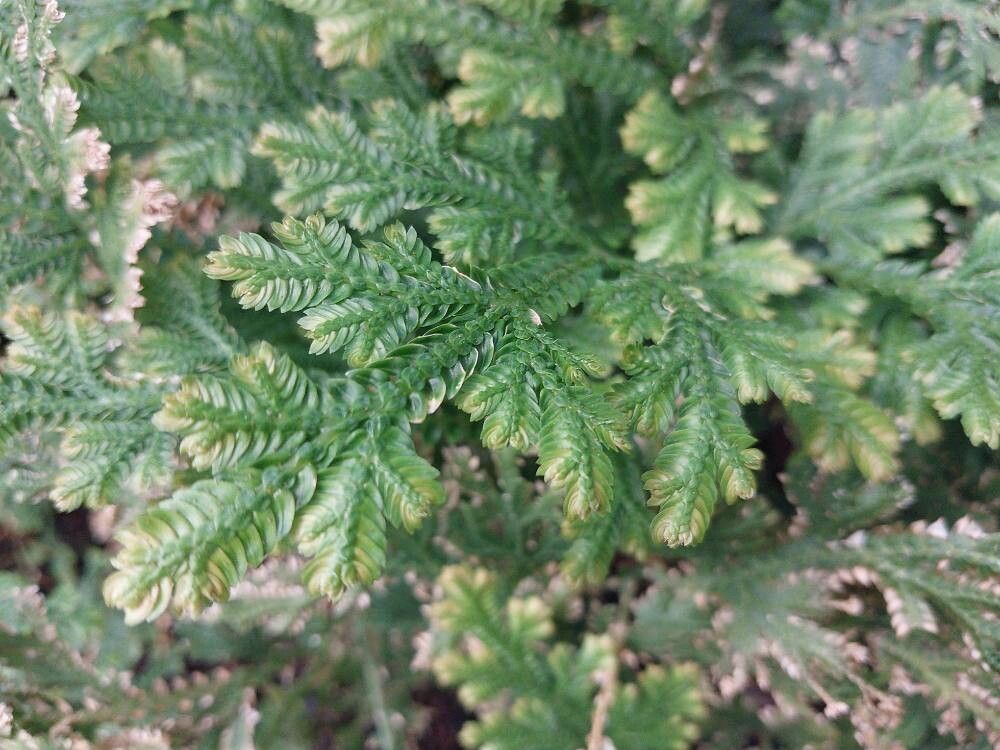
Oh, hello there! Come on in and pull up a chair. I’ve got a fresh pot of coffee brewing, and I thought we could chat about one of my absolute favorite little ferns: Selaginella eublepharis. If you haven’t met this charmer before, imagine the most intricate, almost fairy-tale-like moss, but with these delicate, scale-like leaves that give it such a unique texture. They bring a touch of understated magic to shaded corners.
Now, propagating these beauties can feel a bit like a treasure hunt, and I wouldn’t call them trickiest plants for absolute beginners, but they do have their own little preferences. Getting new ones started, though? That’s where the real joy lies. It’s like holding a tiny promise of future greenery in your hands, and there’s just nothing quite like watching those first new sprouts unfurl.
The Best Time to Start
For Selaginella eublepharis, I’ve found the spring and early summer are your absolute best bets. This is when the plant is actively growing, full of vigor, and has the energy to dedicate to putting out new roots. You’ll see young, tender shoots appearing, and those are exactly what you want to work with. Avoiding propagation during the plant’s resting period in cooler months will significantly boost your success rate.
Supplies You’ll Need
Before we dive in, let’s gather our little toolkit. Don’t worry, it’s nothing too fancy:
- Sharp pruning shears or a clean craft knife: For making precise cuts.
- A well-draining potting mix: I usually go for a blend of peat moss or coco coir with perlite. Something that holds moisture but doesn’t get waterlogged is key. A sprinkle of worm castings is always a nice touch, too.
- Small pots or trays: Clean ones, of course!
- Clear plastic bags or a propagation dome: To create that humid environment they adore.
- A spray bottle: Filled with clean water.
- Optional: Rooting hormone powder: This can give you a little extra nudge, though Selaginella can often root without it.
Propagation Methods
Let’s get our hands dirty! I find two methods work wonderfully for Selaginella eublepharis:
1. Stem Cuttings: My Go-To Method
This is my favorite for Selaginella. It’s straightforward and usually yields lovely results.
- Step 1: Taking the Cuttings: Find a healthy, non-flowering stem that’s about 3-4 inches long. Using your sharp shears or knife, make a clean cut just below a leaf node (that little bump where a leaf meets the stem). You want to select stems that are firm but not woody.
- Step 2: Preparing the Cuttings: Gently remove the leaves from the bottom half of the cutting. This prevents them from rotting when you place them in the soil.
- Step 3: Rooting Hormone (Optional): If you’re using rooting hormone, dip the cut end into the powder, tapping off any excess.
- Step 4: Planting: Fill your small pots with your prepared potting mix. Gently insert the prepared cuttings into the soil, making sure at least one or two leaf nodes are buried. You can plant a few cuttings per pot, leaving a little space between them.
- Step 5: Create Humidity: Water the soil lightly, just enough to moisten it. Then, cover the pot with a clear plastic bag or place it under a propagation dome. You want to create a mini greenhouse effect.
2. Division: For a More Mature Plant
If you have a mature, well-established Selaginella that’s getting a bit too big for its pot, division is a fantastic way to get more plants and give your original one a refresh.
- Step 1: Gently Unpot: Carefully remove the entire plant from its pot. Loosen any compacted soil from around the roots.
- Step 2: Locate Natural Divisions: Look for sections of the plant that have their own healthy root structure. You can often see where a new clump is naturally forming.
- Step 3: Separate Carefully: Using your fingers or a clean knife, gently pull or cut the plant apart into smaller sections. Each division should have a good amount of roots attached.
- Step 4: Pot Up: Plant each division into its own pot filled with your well-draining mix, similar to how you would plant cuttings.
The “Secret Sauce” (Pro Tips)
Here are a few little tricks I’ve learned over the years that really seem to help:
- Don’t Drench, Mist! When you first pot up your cuttings, resist the urge to soak the soil. Lightly mist the soil and the leaves with your spray bottle. The goal is consistently moist, not soggy. Excess water is the fastest way to rot tender cuttings.
- Warmth is Wonderful: These little guys love a bit of gentle warmth to encourage root development. If you have the space, placing your pots on a seedling heat mat set to a low temperature can make a world of difference. It mimics the soil temperature of a warm spring morning.
- Air Circulation is Key: While you want high humidity, you don’t want stagnant air. Open the plastic bag or dome for a few minutes each day to allow for some fresh air exchange. This helps prevent fungal issues.
Aftercare & Troubleshooting
Once your cuttings are planted and cozy, keep them in a spot with bright, indirect light. Avoid direct sun, as it can scorch those delicate leaves.
You’ll know your cuttings are rooting when you see new, fresh growth appearing. This can take anywhere from a few weeks to a couple of months. You can also gently tug on a cutting – if you feel resistance, it’s established roots!
Now, what if things aren’t going as planned? The most common issue is rot. If you see your stems turning brown and mushy, or the leaves wilting and becoming translucent, it’s usually a sign of too much moisture or poor air circulation. If this happens, carefully remove the affected cuttings and check the soil moisture. It’s better to err on the side of slightly dry than too wet. Browning leaves that aren’t mushy might just be the plant adjusting, but keep an eye on them.
A Little Patience Goes a Long Way
Seeing new life sprout from a bit of stem is truly a magical experience. Don’t get discouraged if your first attempt isn’t perfect. Gardening is all about observation and learning from our plants. Be patient, enjoy the process of nurturing these little green wonders, and soon you’ll have a whole collection of your own beautiful Selaginella! Happy propagating!
Resource: