Ah, the Candle Flower Tree, Parmentiera cereifera! It’s such a fascinating plant, isn’t it? Those long, waxy, white flowers that literally hang from the branches, looking like dripping candles – it’s a real showstopper. And the best part? You can bring that magic into your own garden, or even pot it up, by propagating your own. It’s a deeply satisfying feeling, watching a new little one sprout from a cutting or seed you nurtured. Now, is it a breeze for absolute beginners? Perhaps not entirely, but with a little patience and the right approach, you’ll be well on your way.
The Best Time to Start
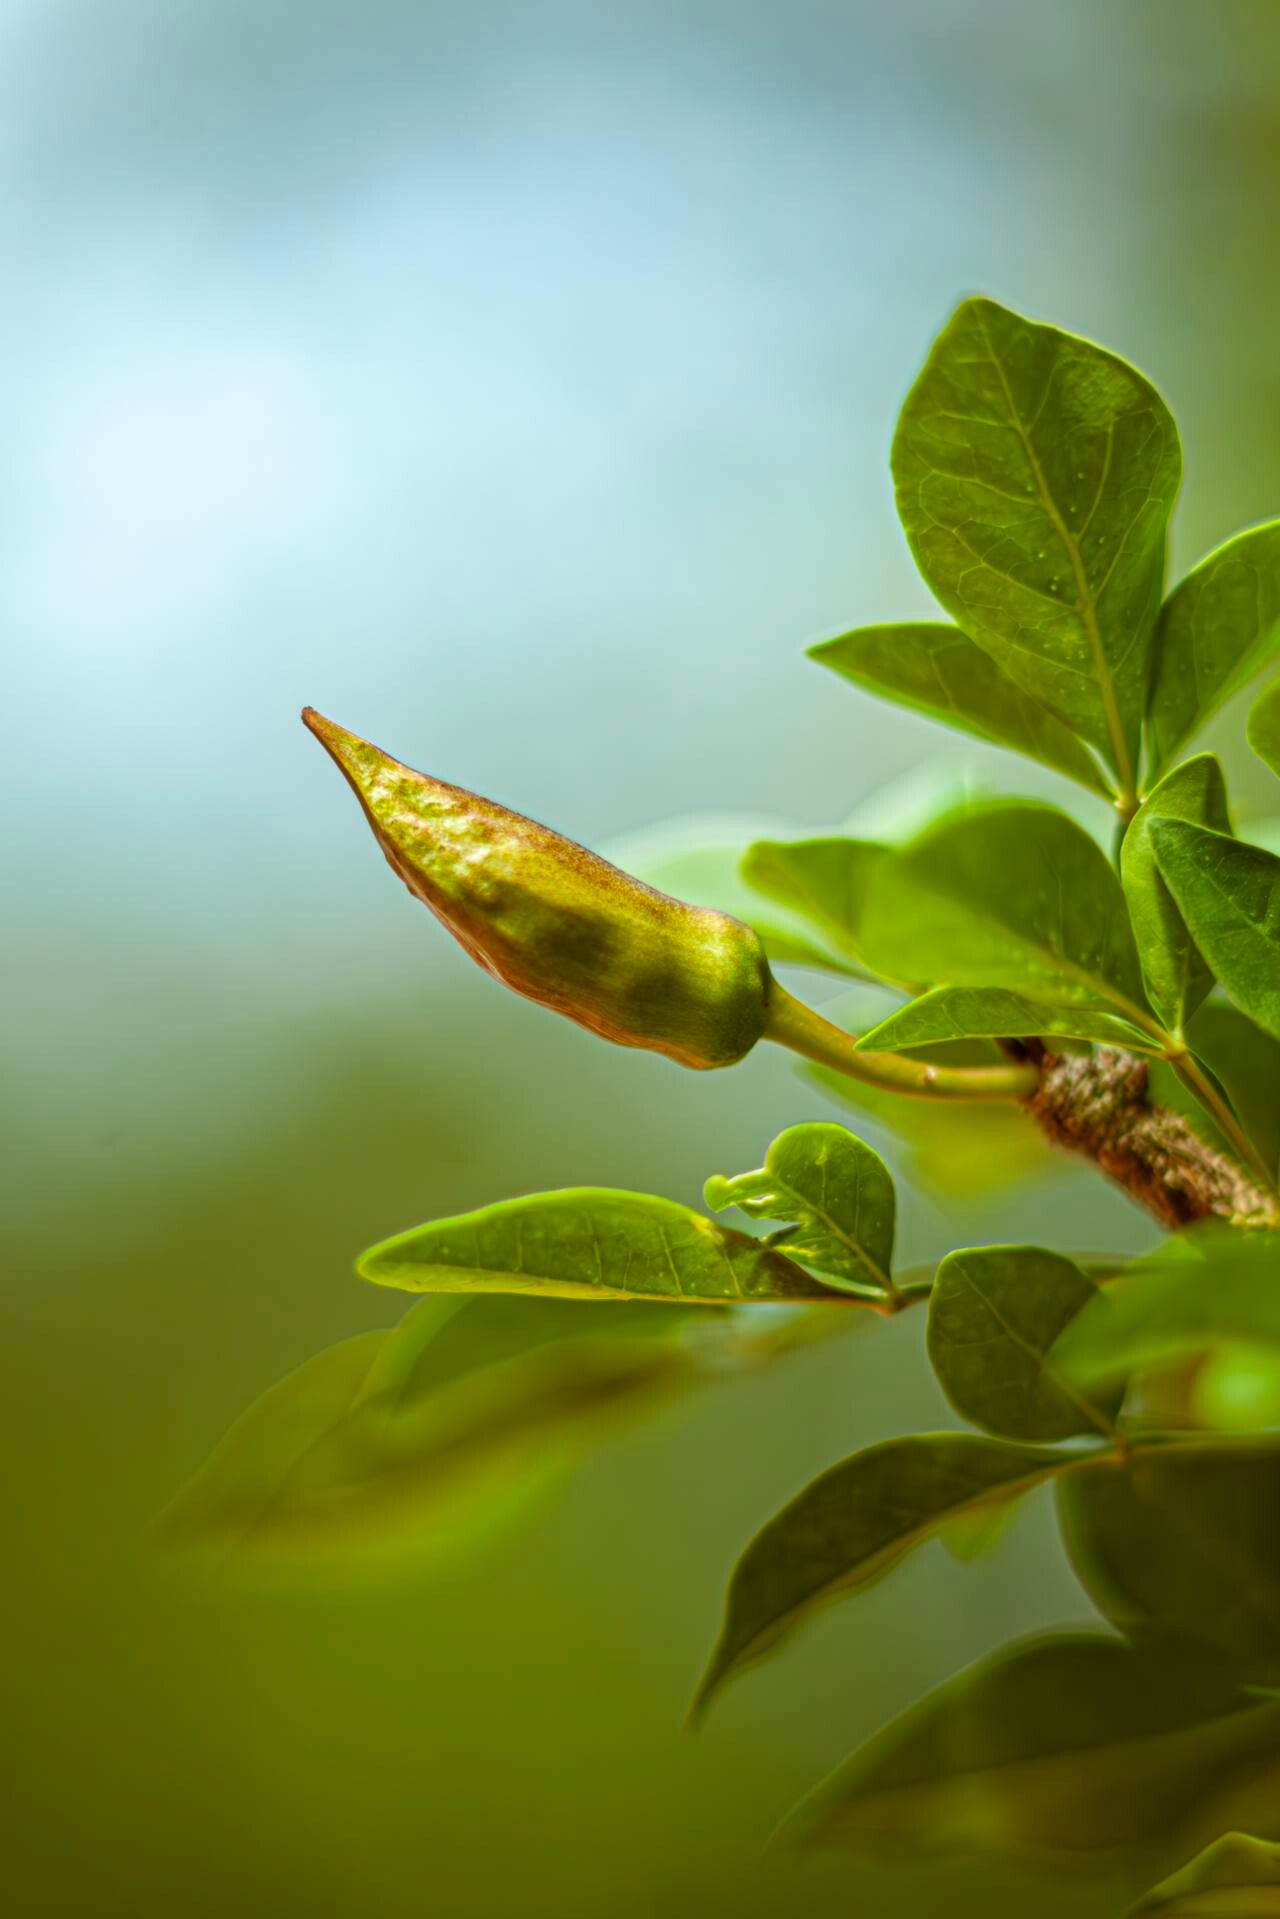
Timing is everything, as we gardeners know! For Parmentiera cereifera, late spring to early summer is usually your sweet spot. This is when the plant is actively growing, full of vigor, and has the energy reserves to bounce back and put out new roots. Look for healthy, new growth – not the really soft, brand-new shoots, but rather the slightly woodier stems that have a good inch or two of growth.
Supplies You’ll Need
Gathering your tools beforehand makes the whole process so much smoother. Here’s what I always have on hand:
- Sharp, clean pruning shears or a sharp knife: For making clean cuts.
- Rooting hormone: A powder or gel can really give cuttings a boost.
- Well-draining potting mix: I like to use a blend of peat moss, perlite, and a bit of compost. For this particular plant, a slightly coarser mix is good.
- Small pots or trays: With drainage holes, of course!
- Plastic bags or a propagator: To create a humid environment.
- A mister or spray bottle: For keeping things moist.
- Labels: So you don’t forget what you planted where!
Propagation Methods
I’ve had the most luck with stem cuttings for Parmentiera cereifera. Let’s dive into how I do it.
- Take Your Cuttings: On a nice, warm day, select a healthy, semi-hardwood stem that’s about 6-8 inches long. Make a clean cut just below a leaf node. A leaf node is where a leaf attaches to the stem; this is where the magic of root development happens.
- Prepare the Cutting: Gently remove the lower leaves from the cutting, leaving just the top few. If the leaves are very large, you can even cut them in half to reduce water loss. Now, dip the bottom end of the cutting into your rooting hormone. Tap off any excess gently.
- Planting: Fill your small pots or trays with your prepared potting mix. Make a hole in the center with your finger or a pencil. Carefully insert the cutting into the hole, making sure the rooting hormone-treated end is well-covered. Gently firm the soil around the stem.
- Create Humidity: This is crucial! Water the soil gently until it’s moist but not soggy. Then, cover the pot with a plastic bag or place it inside a propagator. Prop it up with a few stakes so the bag doesn’t touch the leaves. This creates a mini greenhouse, keeping the humidity high, which is essential for cuttings to root without drying out.
- Placement: Place your pots in a bright location, but out of direct sunlight. A warm spot is ideal.
The “Secret Sauce” (Pro Tips)
Over the years, I’ve learned a few little tricks that can make a big difference.
- Bottom Heat is Your Friend: If you have space, placing your pots on a heated propagator mat can significantly speed up root development. It mimics the warmth of the soil in the summer and really encourages those root cells to get going.
- Don’t Overwater! This is a common mistake. While humidity is key, soggy soil can lead to rot, and that’s a quick way to lose your cutting. Water only when the top inch of soil feels dry to the touch.
- Patience is a Virtue (Especially with this one): Parmentiera cereifera can be a bit of a slow starter when it comes to rooting. Don’t be discouraged if you don’t see any rooting activity for several weeks. I often wait 6-8 weeks before I even start gently tugging to check for roots.
Aftercare & Troubleshooting
Once you start to see new leaf growth on your cutting, it’s a good sign that roots are forming. You can gradually acclimate your new plant to normal humidity by opening the plastic bag a little bit each day over a week. Once it feels stable, you can remove the bag permanently.
The biggest culprit for failure with cuttings is rot. If you see the stem turning mushy or black at the soil line, it’s usually a sign of too much moisture and not enough air circulation. If this happens, sadly, it’s time to start again with a fresh cutting.
A Encouraging Closing
Growing plants from cuttings is such a rewarding part of gardening. It allows you to expand your collection, share with friends, and truly connect with the growth cycle of these beautiful plants. Don’t be afraid to experiment. Even if your first few attempts aren’t successful, each one is a learning experience. Keep at it, be patient, and enjoy the journey of bringing your own Candle Flower Trees to life! Happy gardening!
Resource:
https://identify.plantnet.org/k-world-flora/species/Parmentiera%20cereifera%20Seem./data