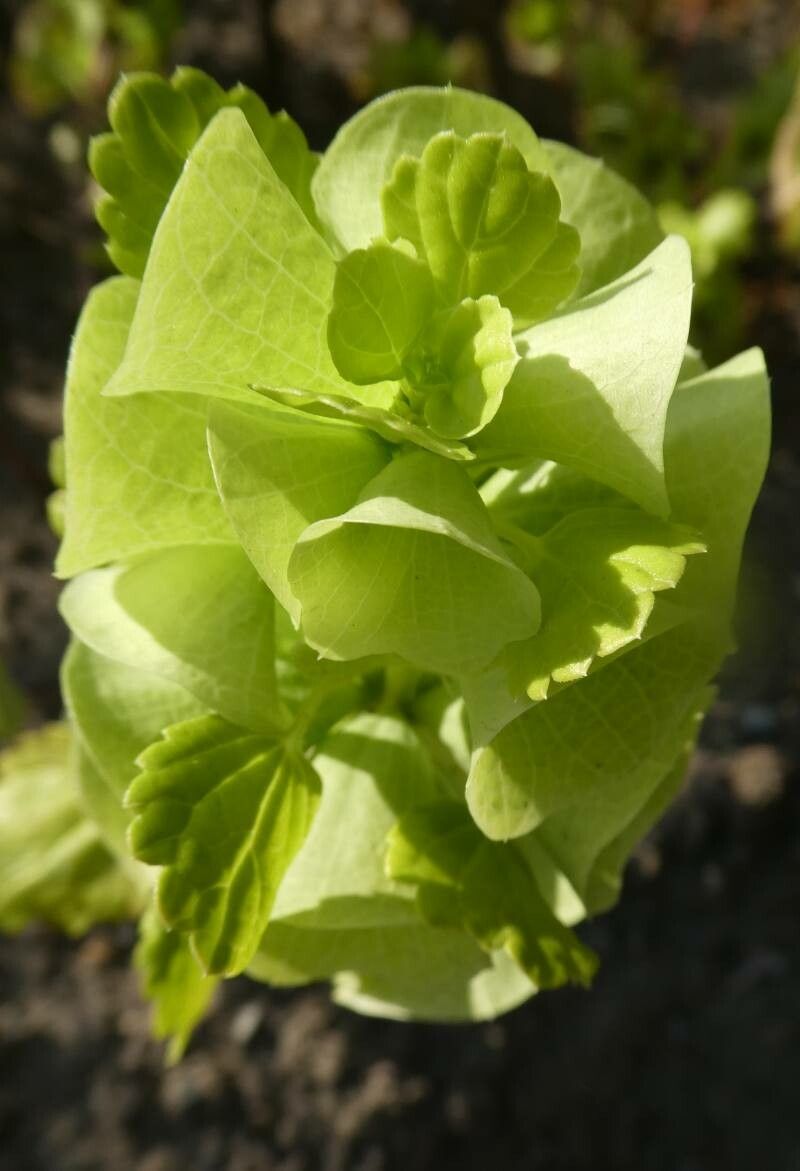
Oh, hello there! Grab a mug of your favorite brew, and let’s chat about one of my absolute favorite garden gems: Moluccella laevis, or the Bells of Ireland. You know, those stunning, tall, green beauties that add such an elegant and almost architectural presence to the garden? They’re like nature’s own filigree.
Your Friendship with Bells of Ireland Starts Here
Bells of Ireland are such a rewarding plant to grow. They’re not just pretty; they’re exceptionally useful in floral arrangements, bringing that unique texture and airy quality. And the best part? Propagating them yourself is a fantastic way to ensure you have an abundance of these beauties each year. For beginners, I’d say they fall into the “moderately easy” category. There are a few quirks, but nothing we can’t handle together!
When is the Magic Time?
The absolute best time to start propagating Bells of Ireland from seed is late winter or very early spring, typically February or March here in my neck of the woods. You want to aim for the time before your last expected frost, but when the days are just starting to lengthen. This gives them a good head start indoors before transplanting them out.
What You’ll Need to Get Started
Here’s a little toolkit to have ready:
- Seed-starting mix: A light, fluffy mix is key. Avoid heavy garden soil.
- Seed trays or small pots: Clean ones are a must!
- Clear plastic dome or plastic wrap: To create a mini greenhouse effect.
- Spray bottle: For gentle watering.
- Labels: So you don’t forget what you planted where!
- Gloves (optional): Always a good idea when working with soil.
- Patience: The most important tool of all!
Bringing Those Bells to Life: Seed Propagation
Bells of Ireland are best propagated from seed. They don’t take readily to cuttings or division like some other plants.
- Prepare Your Pots: Fill your seed trays or pots with your moist seed-starting mix. Gently tap them on the counter to settle the soil, but don’t compact it.
- Sow the Seeds: Scatter the seeds thinly over the surface of the soil. You don’t need to bury them deeply; a light sprinkle of about 1/8 inch of the seed-starting mix is plenty. They actually need light to germinate.
- Water Gently: Using your spray bottle, mist the surface thoroughly. You want the soil to be damp, not soggy.
- Cover Up: Place the clear plastic dome over your trays, or cover the pots with plastic wrap. This will help maintain humidity.
- Find a Cozy Spot: Place your trays in a warm location, ideally around 65-70°F (18-21°C). A sunny windowsill is good, but avoid direct, scorching sun that can dry things out too quickly.
- Be Patient! Germination can be a bit erratic. It can take anywhere from 10 days to 3 weeks, sometimes even longer. Keep an eye on the soil moisture and mist as needed.
My Little “Green-Thumb” Secrets
- Pre-soaking the seeds: Some gardeners swear by soaking the seeds in warm water overnight before sowing. I find this can sometimes speed up germination, so it’s worth a try, especially if you’re feeling impatient.
- Stratification is your friend: Bells of Ireland like a little chill sometimes. After sowing, you can move your trays into the refrigerator for about 2-3 weeks before placing them in their warm germination spot. This mimics their natural overwintering process and can be a real boost to germination rates.
- Don’t overwater! This is crucial. Soggy conditions are the fastest way to invite damping-off disease, which will turn your tiny seedlings into sad, mushy messes. Mist only when the top layer of soil starts to look dry.
Welcoming Your Little Sprouts
Once you see those first tiny green leaves peeking through, it’s time to adjust their care.
- Remove the Cover: Once germination starts, gradually remove the plastic dome or wrap over a few days to help the seedlings acclimate to normal humidity.
- Light is Key: Give them plenty of bright, indirect light. A south-facing windowsill is ideal. If your seedlings start to get leggy and weak, it means they need more light.
- Watering: Continue to water gently when the top inch of soil feels dry to the touch. Avoid getting water directly on the leaves if possible, as this can encourage fungal issues.
- Transplanting: When your seedlings have developed at least two sets of true leaves and are big enough to handle, you can transplant them into slightly larger pots or, eventually, into your garden. Harden them off first by gradually exposing them to outdoor conditions over a week or two before planting them out after the last frost.
When Things Go Awry
The most common issue you’ll encounter is damping-off, where seedlings rot at the soil line. This is almost always due to overwatering or poor air circulation. If you see it, remove the affected seedlings immediately and try to let the soil dry out a bit more. Don’t be discouraged if you lose a few; it happens to the best of us!
So there you have it! Growing your own Bells of Ireland from seed is a wonderfully fulfilling part of gardening. Be patient with the process, enjoy watching those little sprouts emerge, and soon you’ll have an abundance of these charming green bells to grace your garden and your vases. Happy growing!
Resource:
https://identify.plantnet.org/k-world-flora/species/Moluccella%20laevis%20L./data