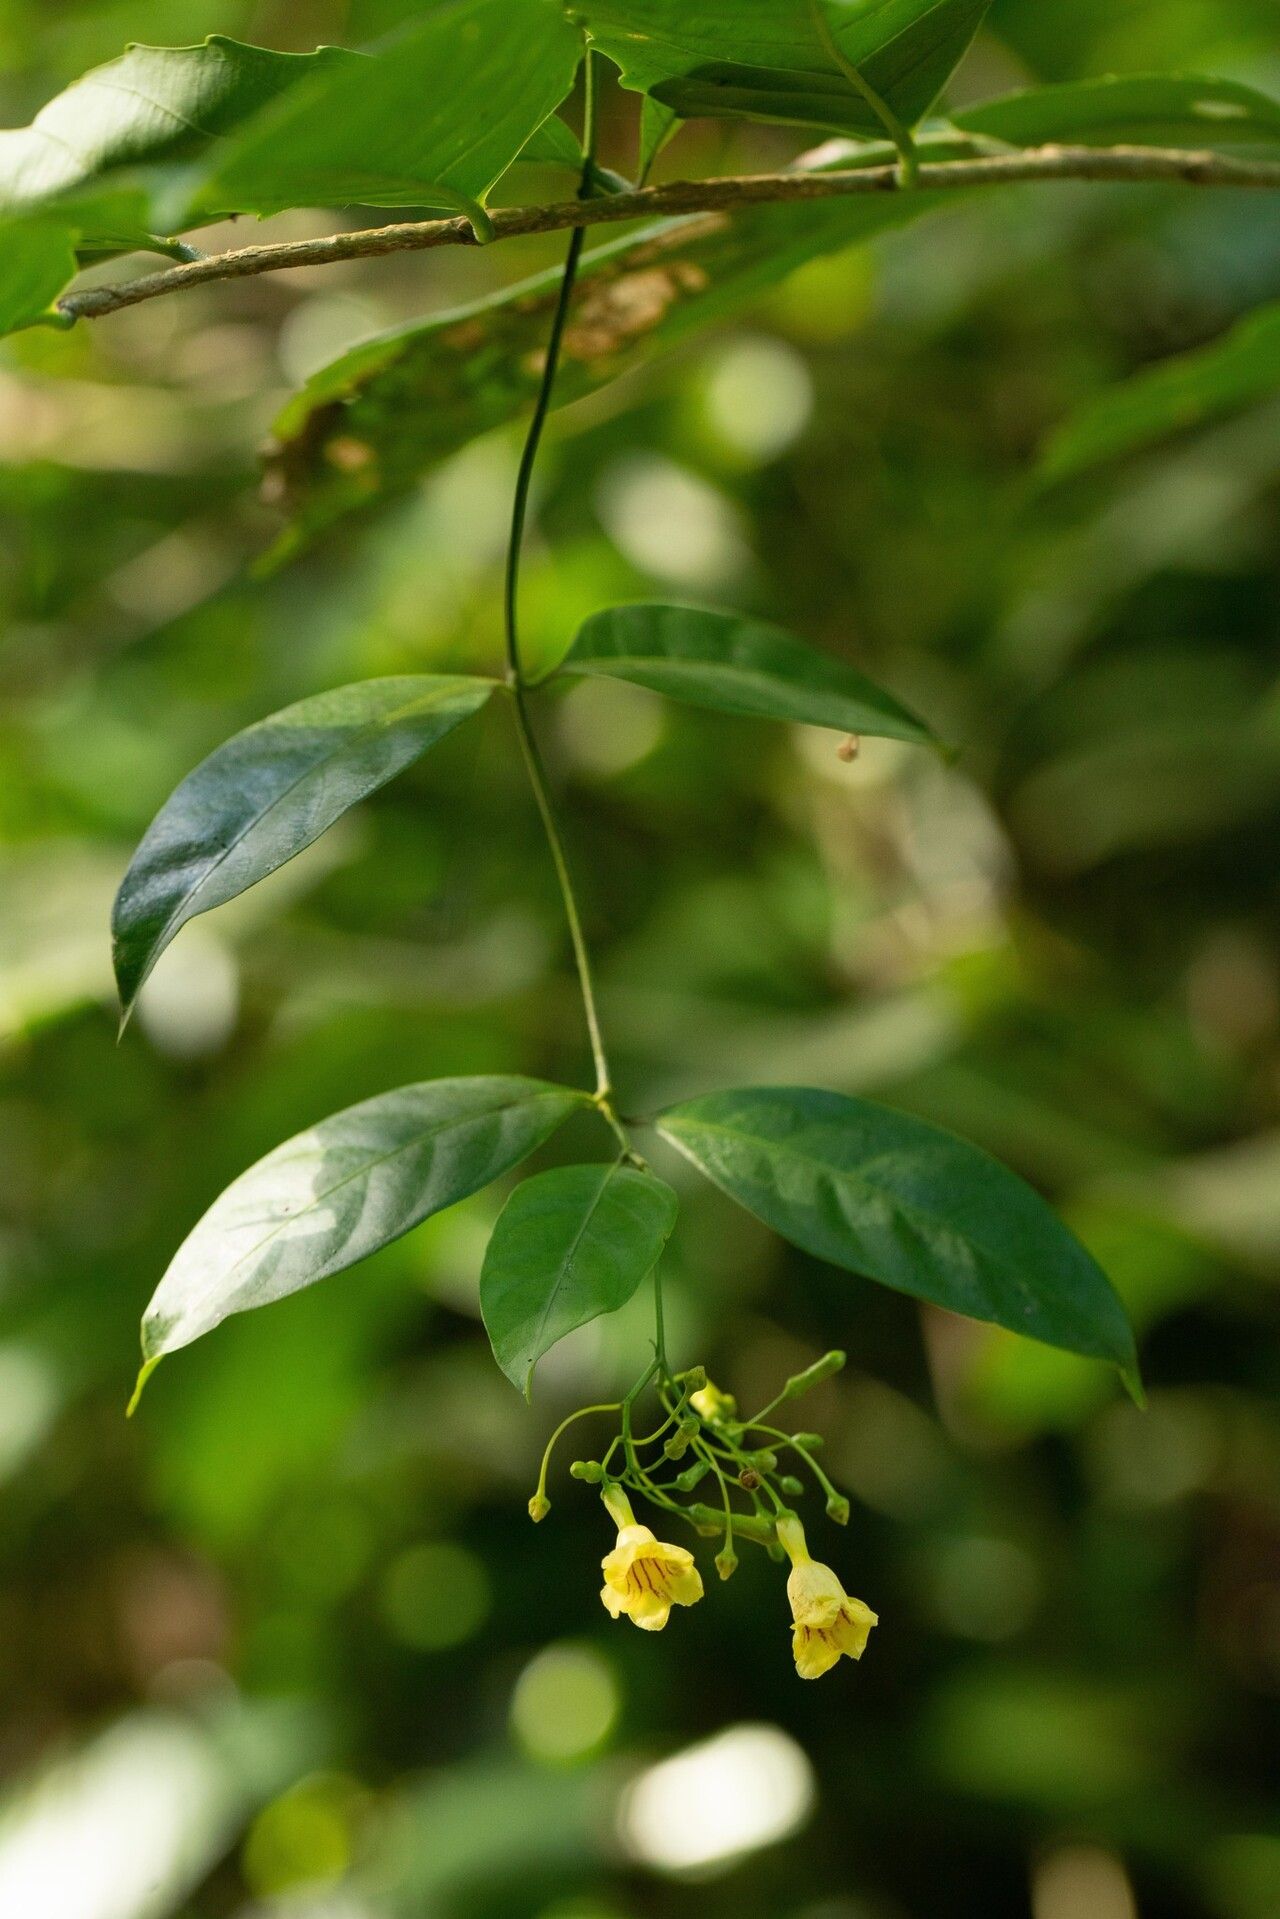
Oh, hello there! Come on in, let’s grab a mug of something delicious. We’re going to talk about a plant that has absolutely stolen my heart over the years: Odontadenia laxiflora. If you’ve ever seen this beauty with its cascading vines and those show-stopping, trumpet-shaped flowers, you know exactly what I mean. They’re like little tropical fireworks!
Why Propagate Odontadenia?
There’s such a thrill in creating new life from a parent plant you love. Propagating Odontadenia laxiflora is a wonderful way to fill your home with more of its charm, or to share these beauties with friends. Now, I’ll be honest, it’s not the absolute easiest plant for a total beginner to propagate, but with a little care and patience, you’ll be celebrating successes in no time. Don’t let that deter you!
When is the Best Time to Start?
The sweet spot for propagating Odontadenia laxiflora is generally during its active growing season. Think late spring through summer. This is when the plant is full of energy and has the best chance of putting out roots quickly. You’re looking for healthy, non-flowering stems for cuttings.
What You’ll Need for Success
Gather your tools before you begin – it makes the whole process smoother.
- Clean, sharp pruning shears or a knife: For making clean cuts, which is crucial.
- Rooting hormone (optional but recommended): A powder or gel to give cuttings a head start.
- Potting medium: A well-draining mix is key. I like a blend of perlite, peat moss, and a bit of orchid bark. You can also find specific seed-starting or rooting mixes.
- Small pots or propagation trays: Clean ones are a must!
- Plastic bags or a propagation dome: To create a humid microclimate.
- Spray bottle with water: For misting.
- Labels and a marker: To keep track of your projects!
Let’s Get Those Cuttings Going!
We’ll focus on stem cuttings, as it’s the most reliable method for Odontadenia laxiflora.
- Take Your Cuttings: On a healthy, mature stem, find a section that has at least two or three sets of leaves. Make a clean cut just below a leaf node (where the leaf attaches to the stem). You want cuttings that are about 4-6 inches long. Remove the lower leaves, leaving just the top one or two. If the top leaves are very large, you can cut them in half to reduce water loss.
- Apply Rooting Hormone: If you’re using rooting hormone, dip the cut end of the stem into the powder or gel, tapping off any excess. This step isn’t strictly necessary, but it can really boost your success rate.
- Planting the Cuttings: Fill your clean pots or trays with your prepared well-draining potting mix. Make a small hole in the center with your finger or a pencil. Gently insert the cut end of the Odontadenia cutting into the hole, burying the part where you removed the leaves. Firm the soil gently around the stem.
- Create Humidity: Now, the crucial part for these tropical beauties. Water the potting mix lightly until it’s evenly moist but not soggy. Then, cover the pot with a plastic bag, propped up so it doesn’t touch the leaves, or use a propagation dome. This traps moisture and creates the humid environment they crave.
The “Secret Sauce” from My Garden
Here are a few things I’ve learned that make a big difference with trickier propagations like this:
- The magic of bottom heat: If you have a heat mat designed for plant propagation, use it! Placing your pots on a gentle heat source can significantly speed up root development. It mimics the warmth of tropical soil.
- Don’t overwater, ever: This is a tough one, but soggy soil is the enemy of cuttings. It leads to rot, not roots. Check the moisture level by gently poking your finger into the soil. If it feels dry about an inch down, it’s time to water.
- Air circulation is key: While we want humidity, stagnant, wet air can invite fungal issues. Open the plastic bag or dome for a few minutes every day to allow for fresh air exchange.
Aftercare and What to Watch For
Once your cuttings are planted, place them in bright, indirect light. Avoid direct sun, which can scorch them. Keep the soil consistently moist but never waterlogged.
You’ll know your Odontadenia is rooting when you see new leaf growth or feel a gentle resistance when you tug very softly on the stem. This usually takes anywhere from 4 to 8 weeks, sometimes longer. Patience is your best friend here!
Troubleshooting: The most common problem is rot. If a cutting turns mushy, black, or just wilts without any signs of rooting, it’s likely rotted. This is usually due to overwatering or poor air circulation. Don’t be discouraged if you lose a few – it happens to all of us!
Happy Propagating!
See? It’s a journey, but a really rewarding one. Bringing a new Odontadenia laxiflora to life from a tiny cutting is a feeling I never get tired of. Take your time, enjoy the process of nurturing these new plants, and soon you’ll have a whole jungle of your own! Happy gardening!
Resource:
https://identify.plantnet.org/k-world-flora/species/Odontadenia%20laxiflora%20(Rusby)%20Woodson/data