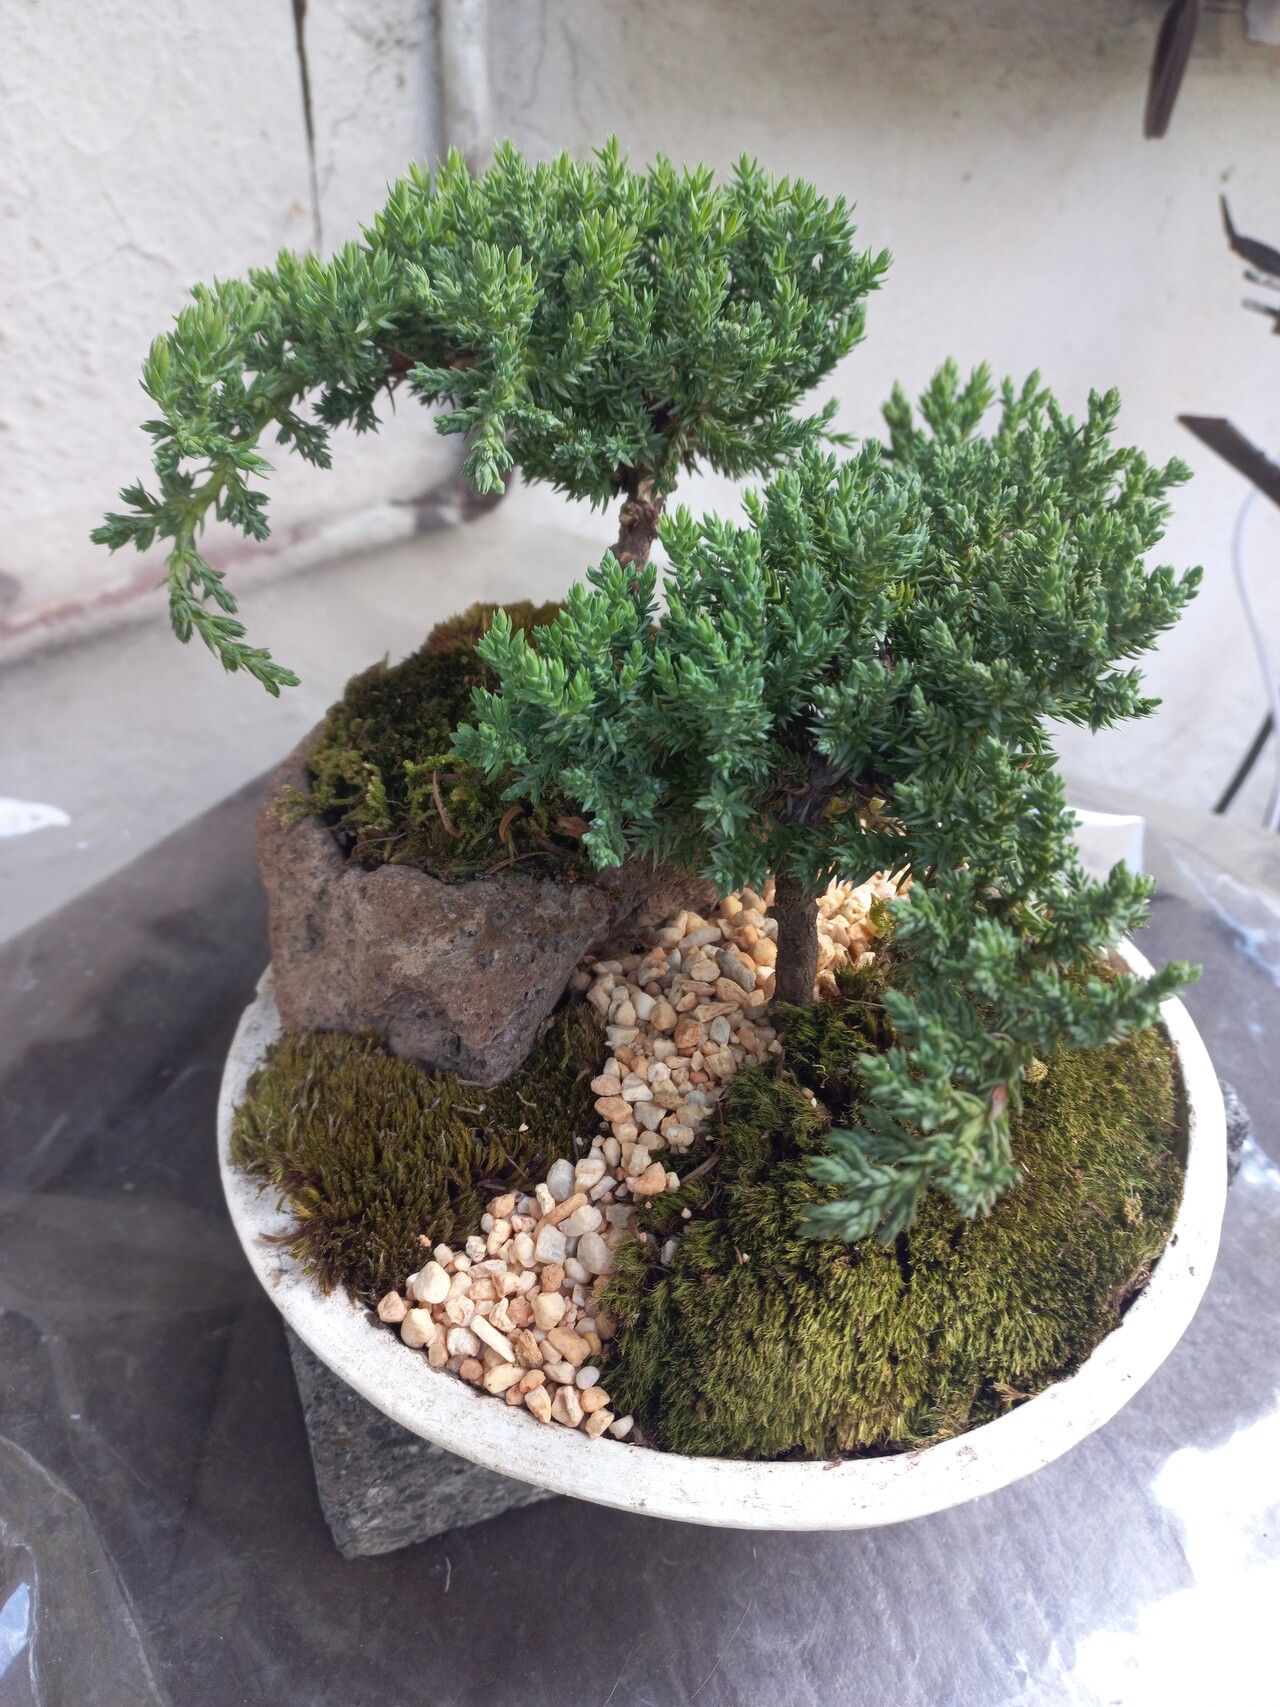
Hey there, fellow plant lovers! I’m so excited to chat with you today about a plant that holds a special place in my heart (and my garden!): Juniperus chinensis, or Chinese Juniper.
These evergreens are simply gorgeous. Their graceful forms, whether sculpted into a bonsai masterpiece or allowed to grow into a natural shrub, bring architectural beauty to any landscape. And the best part? They’re incredibly rewarding to propagate! While they might seem a bit daunting at first glance, I promise you, with a little guidance, you can absolutely succeed with Chinese Juniper. It’s not the absolute easiest plant for someone just dipping their toes into propagation, but with a bit of care, it’s definitely achievable.
The Best Time to Start
For Juniperus chinensis, late spring to early summer is your golden window. This is when the plant is actively growing, and the stems are what we call “semi-hardwood.” They’re not as soft and succulent as new growth, nor as woody as older branches. This stage offers the perfect balance for successful rooting. Think of it like Goldilocks – not too hard, not too soft, just right!
Supplies You’ll Need
Here’s what you’ll want to gather before we get our hands dirty:
- Sharp Pruning Shears or a Knife: Clean cuts are crucial for preventing disease.
- Rooting Hormone: Look for a product specifically designed for woody cuttings.
- Small Pots or a Propagation Tray: With drainage holes, of course!
- Well-Draining Potting Mix: A 50/50 blend of perlite and peat moss or coco coir works wonders. You can also find specialized succulent or cactus mixes that are excellent.
- A Small Watering Can or Spray Bottle: For gentle watering.
- Plastic Bags or a Clear Plastic Dome: To create a humid microclimate.
- Labels: So you don’t forget what you planted!
- (Optional) Heating Mat: For bottom warmth, which can speed up rooting.
Propagation Methods: Stem Cuttings
This is my go-to method for Junipers. It’s straightforward and gives you a great chance of success.
- Take Your Cuttings: On a mild morning, select healthy, vigorous branches. Using your clean pruning shears or knife, cut pieces about 4-6 inches long. Make your cut just below a leaf node (where the leaves attach to the stem).
- Prepare the Cuttings: Gently remove the lower leaves from the bottom 2-3 inches of each cutting. This prevents them from rotting when buried in the soil and encourages root development from the nodes.
- Apply Rooting Hormone: Dip the cut end of each cutting into your rooting hormone. Tap off any excess.
- Plant the Cuttings: Fill your pots or tray with your well-draining potting mix. Make a hole with a pencil or your finger, insert the cutting, and gently firm the soil around it.
- Create Humidity: Water the soil lightly. Then, cover the pots with a clear plastic bag or a propagation dome. You want to create a mini-greenhouse effect, but make sure the leaves don’t touch the plastic – this can lead to rot. You can use stakes to prop up the bag.
- Find a Spot: Place your cuttings in a bright location that receives indirect sunlight. Avoid direct sun, which can scorch the tender cuttings.
The “Secret Sauce” (Pro Tips)
Here are a couple of things I’ve learned over the years that really make a difference:
- The Buzz Test (for Rooting Hormone): Sometimes, rooting hormone can be a bit clingy. Gently tap the cutting on the side of the pot before you plant it to ensure you have an even coating, but not a thick glob. Too much can actually hinder rooting.
- Bottom Heat is Your Friend: If you have a heating mat, use it! Placing your pots on a gentle heat source (around 70-75°F or 21-24°C) can significantly speed up the rooting process. It mimics the warmth of spring soil and encourages those roots to form more quickly.
Aftercare & Troubleshooting
Once your cuttings are planted, patience is key! Keep the soil consistently moist but not waterlogged. You can check this by gently probing the soil with your finger. The plastic cover will help maintain humidity, but you might want to lightly mist the leaves occasionally if the air is very dry.
You’ll know your cuttings have rooted when you see new growth appearing. You can also give a very gentle tug – if there’s resistance, roots are forming! This can take anywhere from 4-8 weeks, or even longer.
The most common issue you might encounter is rot. This usually happens when the soil is too wet or the humidity is too high without enough airflow. If you see a cutting turning black and mushy, it’s time to discard it and check your watering habits. Unfortunately, once rot sets in, it’s usually game over for that particular cutting.
A Little Encouragement
Don’t be discouraged if not every cutting takes. Propagation is a bit of an art, and a little bit of science! The joy is in the process, in learning to understand what these plants need, and in the incredible satisfaction of growing a new life from a small piece of an existing one. Keep trying, and enjoy nurturing your little Juniper babies. Happy gardening!
Resource:
https://identify.plantnet.org/k-world-flora/species/Juniperus%20chinensis%20L./data