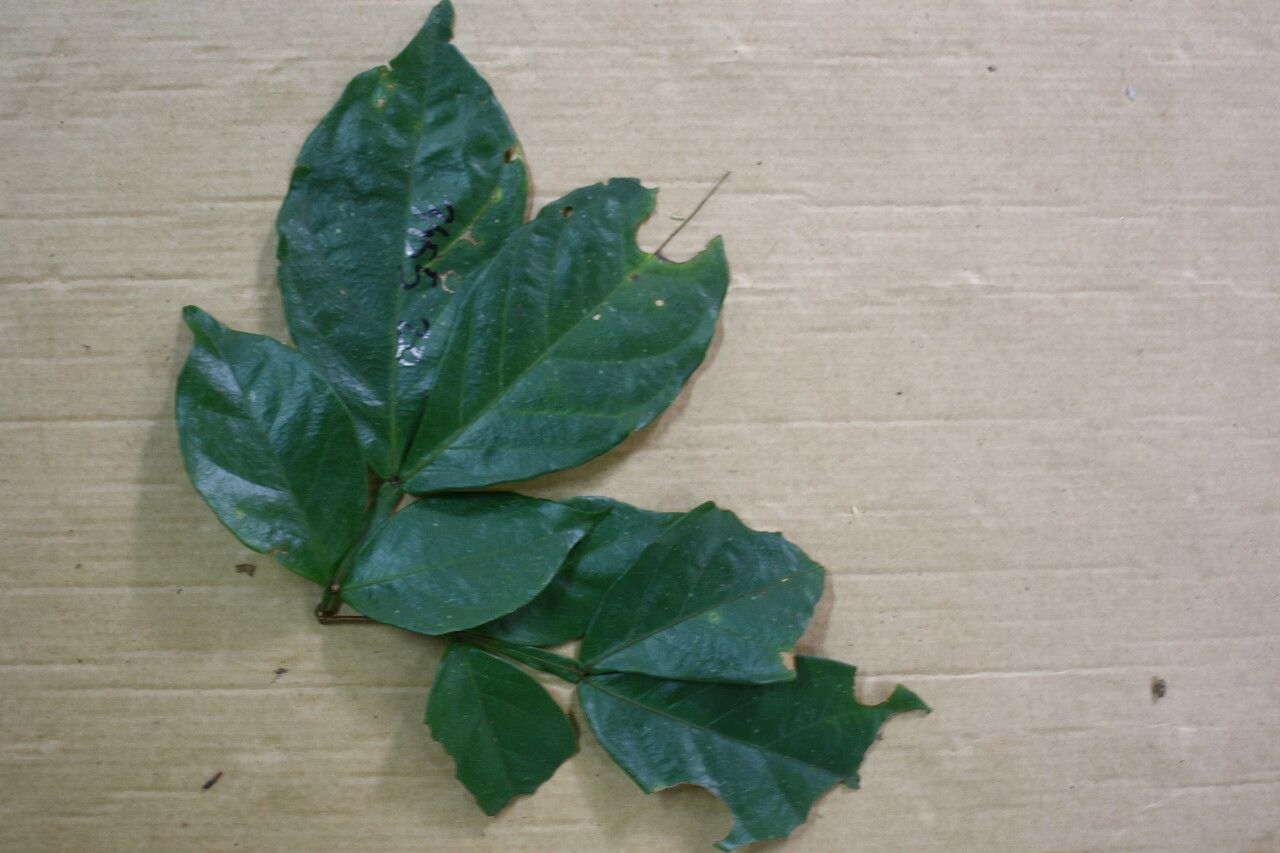
Oh, Inga brachystachys! If you haven’t met this beauty yet, you’re in for a treat. Its delicate, fern-like foliage and those charming, often fluffy, white flowers have such a whimsical appeal. And the best part? Propagating it yourself is incredibly rewarding. It’s not the absolute easiest plant for a complete beginner, but with a little patience and this guide, you’ll be well on your way to success.
The Best Time to Start
For Inga brachystachys, spring is your golden ticket. As the days get longer and the plant begins its vigorous new growth, it’s most receptive to propagation. Aim for late spring or early summer, just as new shoots are unfurling. This is when the plant has plenty of energy to dedicate to root development.
Supplies You’ll Need
Here’s what I always have on hand when I’m ready to get my hands dirty:
- Sharp Pruning Shears or a Craft Knife: Clean cuts are crucial for healthy rooting.
- Rooting Hormone (Powder or Gel): This is a great confidence booster for your cuttings.
- Well-Draining Potting Mix: I like a blend of good quality potting soil with perlite and a bit of coco coir for moisture retention, but not sogginess.
- Small Pots or Seedling Trays: With drainage holes, of course!
- Clear Plastic Bag or Humidity Dome: To create a mini greenhouse effect.
- Watering Can with a Fine Rose: For gentle watering.
- Optional: Bottom Heat Mat: This can really speed up the rooting process.
Propagation Methods
While Inga brachystachys can sometimes be coaxed from seed, stem cuttings are generally my go-to. It’s reliable and gives you a clone of your parent plant.
Stem Cuttings
- Select Your Cuttings: Look for healthy, semi-hardwood stems. These are stems that are not brand new and soft, but also not old and woody. About 4-6 inches long is ideal. Make your cut just below a leaf node (where a leaf attaches to the stem). This is where the magic happens for root formation!
- Prepare the Cuttings: Gently remove the lower leaves, leaving just a couple at the very top. This prevents them from rotting in the propagation medium and also reduces water loss.
- Apply Rooting Hormone: If you’re using it, dip the wounded end of the cutting into the rooting hormone, tapping off any excess.
- Plant Your Cuttings: Fill your clean pots with your prepared potting mix. Make a small hole with your finger or a pencil, and insert the cutting, ensuring the leaf nodes you stripped are below the soil line. Gently firm the soil around the stem.
- Water Gently: Water thoroughly until you see water drain from the bottom of the pot.
- Create a Humid Environment: Cover the pots with a clear plastic bag, securing it around the rim with a rubber band or tape. Alternatively, use a humidity dome. This keeps the humidity high, which is vital for cuttings before they develop roots.
- Place in Bright, Indirect Light: Find a warm spot out of direct sun. A windowsill that gets morning sun but is shaded in the afternoon is perfect.
The “Secret Sauce” (Pro Tips)
- Don’t Overcrowd Your Pots: Give each cutting a bit of breathing room. If they’re too close, they compete for resources, and airflow is reduced, increasing the risk of fungal issues.
- Bottom Heat is Your Friend: If you have a heat mat, place your pots on it. This gentle warmth from below encourages root development much faster and more consistently than relying on ambient room temperature alone. You’re essentially mimicking that warm, spring soil.
- Label Everything! Seriously, future you will thank you. Note the date you took the cuttings and what method you used. It’s so easy to forget when you’re excited about multiple projects.
Aftercare & Troubleshooting
Once your cuttings are planted and covered, resist the urge to peek too often! Open the bag/dome for a quick water check and a bit of air exchange every few days, but keep it brief.
You’ll know your cutting has rooted when you feel a slight resistance when you gently tug on it. You might also start to see new leaf growth. This can take anywhere from 4 to 8 weeks, sometimes longer, so patience is key!
When roots have formed, you can gradually acclimate your new plant to lower humidity. This means slowly opening the bag or dome for longer periods over a week or two. Then, you can transplant your little Inga into its own pot.
The most common problem you might encounter is rot. If you see wilting, mushy stems, or blackening at the soil line, it’s usually a sign of too much moisture and not enough air circulation. At that point, unfortunately, the cutting is likely lost. Don’t get discouraged; just grab another stem and try again, adjusting your watering frequency.
A Little Patience Goes a Long Way
Propagating plants is an act of faith and a beautiful dance with nature. Every cutting is a new beginning, a promise of future beauty. Be patient with your Inga brachystachys, enjoy the process of nurturing these tiny hopefuls, and celebrate every bit of growth. Happy propagating!
Resource:
https://identify.plantnet.org/k-world-flora/species/Inga%20brachystachys%20Ducke/data