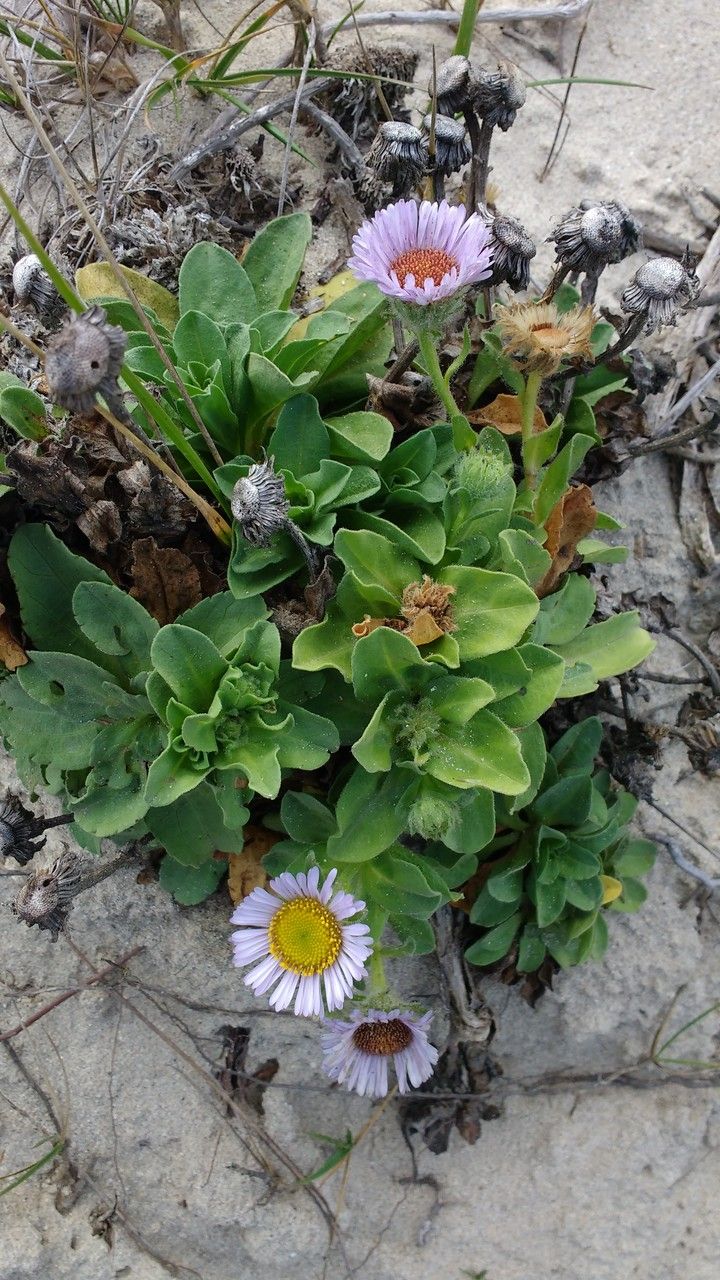
Hello there, fellow plant enthusiasts! Today, we’re diving into the wonderful world of Erigeron glaucus, a plant I just adore. You might know it as the seaside daisy or the Pacific coast asters. Its charming little daisy-like flowers, often in shades of blue and purple, bring such a delightful splash of color and a touch of wild beauty to any garden. Seriously, it’s a tough little trooper that thrives in coastal conditions and even looks fantastic in rock gardens.
What I love most about Erigeron glaucus is how incredibly rewarding it is to grow your own from cuttings. It’s a fantastic way to fill your garden spaces without buying new plants and to share that joy with friends. For beginners? I’d say it’s definitely on the easier side. You’ll be surprised at how readily it takes, and that’s always a confidence booster!
The Best Time to Start
For the highest success rate with Erigeron glaucus, I always aim to take cuttings in late spring to early summer. This is when the plant is actively growing, and the energy is really flowing through those stems. You want to look for new growth that’s not too soft and floppy, but also not overly woody. Think of it as that perfect “pencil-thick” stage.
Supplies You’ll Need
Gathering your tools beforehand makes the whole process so much smoother. Here’s what I usually have on hand:
- Sharp pruning shears or scissors: Make sure they’re clean to prevent disease.
- Rooting hormone (optional but recommended): This really gives your cuttings a head start.
- Well-draining potting mix: A classic mix of equal parts peat moss, perlite, and coarse sand works wonders. You can also buy specialized seedling mixes.
- Small pots or trays: Clean containers are important!
- Spray bottle: For misting.
- Plastic bag or propagator: This creates a humid environment.
- Sharpie or plant labels: To keep track of what’s what!
Propagation Methods
Erigeron glaucus is a champion when it comes to propagation by stem cuttings. It’s quite straightforward and yields fantastic results.
- Take Your Cuttings: Head out to your Erigeron glaucus and, using your clean shears, carefully snip off pieces of stem that are about 4 to 6 inches long. Make the cut just below a leaf node, that little bump where a leaf grows from the stem.
- Prepare the Cuttings: Gently remove the lower leaves from the stem, leaving just a few at the top. This helps the cutting focus its energy on rooting. If you’re using rooting hormone, dip the cut end of the stem into it now, tapping off any excess.
- Potting Up: Fill your small pots or trays with your well-draining potting mix. Make a small hole in the center of the soil with your finger or a pencil.
- Plant the Cuttings: Insert the prepared cuttings into the holes, ensuring the leaf nodes are buried in the soil. Gently firm the soil around the base of each cutting.
- Create a Humid Environment: Water the soil lightly. Then, cover the pots with a plastic bag, or pop them into a propagator. This will trap moisture and create the humid environment your cuttings need to stay turgid and encourage root development.
The “Secret Sauce” (Pro Tips)
After years of gardening, you pick up a few tricks. Here are some that really make a difference with Erigeron glaucus cuttings:
- Don’t let the leaves touch the water: If you happen to be trying a water propagation method on a smaller scale (though I find cuttings are more reliable for this plant), make sure only the stem is submerged. Any leaves sitting in water will rot very quickly, which can take the whole cutting down with it.
- Bottom heat is your friend: If you have the option, placing your pots on a heat mat designed for propagation can significantly speed up root formation. Erigeron glaucus loves a bit of warmth at its base to encourage those roots to kick into gear.
- Act quickly after taking cuttings: Once you snip those stems, try to get them into the rooting medium as soon as possible. The longer they sit out, the more stressed they become, which reduces their chances of successful rooting.
Aftercare & Troubleshooting
Once your cuttings have rooted, and you’ll know this because you’ll see new growth appearing and they’ll feel a bit more resistance when gently tugged, it’s time for continued care.
Gradually remove the plastic cover over a few days to acclimate them to drier air. Continue to keep the soil moist but never waterlogged. Direct sunlight can be a bit harsh at first, so a bright spot with indirect light is ideal. Once they have a good root system and are showing vigorous growth, you can transplant them into larger pots or their final garden spot.
The most common issue you might encounter is rot. This usually happens if the soil is too wet, or if there’s a lack of air circulation. If you see your cuttings turning mushy or black at the base, unfortunately, they’ve likely succumbed to rot. Don’t be discouraged! Just make a note of what might have happened – perhaps too much water, or a lack of drainage – and try again.
A Little Patience Goes a Long Way
Propagating plants is such a wonderfully hands-on experience. It’s a chance to connect with nature and, in a way, to replicate the magic you already have in your garden. Be patient with your Erigeron glaucus cuttings. Some will take faster than others. Just keep them happy, provide that bit of humidity and gentle light, and before you know it, you’ll have a whole new patch of these cheerful seaside daisies ready to grace your garden. Happy propagating!
Resource:
https://identify.plantnet.org/k-world-flora/species/Erigeron%20glaucus%20Ker%20Gawl./data