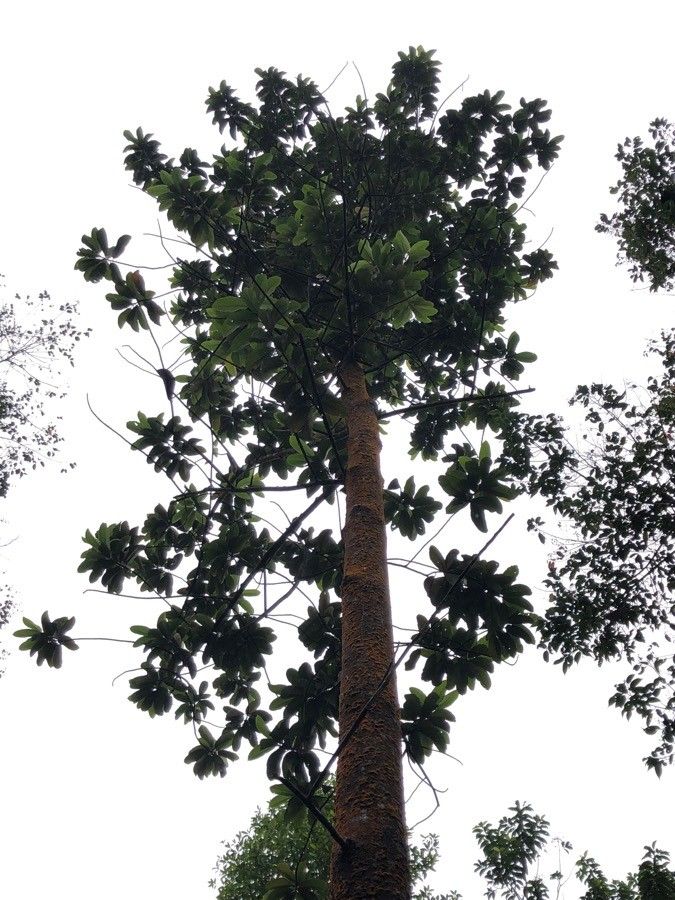
Hello fellow plant lovers! Today, we’re diving into the wonderful world of Dipterocarpus verrucosus. Now, I know that name might sound a little fancy, but trust me, this tree is a beauty. Its lush, green foliage and impressive stature make it a real showstopper in any garden. And the best part? Growing it from a cutting or seed is incredibly rewarding. It connects you to nature in a special way, and honestly, it’s not as daunting as it might seem. Think of it as nurturing a tiny bit of magic.
When to Get Your Hands Dirty
For the best chance of success with propagating Dipterocarpus verrucosus, I always lean towards late spring or early summer. This is when the plant is in its most vigorous growth phase. You’ll see new shoots emerging, full of life and ready to take root. Trying this in the dead of winter can be frustrating, as the plant is naturally conserving energy. So, let’s wait for that warm sunshine to really get things going!
Your Propagation Toolkit
Gathering your supplies beforehand makes the whole process so much smoother. Here’s what I usually have on hand:
- Sharp, clean pruning shears or a knife: It’s crucial to make clean cuts to avoid damaging the plant or introducing disease. Sterilize them with rubbing alcohol before you start.
- Rooting hormone (powder or gel): While not always strictly necessary, it can give your cuttings a significant boost, especially for woody plants like this.
- Well-draining potting mix: A good blend is key! I often use a mix of peat moss, perlite, and coarse sand in roughly equal parts. You want something that won’t hold water for too long.
- Small pots or propagation trays: These should have drainage holes.
- A plastic bag or propagator lid: To create a humid environment for your cuttings.
- Watering can or spray bottle: For gentle watering.
Bringing New Life: Propagation Methods
Let’s get down to the nitty-gritty of making more Dipterocarpus verrucosus!
Stem Cuttings: My Go-To Method
This is my favorite and generally the most successful approach for Dipterocarpus verrucosus.
- Select healthy stems: Look for semi-hardwood cuttings. These are stems that are neither brand new and soft nor old and woody. They should be about 6-8 inches long. You can often find these on healthy branches that have just finished their spring flush of growth.
- Make the cut: Using your sterilized shears or knife, make a clean cut just below a leaf node. A leaf node is where a leaf or bud attaches to the stem. This is where the magic happens for root formation.
- Prepare the cutting: Carefully remove the lower leaves, leaving just a couple at the top. This prevents them from rotting in the soil and encourages the plant to focus its energy on rooting. You can even gently scrape away a thin strip of bark on one side of the base (about an inch long) – this can sometimes encourage more vigorous root development.
- Apply rooting hormone: Dip the cut end of the stem into your rooting hormone, tapping off any excess.
- Plant your cutting: Fill your small pot with your prepared well-draining potting mix. Make a small hole with your finger or a pencil, and insert the cutting. Gently firm the soil around the base to ensure good contact.
- Create a humid environment: Water the soil gently. Then, cover the pot with a plastic bag or a propagator lid. This traps humidity around the cutting, which is vital for preventing it from drying out before it can develop roots.
Water Propagation (Use with Caution)
While I prefer soil propagation for Dipterocarpus verrucosus, some folks like to try water. If you choose this route:
- Prepare the cutting: Similar to above, take 6-8 inch semi-hardwood cuttings, remove lower leaves, and make a cut below a node.
- Place in water: Put the cuttings in a clean jar or vase filled with clean, fresh water.
- Positioning is key: Ensure no leaves are submerged in the water. Leaves in the water will rot and can infect the entire cutting.
- Change water regularly: Change the water every few days to keep it fresh and prevent bacterial growth.
You should start seeing tiny roots emerging from the nodes within a few weeks. Once these roots are about an inch long, it’s time to carefully transplant them into soil.
The “Secret Sauce”: My Insider Tips
These are the little things that can make a big difference!
- Warmth is your friend: If you can, use a heating mat placed under your propagation tray or pots. Dipterocarpus verrucosus loves a bit of warmth from below, and it truly speeds up root development. Don’t let it get too hot, though – just comfortably warm to the touch.
- Don’t disturb the roots too soon: Resist the urge to pull up your cuttings to check for roots! This can break delicate new root hairs. You’ll know roots have formed when you see new growth appearing on the cutting. This is the surest sign that it’s established.
- Think about air circulation: While humidity is important, you don’t want stagnant air, as this can encourage fungal diseases. Periodically “air out” your cuttings by lifting the plastic bag or propagator lid for a few minutes each day, especially if you notice condensation building up too heavily.
Aftercare and When Things Go Wrong
Once you see those first signs of new leaves or noticeable root growth through the drainage holes, your cutting has successfully rooted!
- Acclimatize slowly: Gradually reduce the humidity over a week or two. Start by opening the bag for longer periods, then remove it completely.
- Gentle watering: Continue to water moderately, allowing the top inch of soil to dry out slightly between waterings. Avoid overwatering, as this is the quickest way to invite rot.
- Bright, indirect light: Move your new plant to a spot with bright, indirect light. Direct sun can scorch its delicate new leaves.
- Troubleshooting: The most common issue you’ll face is rot. If your cutting turns mushy or black, it’s likely succumbed to rot, often due to overwatering or a lack of good drainage. Don’t despair! It happens to the best of us. Just discard the affected cutting and try again, paying close attention to your watering and soil mix. Yellowing leaves, on the other hand, might just mean it needs a bit more light.
Keep Growing!
Propagating Dipterocarpus verrucosus is such a rewarding journey. Be patient with yourself and your plants. Some cuttings will take off like rockets, while others might need a little more coaxing. Enjoy the process, learn from each attempt, and before you know it, you’ll have a beautiful new Dipterocarpus verrucosus to admire. Happy growing!
Resource: