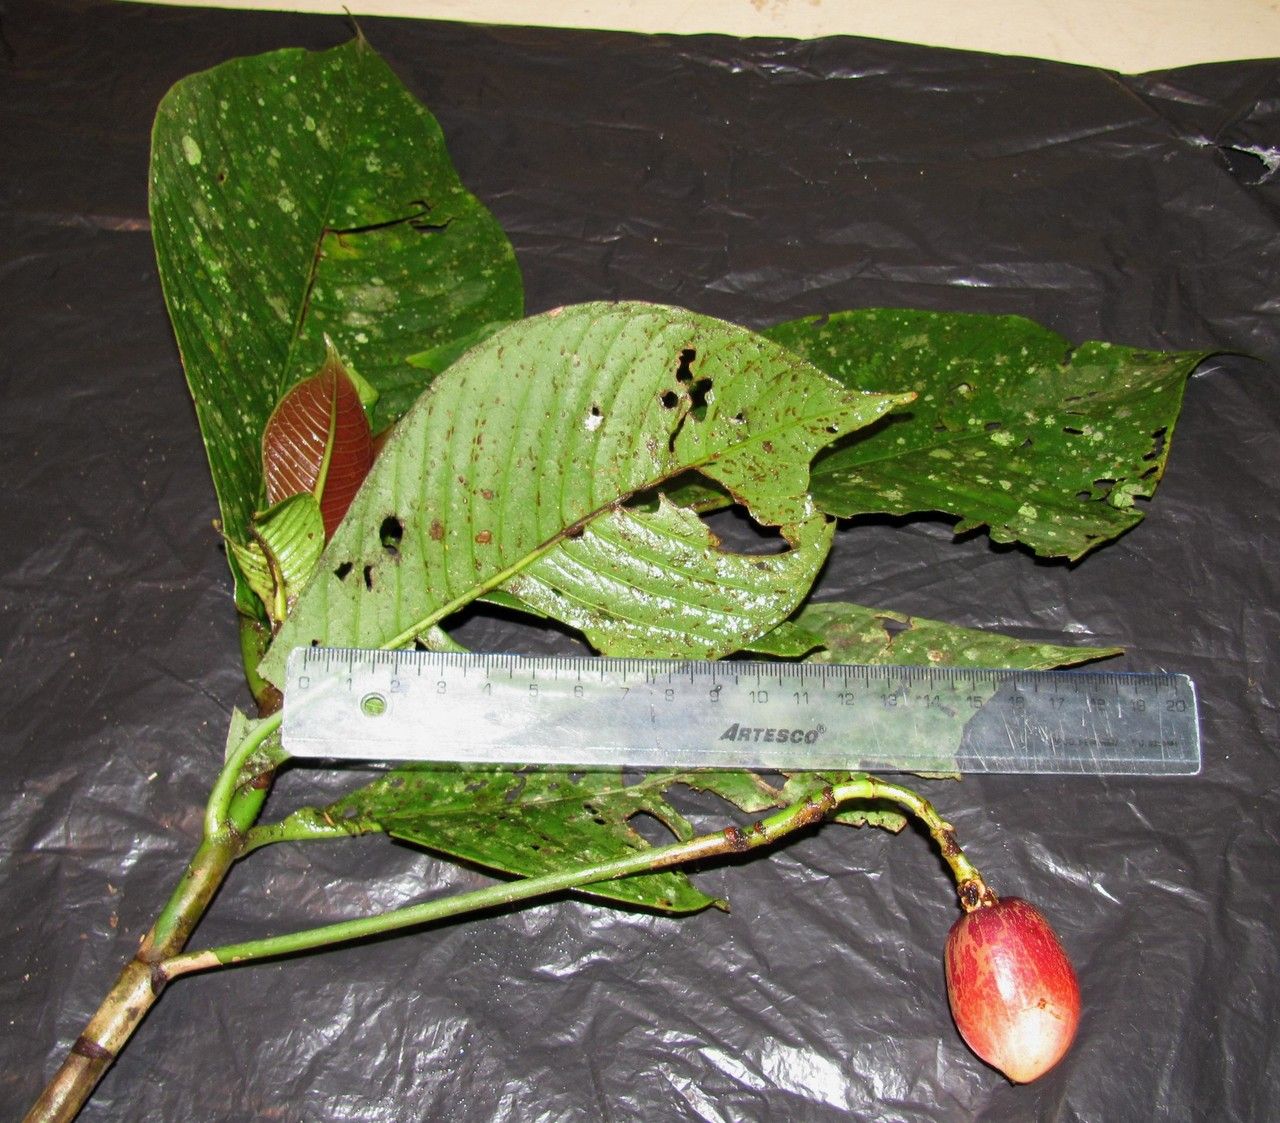
Oh, Chrysochlamys skutchii! If you’ve ever seen this beauty gracing a garden or collection, you know exactly why I’m so eager to talk about it. It has this incredible, almost glossy leaf texture that catches the light, and its growth habit is just so elegantly tropical. For me, the joy of propagation isn’t just about getting more plants, but about learning the plant, understanding its rhythm. And with Chrysochlamys skutchii, it’s a wonderfully rewarding journey. Now, for beginners, I’d say it’s moderately easy. It’s not a plant that will throw a fit if you’re a step off, but it does appreciate a little know-how.
The Best Time to Start
For the most success, I always reach for my propagation tools in late spring or early summer. This is when the plant is in its active growing phase. New growth is usually more vigorous and pliable, making it more receptive to forming roots. Think of it as their prime energetic period; they’re just bursting with potential!
Supplies You’ll Need
Here’s what I usually have on hand when I’m ready to propagate:
- Clean, sharp pruning shears or a knife: Sterilize them with rubbing alcohol between cuts to prevent disease.
- Rooting hormone (optional, but recommended): A powder or gel can significantly boost success rates, especially with slightly trickier cuttings.
- Well-draining potting mix: I often use a blend of perlite, orchid bark, and coco coir. You want it to be airy and not hold too much moisture.
- Small pots or propagation trays: Clean ones, of course!
- A spray bottle: For misting.
- Clear plastic bags or a propagator: To create a humid environment.
- Lable and marker: To keep track of what you’ve propagated and when.
Propagation Methods
I’ve found two primary methods work best for Chrysochlamys skutchii: stem cuttings and division.
Stem Cuttings
This is my go-to for this plant. It’s relatively straightforward and usually yields great results.
- Select a healthy stem: Look for a piece of new growth that’s about 4-6 inches long. It should be firm but not woody.
- Make the cut: Using your sterilized shears, make a clean cut just below a leaf node. These are the little bumps where leaves emerge from the stem. This is where the magic happens for root development.
- Prepare the cutting: Gently remove the lower leaves. You want to expose at least one or two nodes. If the upper leaves are very large, I’ll sometimes trim them in half to reduce water loss.
- Apply rooting hormone: Dip the cut end into your rooting hormone powder or gel, tapping off any excess.
- Pot it up: Fill your small pot with your well-draining mix. Make a small hole with your finger or a pencil and gently insert the cutting, ensuring the nodes are nestled into the soil. Firm the soil around the stem.
- Create a humid environment: Water the soil lightly until it’s just moist, not soggy. Then, cover the pot with a clear plastic bag or place it in a propagator. You want to trap humidity around the leaves.
Division
If your plant has grown into a pleasingly full clump, division is a wonderful way to get a few new plants.
- Remove the plant from its pot: Gently tip the pot sideways and ease the entire root ball out.
- Inspect the root ball: Look for natural breaks where you can separate sections of the plant. You want each new division to have a good amount of roots and at least one healthy shoot or stem.
- Gently separate: Use your fingers or a clean trowel to carefully pull or tease the sections apart. If it’s a bit stubborn, you can use your sterilized knife to cut through tangled roots, but try to minimize damage.
- Pot the divisions: Plant each division into its own pot with fresh, well-draining soil, as you would a mature plant. Water them in well.
The “Secret Sauce” (Pro Tips)
Here are a couple of things I’ve learned that really make a difference:
- Don’t let the leaves touch the water: If you’re doing water propagation (which I find can be a bit more prone to rot with this plant, but some people swear by it!), make sure the leaves are above the waterline. Only the stem and nodes should be submerged.
- Bottom heat is your friend: If you can, placing your pots on a gentle heat mat really speeds up the rooting process. It mimics the warmth of the soil that a mother plant would experience. It’s not absolutely essential, but it helps a lot!
Aftercare & Troubleshooting
Once your cuttings have roots – and you can usually tell by gently tugging on them; there will be resistance – it’s time to treat them like little seedlings. Keep them in a bright, but indirect light location. Continue to monitor the moisture; the soil should be kept consistently moist but never waterlogged.
The most common issue you might face is rot. If you see your stem turning black or mushy, it’s a sign of too much moisture and not enough airflow. Unfortunately, at that point, the cutting is usually a goner. Remove any affected parts immediately. Other signs of struggle can be yellowing leaves, which could mean too much direct sun, or wilting, which might indicate it hasn’t rooted yet or is too dry. Patience is key here!
A Encouraging Closing
Growing new plants is such a fulfilling part of gardening. Don’t be discouraged if your first attempts aren’t perfect. Every gardener has their share of cuttings that just don’t make it. The most important thing is to observe your plant, learn from it, and keep trying. Enjoy the process of nurturing these little bits of green into something beautiful!
Resource:
https://identify.plantnet.org/k-world-flora/species/Chrysochlamys%20skutchii%20Hammel/data