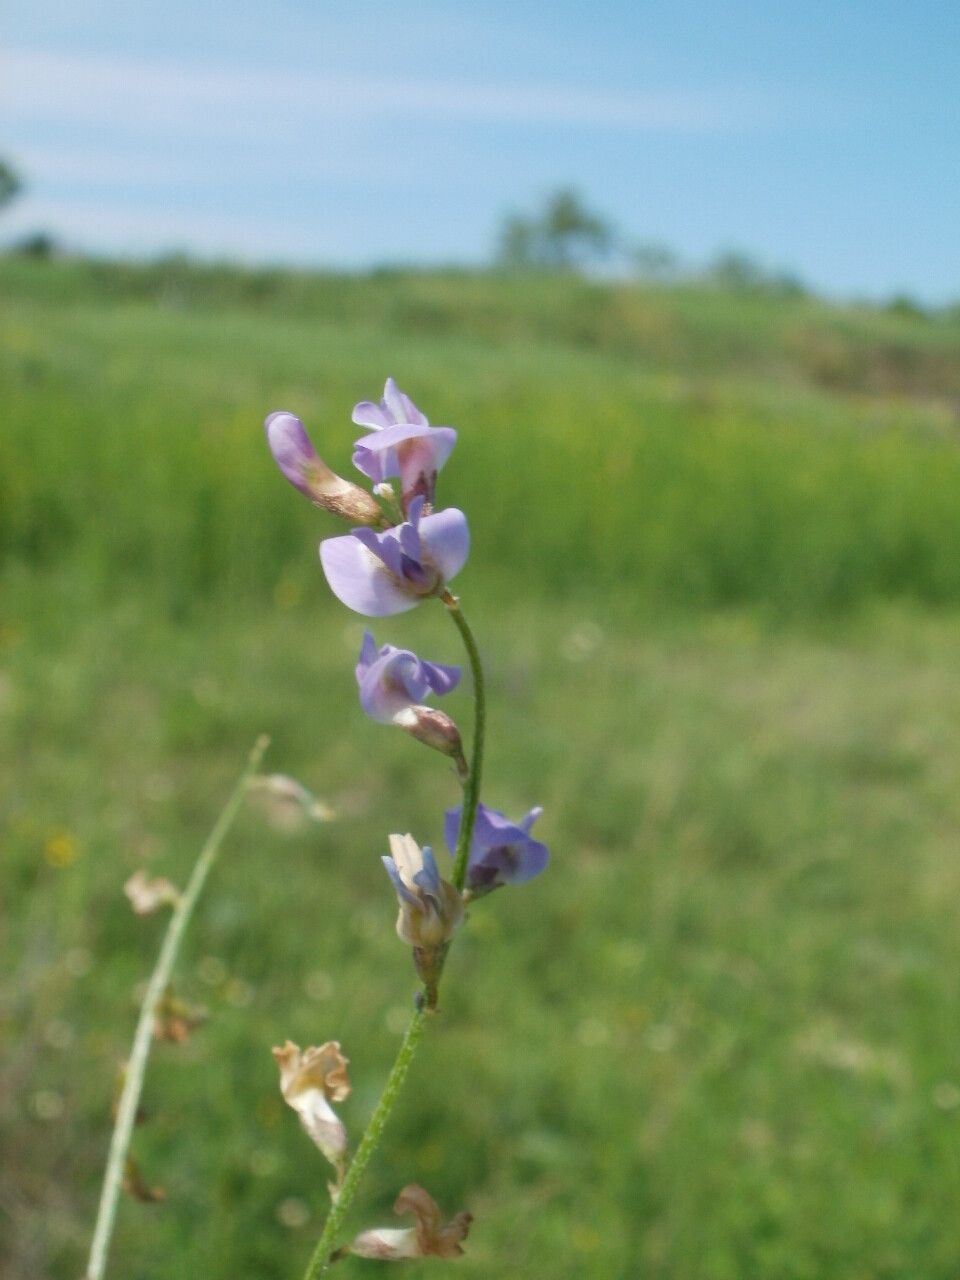
Hello fellow garden enthusiasts! Today, we’re diving into the rewarding world of Astragalus austriacus, also known colloquially as Austrian Milk Vetch. If you’re looking for a resilient, charming plant that adds a touch of delicate beauty to your garden beds or rockeries, you’ve come to the right place. Its spikes of lovely purple-pink flowers are a magnet for pollinators, and the grey-green, feathery foliage provides a delightful texture.
Now, about propagation. I’d say Astragalus austriacus falls into the moderately easy category. It’s not one that will simply beg you to take cuttings and root them in a glass of water overnight, but with a little patience and the right approach, you’ll find success. Trust me, nurturing a new plant from its parent is one of the most satisfying gardening experiences there is!
The Best Time to Start
Timing is everything in the garden, isn’t it? For Astragalus austriacus, I find that the absolute best time to propagate is in late spring, just as the plant is bursting into active growth. You want to select stems that are reasonably firm but not woody. Think of it as selecting a healthy, enthusiastic shoot – it has the most vigor and the best chance of taking off. Collecting seeds is also an option, but we’ll focus on vegetative propagation for this guide.
Supplies You’ll Need
Before we get our hands dirty, let’s gather our tools. Having everything ready will make the process much smoother.
- Sharp, clean pruning shears or a craft knife: For taking precise cuttings.
- Rooting hormone powder or gel: This is a helpful boost for encouraging root development.
- A well-draining seed starting mix or a blend of equal parts perlite and potting soil: Crucial for preventing soggy conditions.
- Small pots or seed trays with drainage holes: To give your little Astragalus room to grow.
- A gentle misting bottle: For keeping your cuttings hydrated.
- Plastic bags or a propagator lid: To create a humid environment.
- Labels: Because you’ll want to remember what you planted!
Propagation Methods: Let’s Get Rooting!
We’ll focus on stem cuttings for propagating Astragalus austriacus. It’s a tried-and-true method that gives us great results.
- Take Your Cuttings: On a cool, overcast morning (or early evening), select healthy, non-flowering stems from your established Astragalus. Using your clean shears, take cuttings that are about 3-4 inches long. Make your cut just below a leaf node (where a leaf attaches to the stem).
- Prepare the Cuttings: Gently remove the lower leaves from your cuttings, leaving just a few at the top. This prevents them from rotting in the soil and encourages energy to focus on root formation.
- Apply Rooting Hormone: Dip the cut end of each cutting into your rooting hormone. Tap off any excess – you don’t want a thick glob, just a light coating.
- Plant Your Cuttings: Fill your pots or trays with your well-draining mix. Make a small hole in the center of each pot with your finger or a pencil. Carefully insert the base of each cutting into the hole, ensuring the calloused end (where you dipped in hormone) makes good contact with the soil. Firm the soil gently around the base of the cutting.
- Create a Humid Environment: Water the soil lightly after planting. Then, cover the pots with a clear plastic bag or a propagator lid to maintain high humidity. This is key! Place your pots in a bright spot but out of direct sunlight.
The “Secret Sauce” (Pro Tips)
Here are a few little tricks I’ve learned over the years that can make all the difference:
- Don’t be tempted to pack too many cuttings into one pot. Give them a little breathing room to prevent the spread of any potential issues.
- I often find that applying a very gentle bottom heat can significantly speed up the rooting process. A seedling heat mat set to around 70-75°F (21-24°C) is perfect.
- When you water, try to water the soil directly, rather than spraying the foliage. This helps prevent fungal issues that can plague cuttings.
Aftercare & Troubleshooting
Once your cuttings are planted, keep them consistently moist but not waterlogged – think of damp sponge consistency. Mist the foliage every couple of days if the humidity inside the bag seems to be dropping.
You’ll know your Astragalus cuttings have rooted when you see new leaf growth or feel a gentle resistance when you lightly tug on the stem. This usually takes anywhere from 4-8 weeks, depending on conditions.
Now, what if things don’t go as planned? The most common culprit is rot. This usually happens when the soil is too wet or the humidity is too high without enough air circulation. If you see stems turning black and mushy, it’s time to discard them and start fresh, making sure to adjust your watering and air circulation going forward. Brown, crispy tips can mean the environment is too dry.
A Little Patience Goes a Long Way
So there you have it! Propagating Astragalus austriacus is a rewarding journey. Be patient, observe your little plants closely, and don’t be discouraged by the occasional setback. Each attempt is a learning experience, and soon you’ll have a whole clutch of these charming Austrian Milk Vetches to share. Happy gardening!
Resource:
https://identify.plantnet.org/k-world-flora/species/Astragalus%20austriacus%20Jacq./data