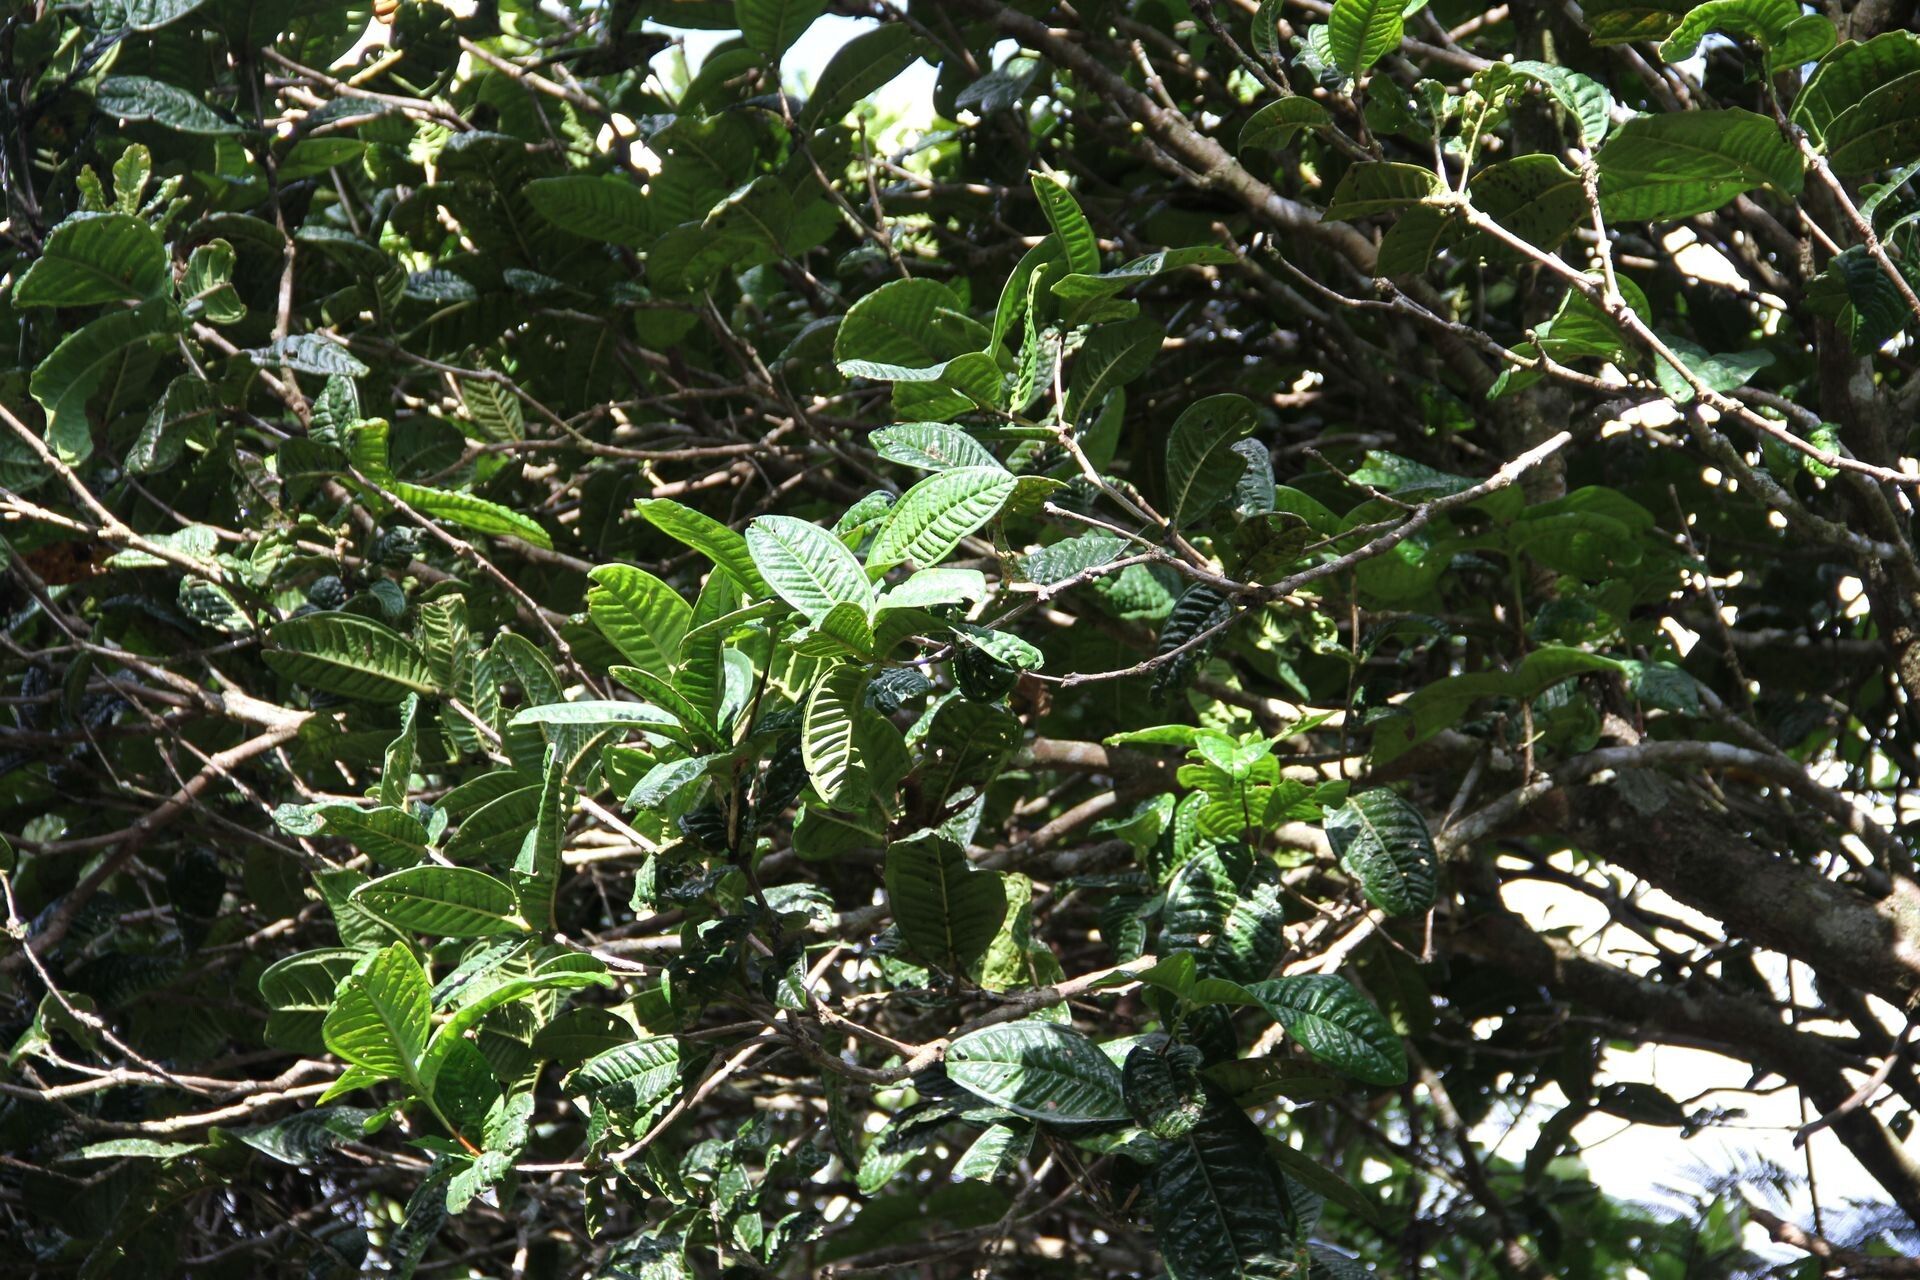
Oh, hello there! Come on in, let’s chat about Syzygium bullatum. If you’re drawn to lush, glossy leaves and a plant that just feels tropical, you’re going to adore this one. Its unique, bubbly foliage adds such a gorgeous texture to any space. And the best part? You can easily grow more of these beauties yourself! It’s incredibly rewarding to nurture a tiny cutting into a thriving plant. Now, if you’re new to propagating, don’t worry. Syzygium bullatum is generally quite forgiving, making it a lovely choice to cut your teeth on.
The Best Time to Start
For the highest success rate with Syzygium bullatum, I always recommend working with it during its active growing season. Think of late spring through summer. When the plant is really pushing out new growth, it has more energy reserves to dedicate to rooting. Starting a cutting from a healthy, vigorous stem then gives it the best shot at developing strong roots before the cooler, slower months.
Supplies You’ll Need
Gathering your tools beforehand makes the whole process so much smoother. Here’s what I usually have on hand:
- Sharp, clean pruning shears or a knife: For making clean cuts that heal well.
- Rooting hormone: This isn’t strictly essential, but it can significantly speed up root development and boost success rates. I like either a powder or a gel.
- Well-draining potting mix: A good blend for me is typically 50% perlite and 50% peat moss or coco coir. You could also use a special houseplant or propagation mix.
- Small pots or propagation trays: Clean containers are key to preventing disease.
- Clear plastic bags or propagation domes: To create a humid environment around your cuttings.
- Water: For whatever method you choose!
Propagation Methods
There are a few ways to go about this, but stem cuttings are my go-to for Syzygium bullatum.
Stem Cuttings:
- Select your stem: Look for a healthy, semi-hardwood cutting. This means a stem that’s not brand new and green, but also not old and woody. You want something with a bit of give. Aim for a cutting that’s about 4-6 inches long.
- Make the cut: Using your clean shears, make a cut just below a leaf node. This is where roots are most likely to form. Remove the bottom leaves, leaving just a few at the top.
- Apply rooting hormone: If you’re using it, dip the cut end into the rooting hormone, tapping off any excess.
- Plant your cutting: Make a hole in your prepared potting mix with a pencil or your finger. Gently insert the cut end of the stem. Firm the soil gently around it.
- Create humidity: Place the pot into a clear plastic bag or cover it with a propagation dome. This traps moisture and keeps the humidity high, which is crucial for cuttings. Make sure the leaves don’t touch the plastic.
- Provide light and warmth: Place the pot in a bright spot with indirect light. Avoid direct sun, as it can scorch the delicate leaves. If you have a heat mat, placing it underneath can also really give your cuttings a boost!
Water Propagation (Less common, but possible):
While I prefer soil for Syzygium bullatum, you can try water propagation.
- Prepare the cutting: Follow steps 1 and 2 for stem cuttings.
- Place in water: Put the cutting in a jar or glass of clean water, ensuring the leaf nodes are submerged.
- Change water regularly: This is important! Change the water every few days to keep it fresh and prevent bacterial growth.
- Wait for roots: You’ll see roots emerge from the nodes. Once they are a couple of inches long, you can plant them in soil, treating them as you would a new plant.
The “Secret Sauce” (Pro Tips)
Here are a couple of little tricks I’ve learned over the years that can make a big difference:
- Don’t rush to pot up: I’ve seen so many people get impatient and try to plant their cuttings too soon. Wait until you see good root development. Gently tugging on the cutting should show resistance. If you can’t see roots through the drainage hole, it’s still working on it!
- Bottom heat is your friend: Those propagation mats really do work wonders! They mimic the warmth of spring soil and encourage faster root formation. If you don’t have one, placing cuttings near a consistently warm appliance (like the top of a router, but not on it!) can sometimes help, provided it doesn’t dry out the soil too quickly.
Aftercare & Troubleshooting
Once you see new leaf growth, that’s a great sign that roots have formed!
- Acclimate slowly: Gradually remove the plastic bag or dome over a week or so to let your new plant get used to drier air.
- Watering: Water when the top inch of soil feels dry. Don’t let it sit in soggy soil.
- Light: Continue to provide bright, indirect light.
- Troubleshooting: The most common issue is rot. If the cutting turns black and mushy, it’s usually due to too much moisture and not enough air circulation. If you see mold on the soil, gently scrape it off or replace the top layer of soil. If a cutting just wilts and never recovers, it might not have had enough energy or it wasn’t viable to begin with. Don’t get discouraged; just try again!
A Encouraging Closing
Propagating plants is such a beautiful way to connect with nature and multiply your green treasures. Be patient with your little Syzygium bullatum cuttings. Some take their sweet time, and that’s perfectly okay. Enjoy the process, celebrate the small victories, and soon you’ll have a whole collection of these stunning plants! Happy growing!
Resource: