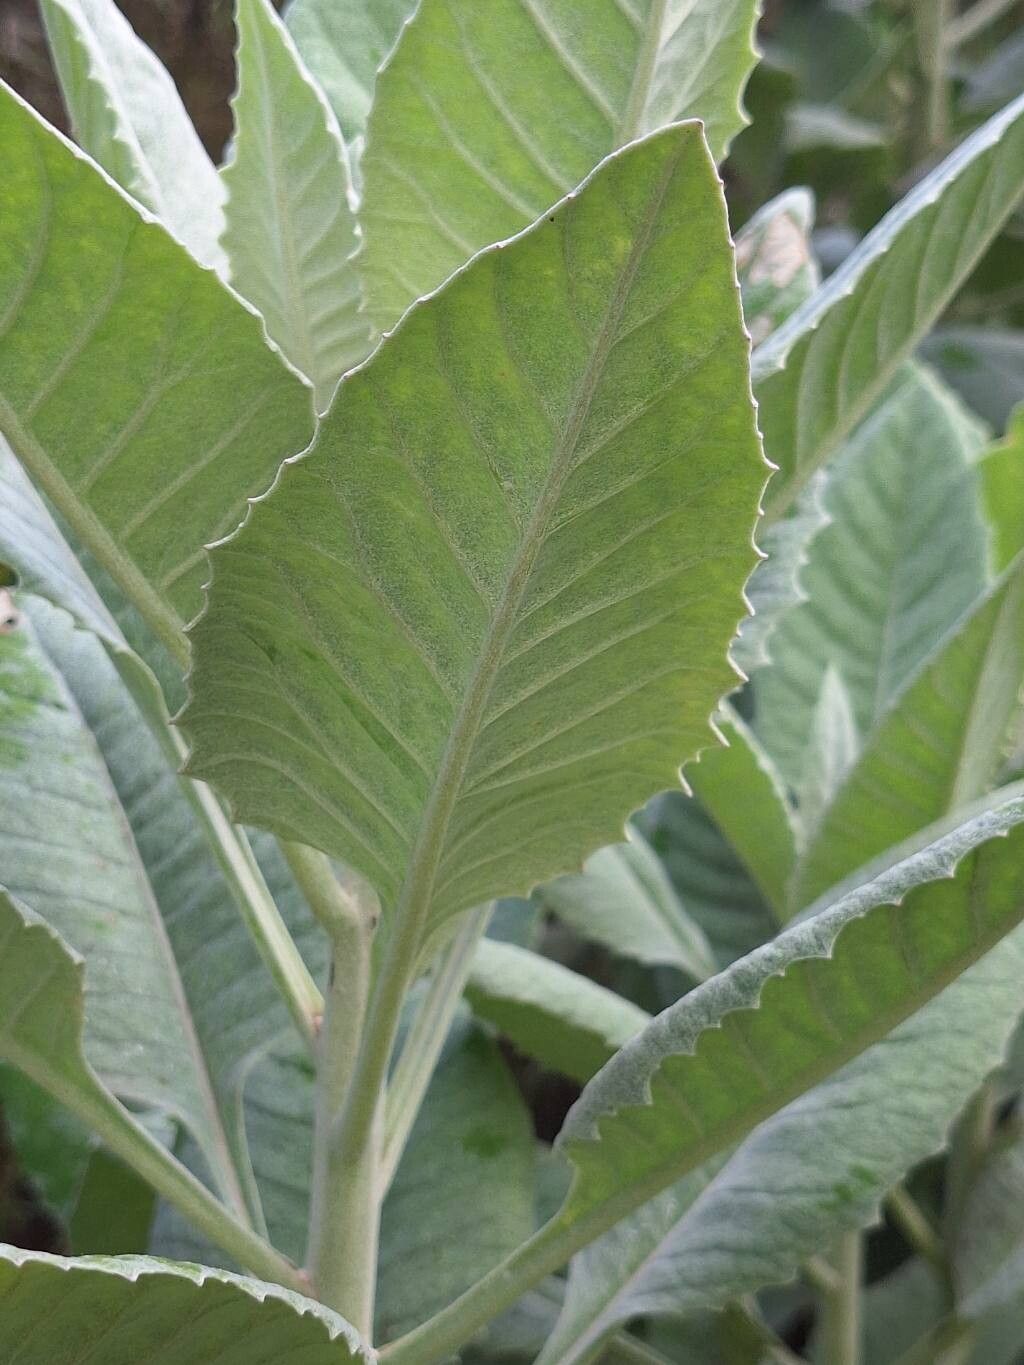
Hello fellow plant lovers! I’m so excited to chat with you today about a fantastic plant I’ve been growing for years: Solanecio cydoniifolius. If you haven’t met it, imagine a cascade of glossy, dark green, almost succulent-like leaves that spill beautifully from pots or hang delightfully from hanging baskets. It’s a real showstopper, and the best part? You can easily grow more of them yourself!
Propagating Solanecio cydoniifolius is a wonderfully rewarding experience. Watching those tiny cuttings develop into full, healthy plants is just magical. And for those of you just starting out with plant propagation, you’ll be happy to know this is a generally easy plant to work with. You don’t need to be a seasoned pro to have success here!
The Best Time to Start
My favorite time to take cuttings from Solanecio cydoniifolius is during its active growing season, which typically falls in the late spring and summer months. During this period, the plant is full of energy and has a higher chance of readily rooting. You can also take cuttings in the early fall, but watch out for cooler temperatures.
Supplies You’ll Need
Here’s what I usually grab before I start:
- Sharp, clean pruning shears or a knife: For making clean cuts.
- Small pots or trays: For your cuttings to grow in.
- Well-draining potting mix: I love a mix of perlite, peat moss, and a bit of regular potting soil. A cactus and succulent mix also works beautifully.
- Rooting hormone (optional but recommended): This little helper can speed up the process and improve success rates.
- Watering can or spray bottle: For gentle watering.
- Labels: To keep track of your projects!
Propagation Methods
Solanecio cydoniifolius is quite versatile, and you can have great luck with a few different techniques.
Stem Cuttings
This is my go-to method and the one I find most reliable.
- Select a healthy stem. Look for a piece that’s at least 4-6 inches long and shows vigorous growth. Avoid any yellowing or damaged sections.
- Make a clean cut just below a leaf node (where a leaf attaches to the stem).
- Remove the lower leaves. Gently strip off the bottom 2-3 sets of leaves. This exposes the nodes where roots will form and prevents those leaves from rotting if they touch the soil.
- Dip in rooting hormone (optional). If you’re using it, lightly dip the cut end into the rooting hormone powder. Tap off any excess.
- Plant the cutting. Insert the cut end about an inch deep into your prepared potting mix. You can plant several cuttings in one pot, giving them a little space.
- Water gently. Water the soil lightly until it’s just moist. Avoid waterlogging.
- Provide a good environment. Place the pot in a bright spot with indirect light.
Water Propagation
This can be a fun way to watch the roots develop!
- Prepare your cutting as described above (select, cut, remove lower leaves).
- Place in water. Submerge the cut end of the stem in a glass or jar of clean water. Make sure none of the leaves are submerged – this is crucial to prevent rot.
- Change water regularly. Refresh the water every few days to keep it clean and oxygenated.
- Location. Keep it in bright, indirect light.
- Wait for roots. You should start to see small white roots forming within a few weeks. Once the roots are an inch or two long, you can plant them into soil.
The “Secret Sauce” (Pro Tips)
Here are a couple of things I’ve learned over the years that really make a difference:
- Don’t rush the roots. Sometimes, patience is truly a virtue. Even if a cutting looks like it’s not doing much, it might be busy developing roots underground. Give it time!
- The beauty of bottom heat. If you can, giving your cuttings a little warmth from below can significantly speed up rooting. A seedling heat mat is perfect for this. It mimics the warmth of spring soil and encourages roots to emerge.
Aftercare & Troubleshooting
Once your cuttings have developed a good root system (you’ll see new growth appearing at the top and feel some resistance when you gently tug on the stem), it’s time to treat them like a young plant.
Continue to water them when the top inch of soil feels dry. Avoid overwatering, as this is the most common culprit for failure. Signs of rot include a mushy, black stem at the soil line or wilting with no new growth. If you spot this, it’s best to discard the affected cutting to prevent it from spreading.
A Encouraging Closing
Propagating Solanecio cydoniifolius is a delightful journey. Don’t be discouraged if your first few attempts aren’t perfect. Every plant and every cutting is a learning opportunity. Embrace the process, enjoy the quiet satisfaction of nurturing new life, and soon you’ll have an abundance of these gorgeous plants to enjoy and share! Happy planting!
Resource: