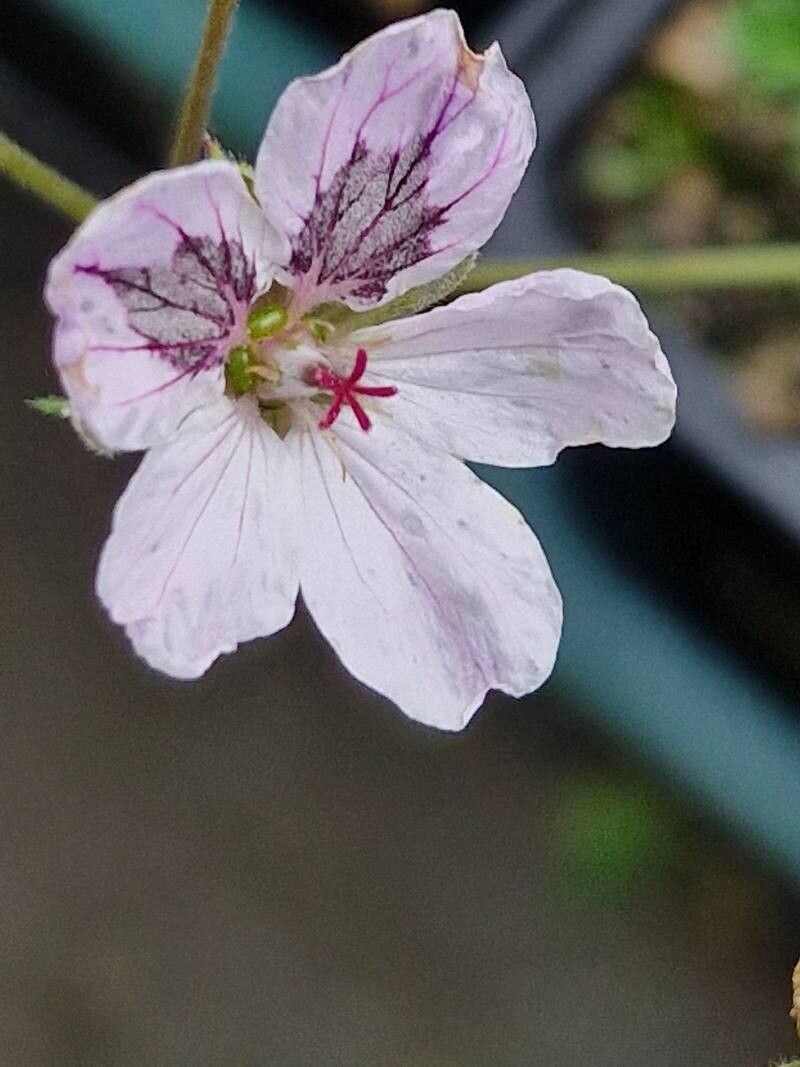
Hello fellow garden enthusiasts! Today, we’re diving into the wonderful world of Erodium glandulosum, also known as many-flowered stork’s-bill. I’ve always loved these beauties. Their delicate, often intricately veined leaves and charming pink to purplish flowers bring such a sweet, understated elegance to any garden bed or container. They have this wonderful way of spilling over edges, creating a soft, natural look.
Propagating Erodium glandulosum is a truly rewarding endeavor. It’s a fantastic way to multiply your existing plants for free, fill in those sunny spots, or share these gems with friends. For beginners, I’d say Erodium glandulosum is moderately easy to propagate. It’s not as fussy as some orchids, but it does appreciate a little attention to detail, which I’m excited to share with you.
The Best Time to Start
When it comes to getting the most bang for your propagation buck, late spring to early summer is generally your sweet spot. This is when the plant is actively growing and has plenty of energy to put into developing new roots. You’re looking for stems that are firm but not woody, often described as “semi-ripe.”
Supplies You’ll Need
Before we get our hands dirty, let’s gather our tools. Having everything ready beforehand makes the process so much smoother:
- Sharp pruning shears or a clean, sharp knife: For taking clean cuts.
- Small pots or seed trays: Clean ones are key to preventing disease.
- Propagation or seed-starting mix: A light, airy mix is crucial. I prefer a blend of equal parts perlite and peat moss, or a good quality vermiculite and coco coir mix.
- Rooting hormone (optional but recommended for faster results): Look for one containing IBA (Indolebutyric acid).
- Spray bottle: For misting.
- Clear plastic bag or a propagator lid: To maintain humidity.
- Labels and a marker: To keep track of your new babies!
Propagation Methods
We’ll focus on the most reliable methods for Erodium glandulosum: stem cuttings and division.
Stem Cuttings
This is my go-to for increasing my Erodium population.
- Take Your Cuttings: In late spring or early summer, look for healthy, non-flowering shoots. Using your sharp pruning shears or knife, take cuttings that are about 3-4 inches long. Make your cut just below a leaf node (where a leaf attaches to the stem).
- Prepare the Cuttings: Gently remove the lower leaves from the cutting, leaving just a couple at the very top. This is important to prevent them from rotting in the soil. If you’re using rooting hormone, dip the cut end into it now, tapping off any excess.
- Plant Your Cuttings: Fill your small pots or trays with your prepared propagation mix. Make a small hole in the center with your finger or a pencil. Gently insert the cut end of each Erodium cutting into the hole. Firm the soil gently around the base of the cutting to ensure good contact.
- Create a Humid Environment: This is where the magic happens. Water the soil lightly until it’s just moist, not soggy. Then, cover the pot or tray with a clear plastic bag or a propagator lid. This traps moisture and creates the ideal humid microclimate for rooting.
Division (for established plants)
If you have a mature Erodium that’s getting a bit crowded, division is a quick way to make more plants.
- Gently Excavate: In early spring or after flowering, carefully dig up your Erodium plant. Loosen the soil around the roots.
- Separate the Roots: Gently tease apart the root ball. You’re looking for sections that have healthy roots and shoots. You can use your hands to separate them or, if it’s a bit tough, use your clean knife or trowel to cut through the root ball.
- Replant Immediately: Pot up each divided section into its own container with fresh, well-draining potting soil. Water thoroughly.
The “Secret Sauce” (Pro Tips)
Here are a few little tricks I’ve picked up along the way that really boost success:
- “Air Drying” the Cut: Before dipping in rooting hormone and planting, I like to let my Erodium cuttings sit out in a dry spot for an hour or two. This allows the cut end to callus over a little, which can help prevent rot and encourage root development. It’s a small step, but I’ve found it makes a difference.
- Bottom Heat is Your Friend: Erodium roots really appreciate a little warmth to get them going. If you have a heat mat designed for seedlings and cuttings, placing your pots on it will significantly speed up the rooting process. It mimics the natural warmth of spring.
Aftercare & Troubleshooting
Once your cuttings are planted, keep them in a bright spot but out of direct, harsh sunlight. The key here is consistent moisture, but never waterlogged soil. If the cuttings start to look limp, give them a gentle misting.
You’ll know your cuttings have rooted when you see new growth appearing at the top, or when you gently tug on a cutting and feel a bit of resistance. This usually takes 3-6 weeks. Once they’re well-rooted, you can carefully remove the plastic bag and gradually acclimatize them to drier air. Continue watering as needed and, once they’re a good size, transplant them into their permanent homes.
Now, for troubleshooting. The most common issue is rot. If you see your cuttings turning black and mushy, it’s usually a sign of too much moisture and not enough air circulation. Make sure your soil is well-draining and don’t let them sit in water. If you have a lot of wilting, it could be that the cutting is just struggling to root – sometimes you have to accept that not every cutting will make it. Keep trying!
A Encouraging Closing
Propagating Erodium glandulosum is a lovely way to connect with your garden. Be patient with your little cuttings. They’re working hard to establish themselves, and with a little care and attention, you’ll soon have a whole new generation of these charming plants to enjoy. Happy propagating!
Resource:
https://identify.plantnet.org/k-world-flora/species/Erodium%20glandulosum%20(Cav.)%20Willd./data