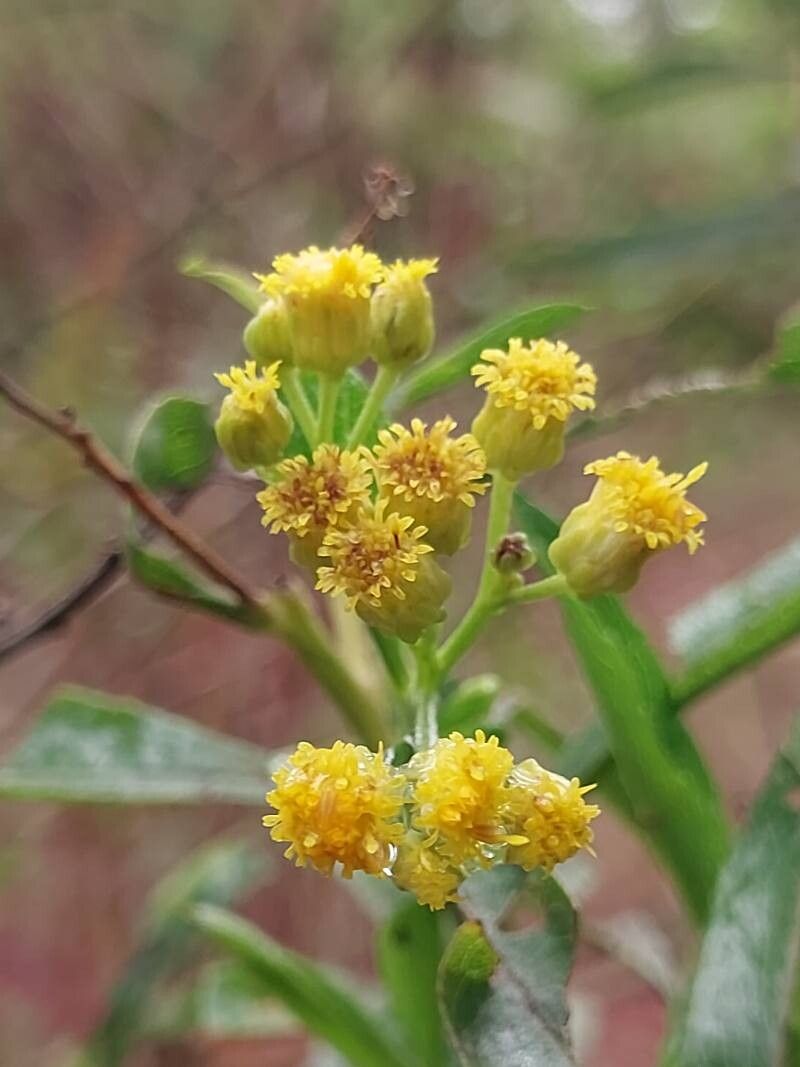
Well hello there, fellow plant pals! It’s so wonderful to connect with you all today. I’ve got something really special to share, a plant that’s been bringing a little bit of sunshine and fragrance into my garden for years: Psiadia altissima. If you’ve ever admired its pretty, daisy-like yellow flowers, or the gentle, pleasant aroma it releases, you’re in for a treat. Propagating this beauty is surprisingly rewarding, and while it might seem a tad intimidating at first, I promise you, it’s totally doable! For beginners? I’d say it’s a solid intermediate challenge. You’ll learn some great skills along the way.
The Best Time to Start
My favorite time to get going with Psiadia altissima propagation is in late spring to early summer. This is when the plant is in its active growing phase. You’ll find plenty of healthy, new shoots that are just begging to be turned into more plants. Waiting for this period of vigorous growth really gives your cuttings the best chance to get established.
Supplies You’ll Need
Gathering your tools beforehand makes everything so much smoother. Here’s what I usually have on hand:
- Clean, sharp pruning shears or a clean knife: You want to make clean cuts that don’t crush the stems.
- Rooting hormone powder or gel: This isn’t strictly essential for Psiadia altissima, but it can definitely give your cuttings a helpful boost in getting roots going.
- A well-draining potting mix: I like to mix regular potting soil with perlite and a bit of coarse sand. A 2:1:1 ratio works wonders.
- Small pots or trays: Whatever you have available, just make sure they have drainage holes.
- Plastic bags or a propagation dome: This helps to keep humidity high around your cuttings.
- Water: For initial watering and any misting needed.
- A spray bottle: For misting.
Propagation Methods
We’ll focus on the easiest and most effective method for Psiadia altissima: stem cuttings. It’s my go-to for multiplying these lovely plants.
- Take Your Cuttings: Look for softwood or semi-hardwood stems. These are the new, flexible shoots that haven’t yet become woody. Gently bend a stem; if it snaps cleanly, it’s usually a good candidate. You’re aiming for cuttings that are about 4 to 6 inches long. Make your cut just below a leaf node (the point where leaves emerge from the stem). This is where roots are most likely to form.
- Prepare the Cuttings: Carefully remove the lower leaves from your cuttings. You want to expose at least one or two leaf nodes that will be buried in the soil. You can leave the top two to four leaves intact, but trim any large leaves in half to reduce water loss through transpiration.
- Apply Rooting Hormone (Optional but Recommended): Dip the cut end of each stem into your rooting hormone powder or gel. Tap off any excess. This step really helps encourage root development.
- Plant Your Cuttings: Fill your small pots or trays with your prepared potting mix. Make a small hole in the center with your finger or a pencil. Insert the prepared cutting into the hole, gently firming the soil around it. You can usually get 2-3 cuttings per pot, spaced a few inches apart.
- Water Gently: Water the soil thoroughly but gently. You want the soil to be moist, not waterlogged.
- Create a Humid Environment: Place the pots inside a plastic bag or cover them with a propagation dome. This traps moisture and creates a mini-greenhouse effect. Make sure the leaves aren’t touching the sides of the bag if possible, as this can encourage rot.
The “Secret Sauce” (Pro Tips)
Here are a couple of things I’ve learned over the years that really make a difference:
- Bottom Heat is Your Friend: If you have a heating mat designed for seedlings, using it under your pots will significantly speed up the rooting process. Psiadia altissima loves a bit of warmth from below to get those roots motivated.
- Don’t Be a Drowning Victim: While humidity is crucial, avoid letting your cuttings sit in standing water. If you’re using a tray and you can see water accumulating at the bottom, empty it out. The goal is moist soil and high humidity, not soggy roots.
- Air Them Out: Even in their humid little enclosures, it’s good to open the bags or domes for a few minutes each day to allow for fresh air circulation. This helps prevent fungal issues.
Aftercare & Troubleshooting
Once your cuttings are planted, keep them in a bright spot, but out of direct, scorching sunlight. Check the soil moisture regularly. You want it to remain consistently moist but never soggy.
You’ll know your cuttings are taking root when you start to see new leaf growth or feel a gentle tug when you lightly pull on a stem. This usually takes anywhere from 3 to 6 weeks, sometimes longer depending on conditions. Once roots have formed, you can gradually acclimatize them to less humid conditions by opening the bag or dome wider over a few days. Then, you can pot them up into their own individual containers.
The most common sign of trouble is wilting and yellowing leaves, followed by a mushy, blackened stem. This is usually a sign of rot, which happens when the soil is too wet and there isn’t enough air circulation. If you see this, unfortunately, that cutting is likely lost. Don’t despair; it’s part of the learning process! Just pull out the affected cutting and ensure the others have good drainage and airflow.
A Encouraging Closing
Propagating plants is a bit like being a plant detective, observing, learning, and sometimes, facing a little disappointment. But oh, the joy when those tiny roots appear! Be patient with your Psiadia altissima cuttings. Enjoy the process of nurturing them, and soon you’ll have even more of these cheerful yellow blooms to share or enjoy in your garden. Happy propagating!
Resource: