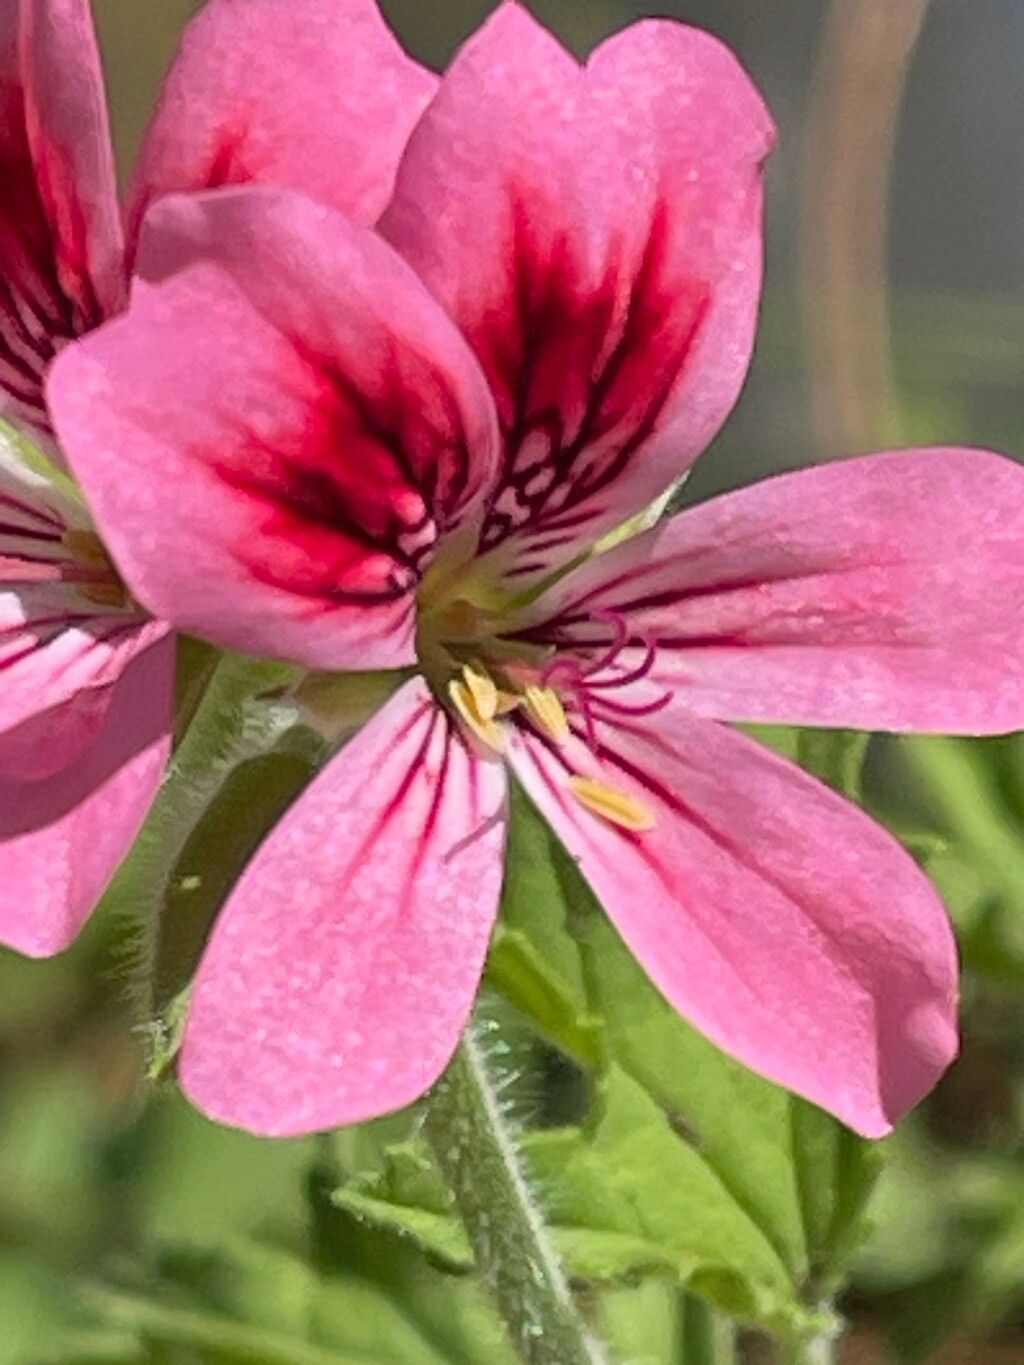
Oh, hello there! It’s so wonderful to have you stop by my little corner of the internet. Today, we’re going to talk about one of my absolute favorites: Scented Geraniums, or as botanists call them, Pelargonium graveolens. If you’re like me, the intoxicating fragrance of these plants – whether it’s lemon, rose, or mint – is enough to make any gardener swoon. And the best part? They’re surprisingly easy to multiply! Seriously, if you’ve ever thought about getting your hands dirty with propagation, this is a fantastic place to start. Even if you’re a complete beginner, you’ll likely find success with these beauties.
When Should You Get Your Hands Dirty?
The absolute sweet spot for propagating Pelargonium graveolens is during its active growing season. This usually means from late spring through early to mid-summer. You’re looking for healthy, new growth that’s not too woody. Think of it as taking cuttings from a happy, vigorous plant – that’s where the magic happens!
Gathering Your Garden Toolkit
Don’t worry, you don’t need a whole professional nursery to get started. Here’s a simple list of what you’ll find helpful:
- Sharp Pruning Shears or a Craft Knife: For clean cuts that heal well.
- Potting Mix: A well-draining mix is key. I like using a blend of equal parts peat moss or coco coir, perlite, and some coarse sand. You can also buy specialized “seed starting” or “cuttings” mixes.
- Small Pots or Seed Trays: Clean ones are important to prevent disease.
- Rooting Hormone (Optional but Recommended): A little sprinkle can give your cuttings a confidence boost.
- Watering Can with a Fine Rose: For gentle watering.
- Plastic Bags or a Propagator Lid: To create a humid environment.
- Labels and a Pen: Trust me, you’ll thank me later when you forget what you planted!
Let’s Grow Some New Friends!
There are a couple of super reliable ways to propagate your scented geraniums. I usually stick to stem cuttings, as they’re the most straightforward.
Stem Cuttings: My Go-To Method
- Select Your Source Plant: Find a healthy, non-flowering stem on your mature scented geranium. Look for one that’s about 4-6 inches long and has a few sets of leaves.
- Make the Cut: Using your clean pruning shears or knife, make a clean cut just below a leaf node (where a leaf attaches to the stem). This is where roots love to form!
- Prepare the Cutting: Gently remove the lower leaves from the stem, leaving just two or three sets at the top. If there are any flowers or flower buds, snip them off too. This allows the cutting to focus its energy on growing roots, not flowers.
- Apply Rooting Hormone (If Using): Dip the cut end of the stem into your rooting hormone powder, tapping off any excess.
- Planting Time: Fill your small pots with your prepared potting mix. Moisten the soil slightly. Make a small hole in the center of the soil with your finger or a pencil, and gently insert the cutting. Firm the soil around the stem to ensure good contact.
- Create a Humid Home: Water the cuttings gently. Then, cover the pot with a clear plastic bag, securing it with a rubber band, or use a propagator lid. This traps humidity, which is crucial for cuttings. Poke a few small holes in the bag for a little air circulation.
- Find a Cozy Spot: Place the pots in a bright location but out of direct sunlight. Too much sun can scorch those tender cuttings.
Water Propagation (A Peek into Progress)
This method is fun because you can watch the roots develop!
- Prepare Your Cutting: Follow steps 1-3 from the stem cuttings method.
- Into the Water: Place the prepared cuttings in a clean jar or glass filled with fresh water.
- Crucial Rule: Make sure no leaves are submerged in the water. They’ll just rot and can take the whole cutting with them.
- Location, Location, Location: Place the jar in a bright spot, away from harsh sun.
- Change the Water: Change the water every few days to keep it fresh and prevent bacterial growth.
- Watch and Wait: You should start to see tiny white roots emerge from the leaf nodes after a couple of weeks. Once the roots are about an inch long, you can transplant them into pots with soil.
My Little Garden Secrets
Over the years, I’ve picked up a few tricks that seem to make a world of difference.
- The “Wound” Trick: For slightly tougher stems, I sometimes gently scrape a small sliver of bark off one side of the stem at the bottom. This exposes more of the cambium layer, which can encourage more vigorous rooting. Don’t go crazy, just a little scratch!
- Bottom Heat is Your Friend: If you can, placing your pots or propagator on a heat mat designed for plants can dramatically speed up root development. These mats provide gentle warmth from below, mimicking a nice, warm soil environment. You’ll often see roots forming much faster with this extra boost.
Nurturing Your New Arrivals & What to Watch For
Once your cuttings have developed a good root system (you can gently tug on them – if there’s resistance, they’ve rooted!), it’s time to treat them like young plants.
- Gradual Acclimatization: If you used a plastic bag, gradually introduce them to the open air over a few days. Start by opening the bag for a few hours, then remove it completely.
- First Waterings: Water them as you would any young plant – keep the soil consistently moist but not soggy.
- Light and Love: Continue to keep them in bright, indirect light.
- Troubleshooting Troubles: The most common issue you’ll face is rot. This usually happens if the cuttings are kept too wet or have inadequate air circulation. If you see yellowing leaves that seem to be wilting and the stem feels mushy, it’s usually a sign of rot. Sadly, a rotting cutting is usually a lost cause. Prevention is key!
Keep Going, Gardener!
Propagating plants is a fantastic way to connect with nature and expand your garden bounty without spending a dime. Don’t get discouraged if a few don’t make it – that’s part of the learning curve! Just keep trying, enjoy the process, and before you know it, you’ll have a whole collection of these wonderfully fragrant plants. Happy gardening!
Resource:
https://identify.plantnet.org/k-world-flora/species/Pelargonium%20graveolens%20L’Hér./data