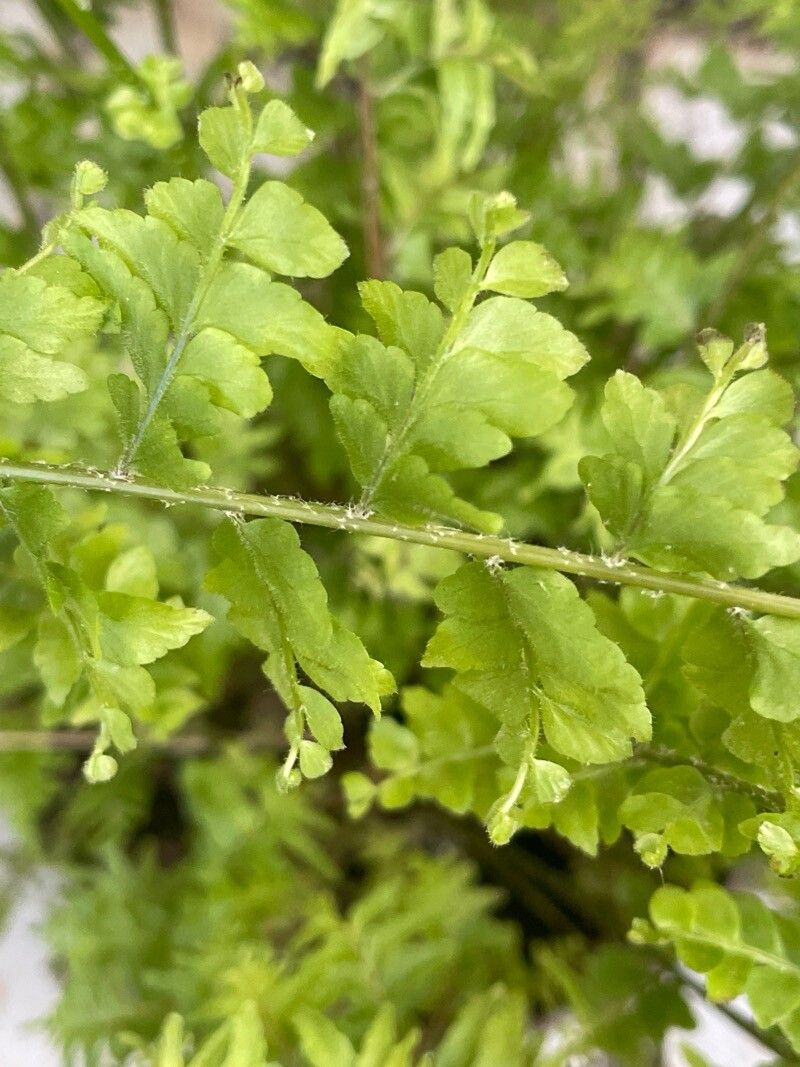
Hello my fellow plant lovers! Today, we’re going to talk about one of my absolute favorite houseplants: the Boston Fern, or Nephrolepis exaltata. Honestly, nothing beats the lush, cascading green of a healthy Boston Fern. They bring such a wild, tropical feel into our homes, don’t they? And the best part? They’re surprisingly easy to propagate! It’s incredibly rewarding to watch a tiny piece of your beloved fern unfurl into a new, vibrant plant. For beginners dipping their toes into propagation, this is a fantastic starting point.
The Best Time to Start
When it comes to Nephrolepis exaltata, you’ll find the most success when you catch it during its active growing season. Think spring and early summer. This is when the plant has plenty of energy to put into developing new roots and leaves. Trying to propagate in the dead of winter can be a bit of a challenge, as the plant is often resting. So, grab your tools when the days start getting longer and warmer!
Supplies You’ll Need
Here’s what you’ll want to have on hand before you get started. It’s always good to be prepared!
- Sharp, clean pruning shears or a sharp knife: For making clean cuts.
- Potting mix: A good quality, well-draining potting mix is crucial. I often use a blend of peat moss, perlite, and a bit of compost.
- Small pots or trays: For your new baby ferns.
- Clear plastic bags or a propagation dome: To create a humid environment.
- Water: For watering and, in one method, for rooting.
- Rooting hormone (optional but recommended for division): This can give your cuttings a helpful boost.
- A spray bottle: For misting.
Propagation Methods
Boston Ferns are quite obliging and can be propagated in a couple of easy ways.
Method 1: Division
This is hands-down my favorite and the easiest way to multiply your Boston Fern. It’s perfect for when your fern is getting a little crowded in its pot.
- Gently remove the fern from its pot. Turn the pot on its side and coax the plant out. If it’s stuck, you might need to run a knife around the edge.
- Inspect the root ball. You’re looking for distinct sections that can be separated.
- Carefully divide the fern. You can do this by hand, gently pulling apart the root sections. If the roots are tightly bound, use your clean pruning shears or knife to cut through them. Make sure each section has some healthy fronds and plenty of roots.
- Pot up the divisions. Plant each section into its own pot filled with your potting mix. Water thoroughly.
Method 2: Spore Propagation (for the truly adventurous!)
Okay, this one is more advanced and takes a lot more patience, but it’s fascinating. Boston Ferns reproduce via spores, which are tiny dust-like particles found on the underside of mature fronds.
- Collect the spores. Look for fronds where the underside has small, brown dots (these are the sporangia containing spores). Carefully scrape these onto a piece of clean paper.
- Sow the spores. Lightly moisten a sterile seed-starting mix in a shallow tray. Sprinkle the spores thinly over the surface.
- Cover and keep humid. Cover the tray with a clear lid or plastic wrap and place it in a warm spot with indirect light.
- Be patient! It can take weeks or even months for tiny fernlets to appear. This method requires a lot of observation and consistent moisture.
The “Secret Sauce” (Pro Tips)
Here are a few little tricks I’ve learned over the years that can make a big difference.
- When dividing, don’t be afraid to be a little firm. While you want to be gentle, sometimes you need to give a good tug to separate well-established clumps. Just make sure each section has enough roots to support itself.
- After dividing, keep those new babies consistently moist. They’ve gone through a bit of a shock, and they’ll appreciate being kept at “damp but not soggy” for the first few weeks. A light misting helps too, especially if they’re in a drier environment.
- For spore propagation, think of it as a tiny rainforest. These delicate beginnings need high humidity. A clear container or dome is your best friend here to trap that moisture.
Aftercare & Troubleshooting
Once your divisions are potted, give them a good watering and place them in a semi-shady spot with good humidity. If you’re using the plastic bag method for cuttings, open it up for a few hours each day to allow for some air circulation and prevent fungal issues.
The most common sign of trouble is rot. If you see your cuttings (or new divisions) turning mushy and brown, it’s usually a sign of too much moisture and not enough air circulation. If this happens, try to remove the affected parts and allow the remaining parts to dry out slightly before resuming watering. Sometimes, it’s just a matter of too much direct sun or not enough humidity.
A Encouraging Closing
Propagating Boston Ferns is a journey, not a race. Be patient with your new plant babies, celebrate the small victories (like seeing a new frond unfurl!), and don’t be discouraged if a few don’t make it. The reward of creating new life from your existing plants is truly special. Happy propagating, and enjoy watching your fern family grow!
Resource:
https://identify.plantnet.org/k-world-flora/species/Nephrolepis%20exaltata%20(L.)%20Schott/data