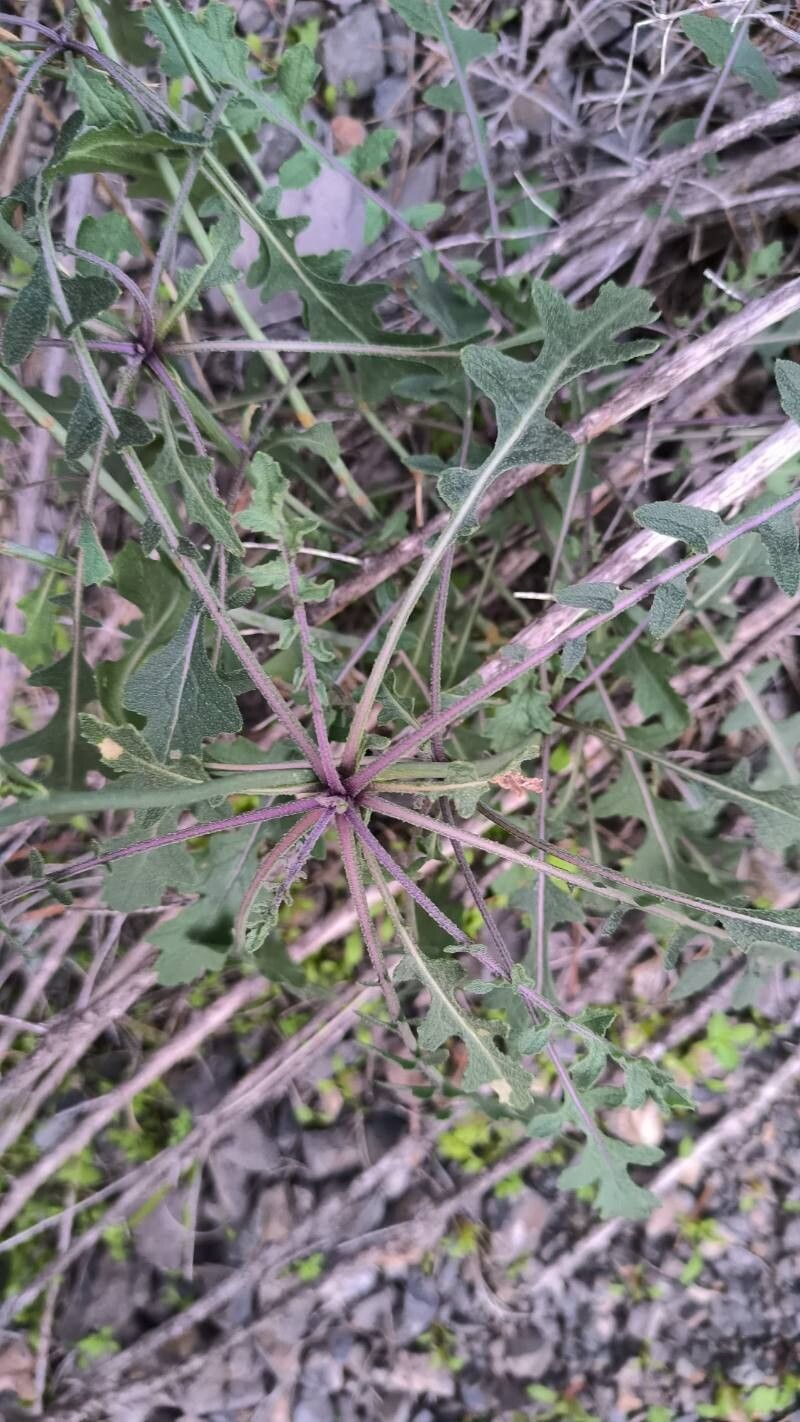
Oh, hello there! Come on in, grab a mug. Let’s chat about Erucastrum virgatum. I’ve been growing this lovely little plant for ages, and it always brings a smile to my face. Its delicate, often fragrant blooms are such a delight, adding a touch of airy elegance to any pot or garden bed. And the best part? It’s surprisingly easy to share its beauty! If you’re looking for a rewarding project that doesn’t require a degree in botany, this is it. For beginners? Absolutely doable!
The Best Time to Start
When it comes to getting new Erucastrum virgatum plants going, late spring or early summer is usually your sweet spot. This is when the plant is actively growing and brimming with energy. You want to take your cuttings when the stems are reasonably firm but not woody. Think of it like this: it’s had a good rest over winter and is just hitting its stride.
Supplies You’ll Need
Gathering your tools beforehand makes the whole process so much smoother. Here’s what I always have on hand:
- Sharp pruning shears or a clean, sharp knife: You want to make clean cuts to avoid damaging the stems.
- Rooting hormone (optional but helpful): A little boost can encourage faster root development.
- A well-draining potting mix: I like a mix of equal parts peat moss or coco coir and perlite or coarse sand. This ensures good aeration.
- Small pots or propagation trays: Clean ones are a must to prevent diseases.
- A plastic bag or propagation dome: This helps maintain humidity around your cuttings.
- Watering can with a fine rose: For gentle watering.
Propagation Methods
We’ll focus on the method that’s usually the most successful for Erucastrum virgatum: stem cuttings.
- Select Your Cuttings: Choose healthy, non-flowering stems from a mature plant. Look for stems that are about 4-6 inches long.
- Make the Cut: Use your clean shears or knife to make a clean cut just below a leaf node. A leaf node is that little bump where a leaf attaches to the stem. This is where the magic happens for root formation. Remove the lower leaves, leaving just a couple of leaves at the very top.
- Apply Rooting Hormone (if using): Dip the cut end of the stem into a rooting hormone powder or gel. Tap off any excess.
- Plant Your Cuttings: Fill your small pots or trays with your damp potting mix. Make a small hole with your finger or a pencil. Gently insert the cut end of the stem into the hole, making sure it makes good contact with the soil. Firm the soil gently around the cutting.
- Water Gently: Water thoroughly but gently. You want the soil to be moist, not waterlogged.
- Create a Humid Environment: Place a plastic bag loosely over the pot, or use a propagation dome. This acts like a mini-greenhouse, keeping the humidity high around your cuttings. Ensure the leaves don’t touch the plastic if possible.
- Provide Light: Place the pots in a bright location but out of direct sunlight. A sunny windowsill that doesn’t get harsh midday sun is perfect.
The “Secret Sauce” (Pro Tips)
Here are a few little tricks I’ve picked up over the years:
- Bottom Heat is a Game Changer: If you can, place your pots on a heated propagation mat. This gentle warmth from below really encourages root development. It’s like giving your little cuttings a warm hug!
- Don’t Rush the Pull: Resist the urge to tug on your cuttings to see if they have roots. Wait a good 3-4 weeks. You’ll know they’re rooting when you see new growth appearing at the top.
- Cleanliness is Key: I can’t stress this enough – always use clean tools and containers. Botrytis (grey mold) can be a real headache with cuttings, and a clean start minimizes risks.
Aftercare & Troubleshooting
Once you see signs of new growth, it’s a great indicator that your cuttings are rooting! You can gradually reduce the humidity by opening the bag or propagation dome a little each day over a week. Continue to keep the soil consistently moist but not soggy.
The most common issue you might encounter is rot. If you see your cuttings wilting significantly, turning mushy, or developing a black stem, it’s usually a sign of too much moisture and poor air circulation. Unfortunately, a rotted cutting is usually a goner. Prevention is the best approach: ensure good drainage and don’t overwater. If you see a bit of wilting, check the soil moisture first – it could just be thirsty!
A New Chapter!
And there you have it! Propagating Erucastrum virgatum is a wonderfully accessible way to expand your collection or share these beauties with friends. Be patient with your new little plants; they’re on their own journey. Enjoy the process of nurturing them, and soon you’ll have a whole new patch of charming Erucastrum to admire. Happy gardening!
Resource:
https://identify.plantnet.org/k-world-flora/species/Erucastrum%20virgatum%20C.Presl/data