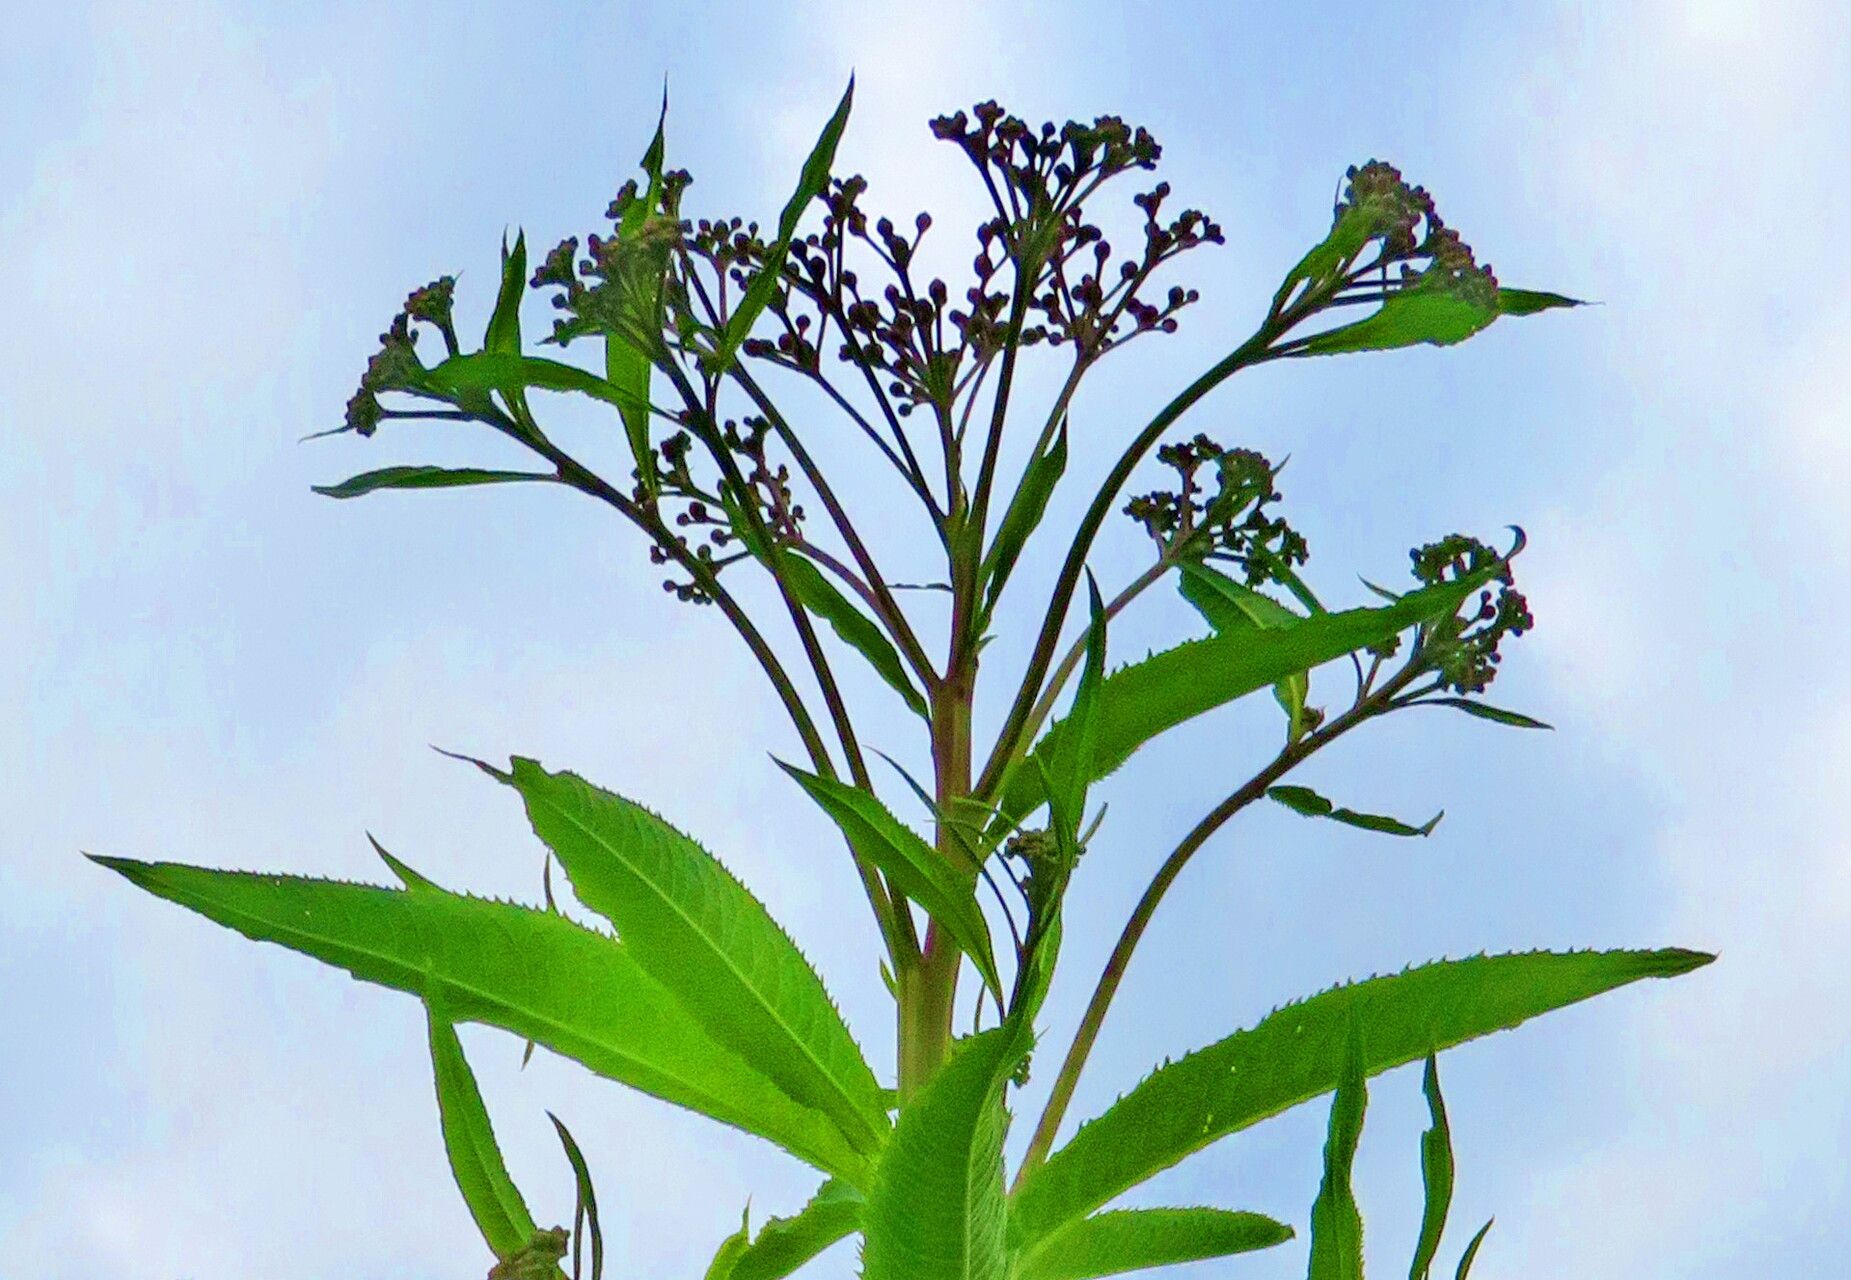
Hello there, fellow plant lovers! It’s so wonderful to have you join me today. We’re going to dive into the fascinating world of propagating Vernonia gigantea, or as I like to call it, the towering Ironweed. This native beauty offers stunning pops of vibrant purple in the late summer and fall, attracting all sorts of bees and butterflies. Trust me, seeing a whole drift of these giants in full bloom is a sight to behold!
Now, you might be wondering if this is a project for the seasoned pro or if a beginner can confidently tackle it. I’m happy to report that Vernonia gigantea is wonderfully forgiving, making it a perfect candidate for anyone dipping their toes into plant propagation. Getting more of these garden gems from just one is incredibly rewarding, not to mention cost-effective!
The Best Time to Start
For the absolute highest success rates with Vernonia gigantea, I find that late spring to early summer is your sweet spot. Think after the last frost has passed, and the plant is actively growing. I usually aim for this period when I’m doing my initial spring tidy-up or when I notice some nice, fresh growth on established plants.
Supplies You’ll Need
Gathering your supplies beforehand makes the whole process so much smoother. Here’s my go-to list:
- Sharp, clean pruning shears or a knife: Cleanliness is key to preventing disease.
- Potting mix: A light, well-draining mix is essential. I often use a blend of peat moss, perlite, and a bit of compost.
- Small pots or seed trays: Ensure they have drainage holes!
- Rooting hormone (optional but recommended): This can give your cuttings a real boost.
- Plastic bags or a propagation dome: To keep humidity levels high.
- Watering can or spray bottle: For gentle watering.
- Labels: Don’t forget to label your precious new plants!
Propagation Methods
Vernonia gigantea is quite versatile, and I’ve had great success with a couple of methods.
Stem Cuttings
This is my preferred method for Vernonia.
- Take your cuttings: In late spring or early summer, select healthy, non-flowering stems. Use your clean shears to cut sections about 4-6 inches long. Make the cut just below a leaf node (where a leaf attaches to the stem). You can often get several cuttings from one healthy stem.
- Prepare the cuttings: Gently remove the lower leaves, leaving only the top 2-3 leaves. This helps the cutting direct its energy into rooting rather than supporting too many leaves. If the remaining leaves are very large, you can even snip those in half to reduce water loss.
- Apply rooting hormone (optional): Dip the cut end of each stem into rooting hormone, tapping off any excess.
- Plant the cuttings: Fill your small pots or trays with your prepared potting mix. Make a small hole with your finger or a pencil, and insert the stem cutting, ensuring a leaf node is below the soil surface. Gently firm the soil around the base.
- Water and cover: Water the cuttings gently. Then, cover the pots with a plastic bag or place them under a propagation dome to create a humid environment. I like to prop the bag up slightly with a stake so it doesn’t touch the leaves.
Division
If you have an established clump of Vernonia gigantea, division is a super easy way to get more plants.
- Dig with care: In early spring, before new growth really takes off, carefully dig up the entire plant.
- Separate the divisions: Gently tease apart the root ball. You should see natural divisions forming. You can use your hands or a clean spade to separate the clumps, making sure each division has a good portion of roots and at least one or two healthy shoots.
- Replant immediately: Replant these divisions directly into their new homes, whether that’s in your garden or into pots for growing on. Water them in well.
The “Secret Sauce” (Pro Tips)
Over the years, I’ve learned a few tricks that really seem to make a difference.
- Bottom heat is your friend: For stem cuttings, placing your pots on a heated propagation mat can significantly speed up root development. It mimics the warmth of spring soil and is a game-changer, especially if your indoor space is a bit on the cooler side.
- Don’t overcrowd your cuttings: Give each cutting a bit of personal space in its pot. Overcrowding can lead to fungal issues and competition for resources. A few well-spaced cuttings per pot are far better than a jungle crammed in.
- Watch the humidity: While high humidity is crucial for rooting, you don’t want it to be so stifling that condensation is constantly dripping. Occasionally vent the plastic bag or dome to allow for some air circulation. This helps prevent fungal diseases.
Aftercare & Troubleshooting
Once you see signs of new growth – tiny leaves unfurling from your cuttings – that’s usually a good indicator that roots are forming!
- Acclimatize gradually: Slowly remove the plastic bag or dome over a few days to help the new plants adjust to normal humidity levels.
- Water consistently: Keep the soil consistently moist but not soggy. Overwatering is the fastest way to lose a promising cutting. The soil should feel like a wrung-out sponge.
- Patience is key: It can take several weeks, sometimes even a couple of months, for cuttings to develop a robust root system. Don’t be discouraged if you don’t see immediate progress.
The most common issue you’ll encounter is rot. If a cutting turns black and mushy, it’s usually a sign of too much moisture and not enough air circulation, often combined with cooler temperatures. If you’re dividing, and a division seems weak or doesn’t establish, ensure it has enough root material to sustain itself.
So there you have it! Propagating Vernonia gigantea is a truly rewarding endeavor. You’re not just multiplying plants; you’re nurturing new life and extending the beauty of your garden. Be patient with yourself and the process, and most importantly, enjoy the journey. Happy gardening!
Resource:
https://identify.plantnet.org/k-world-flora/species/Vernonia%20gigantea%20(Walter)%20Trel./data