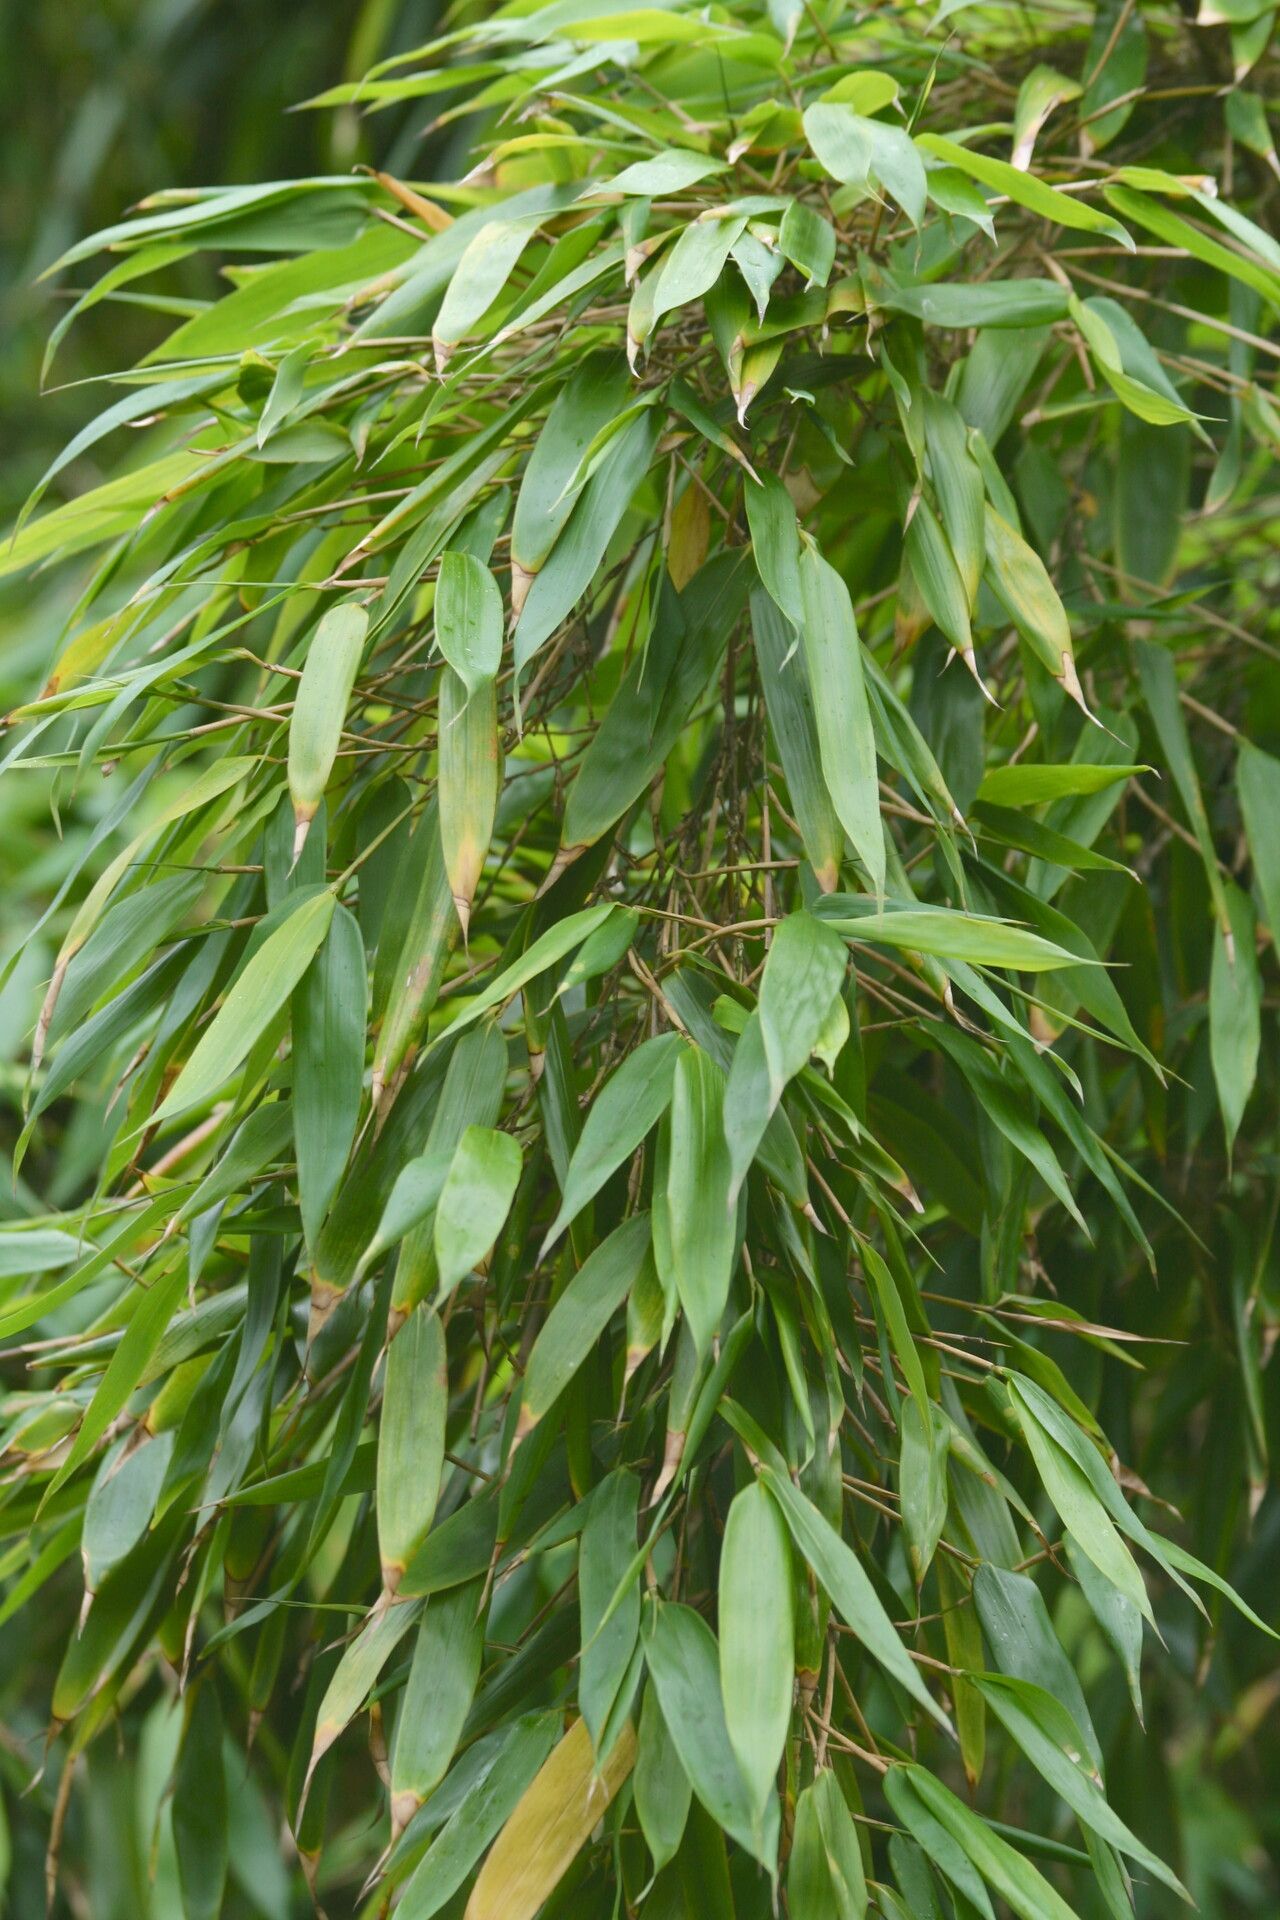
Alright, my fellow plant enthusiasts! Let’s talk bamboo. Specifically, that gorgeous Sinobambusa intermedia, with its elegant, arching culms and lush green foliage. It brings such a sense of calm and movement to any garden, doesn’t it? And the best part? You can easily bring that beauty into your own space by propagating it yourself! It’s a truly rewarding experience, and I’m here to guide you through it.
Now, is this a beginner-friendly plant to propagate? I’d say it’s moderately easy. It’s not as fussy as some tropicals, but a little bit of know-how goes a long way to ensure success. Think of it as a fun, rewarding challenge!
The Best Time to Start
When it comes to getting your Sinobambusa intermedia to put down roots, the sweet spot is during its active growing season. For most of us, that means late spring or early summer. You want to catch it when it’s putting on new growth, full of vigor. This energy translates directly into its ability to heal and root. Trying to propagate when it’s dormant will be an uphill battle.
Supplies You’ll Need
Gathering your tools ahead of time always makes the process smoother. Here’s what I keep on hand:
- Sharp, clean pruning shears or a sharp knife: Essential for making clean cuts that heal well.
- Rooting hormone (optional but recommended): A little boost never hurt anyone! Look for one with a fungicide.
- Well-draining potting mix: I prefer a blend of equal parts perlite, coco coir, and a bit of compost. If you can’t find that, a good quality seed starting mix will do in a pinch.
- Small pots or trays: For your new cuttings. Make sure they have drainage holes.
- Plastic bags or a propagation dome: To create a humid microclimate.
- Watering can with a fine rose attachment: For gentle watering.
- Labels and a marker: To keep track of your projects!
Propagation Methods
There are a few ways to get more Sinobambusa intermedia, but the most reliable for home gardeners are stem cuttings and division.
Stem Cuttings
This is my go-to method for increasing my bamboo collection.
- Take your cuttings: In late spring or early summer, select healthy, new culms that are about pencil-thick. You’re looking for sections with at least two or three nodes (those little rings on the stem).
- Make your cuts: Using your sharp pruners, make a clean cut just below a node. You can take multiple cuttings from a single culm.
- Prepare the cutting: Remove the leaves from the bottom node and any leaves that might end up underwater if you’re water propagating. If your cutting has large leaves, consider cutting them in half horizontally. This reduces water loss.
- Apply rooting hormone: Dip the cut end into your rooting hormone, tapping off any excess.
- Plant your cuttings: Fill your small pots with your well-draining mix. Make a small hole in the center and gently insert the cutting, ensuring the bottom node is buried in the soil.
- Water gently: Water thoroughly until water drains from the bottom of the pot.
- Create humidity: Cover the pot with a plastic bag or place it inside a propagation dome. This is crucial for preventing the cuttings from drying out before they root. Keep it out of direct sunlight while it roots.
Division
This method is best done when you have an established clump of bamboo.
- Expose the root ball: Carefully dig around the base of your existing bamboo clump, exposing the rhizomes and roots.
- Separate divisions: Using a sharp spade or a clean, sharp knife, divide the clump into sections. Each division should have at least one strong shoot and a good portion of root.
- Replant immediately: Replant your divisions into prepared soil in their new location or in pots as you would a new plant. Water them in well.
The “Secret Sauce” (Pro Tips)
Here are a few little tricks I’ve learned over the years that can make a big difference:
- Don’t let leaves touch the water: If you’re doing water propagation (which you can try with bamboo cuttings, though soil is often more reliable), make absolutely sure that no leaves are submerged. Submerged leaves will rot and spoil your cutting.
- Bottom heat is your friend: If you can, place your pots on a heat mat. This gentle warmth encourages root development from below, giving your cuttings a real kickstart. It’s like a cozy little foot bath for your bamboo!
- Patience with the nodes: Bamboo roots primarily from the nodes. That’s why cutting just below a node is so important. Don’t be discouraged if you don’t see immediate growth; those roots are forming beneath the surface.
Aftercare & Troubleshooting
Once you see new growth appearing (a good sign!), you know your cutting has rooted!
- Gradual acclimatization: If you’ve been using a plastic bag, gradually introduce your new plant to open air over a few days. This helps it adjust.
- Consistent moisture: Keep the soil consistently moist but not waterlogged. Overwatering is the quickest way to invite trouble.
- Bright, indirect light: Move your newly rooted bamboo to a spot with bright, indirect sunlight. Direct sun can scorch young leaves.
The most common pitfall you’ll encounter is rot. This usually happens from overwatering or poor drainage. If your cutting turns black, mushy, or just wilts dramatically and stays that way, it’s likely gone. Don’t beat yourself up; it happens to the best of us! Just start again with fresh cuttings and check your watering and soil.
A Encouraging Closing
Propagating your Sinobambusa intermedia is a journey, not a race. There will be successes, and there might be a few learning opportunities along the way. Just remember to be patient, observe your plants, and most importantly, enjoy the process of bringing more of that gorgeous bamboo into your life. Happy gardening!
Resource:
https://identify.plantnet.org/k-world-flora/species/Sinobambusa%20intermedia%20McClure/data