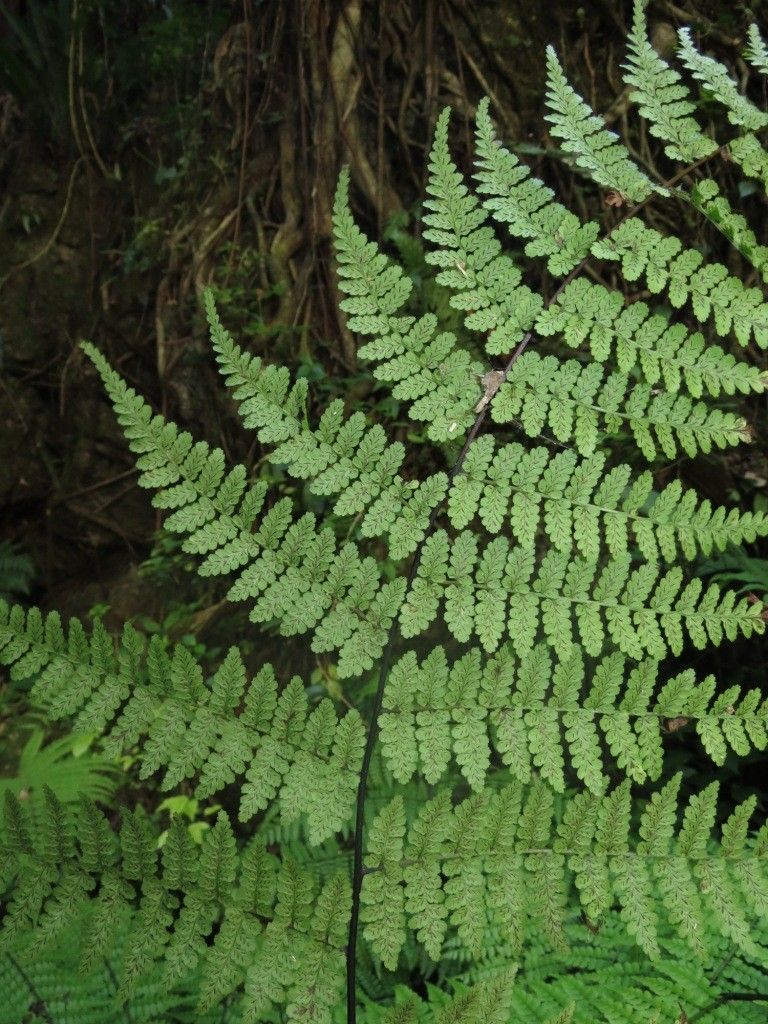
Oh, hello there! Come on in, grab a mug of your favorite brew. I’m so glad you’re curious about propagating Diplazium rosenstockii. Isn’t it just a marvel? Those delicate, Lacy fronds have a way of bringing a touch of the rainforest right into our homes. And duplicating that beauty? That’s a truly special kind of magic.
Why Propagate Diplazium rosenstockii?
For me, it’s all about sharing the joy. When you can create new life from a plant you love, it feels like a special gift. Diplazium rosenstockii can be a little particular, so propagating it successfully feels like earning a badge of honor! It’s not the absolute easiest plant for a complete beginner, but with a little patience and my tips, I think you’ll find it wonderfully rewarding.
The Best Time to Start
Timing is everything with plants, isn’t it? For Diplazium rosenstockii, I find the late spring or early summer is usually your best bet. This is when the plant is actively growing and has the most energy to dedicate to producing new roots. You’ll want to look for healthy, vigorous fronds that are fully unfurled, not the brand-new, tender ones that are still just unfurling.
Supplies You’ll Need
Don’t worry, you don’t need a whole arsenal of fancy gadgets. Here’s what I usually have on hand:
- Sharp, clean pruning shears or a knife: Sterilize these with rubbing alcohol before you start to prevent disease.
- A good quality potting mix: I like a well-draining, airy mix. Something like a blend of peat moss, perlite, and orchid bark works beautifully. You can even find pre-made fern mixes.
- Small pots or trays: Clean, adequately sized containers for your new babies.
- Sphagnum moss: This is a secret weapon for ferns, keeping things moist and airy.
- A misting bottle: Essential for maintaining humidity.
- (Optional) Rooting hormone: While not always necessary for this fern, it can give your cuttings a little boost.
Propagation Methods: My Go-To Techniques
Diplazium rosenstockii is best propagated through division or taking rhizome cuttings. Let’s break those down.
Division: The Gentle Approach
This is usually my preferred method when the plant has grown a bit crowded.
- Gently remove the parent plant from its pot. You might need to loosen the soil around the edges with a trowel.
- Inspect the root ball. Look for distinct sections where new growth is emerging from the main rhizome. These are your potential divisions.
- Carefully tease apart the sections. Sometimes, you can do this with your hands. If it’s tough, use a clean, sharp knife or trowel to slice through the rhizome, making sure each division has healthy roots and at least one or two fronds.
- Pot up each division into its own pot, using your prepared, well-draining potting mix. Plant them at the same depth they were growing before.
- Water thoroughly until water drains from the bottom.
Rhizome Cuttings: A Bit More Adventurous
This method isn’t about taking frond cuttings, but rather a piece of the underground stem (rhizome).
- Carefully extract the parent plant from its pot.
- Locate a healthy section of the rhizome that has at least one bud or developing frond.
- Using your sterilized knife or shears, cut a piece of the rhizome about 2-3 inches long. Ensure it has some roots attached if possible, and at least one bud.
- You can dip the cut end in rooting hormone if you’re using it.
- Plant the rhizome cutting horizontally or at a slight angle in your potting mix, with the bud just peeking out or slightly covered.
- Mist the surface lightly and cover the pot with a clear plastic bag or place it in a small propagator to maintain high humidity.
The “Secret Sauce” (My Insider Tips)
Here are a few things I’ve learned over the years that make a real difference:
- Don’t let the rhizome sit dry. Once you’ve taken your rhizome cutting, pot it up immediately! Exposure to air can quickly dehydrate that precious underground stem.
- Humidity is king! Ferns, especially when young and trying to root, absolutely adore high humidity. I like to mist the cuttings frequently and keep them covered to create a steamy little greenhouse environment. A pebble tray filled with water under the pot can also help.
- Gentle warmth helps. For rhizome cuttings, placing them on a heat mat can significantly speed up root development. Just make sure it’s set to a low, consistent temperature – no scorching!
Aftercare & Troubleshooting
Once your divisions or cuttings have shown signs of new growth (tiny new fronds unfurling!), it’s time to start transitioning them.
- Gradually increase light and air. Slowly remove the plastic cover over a week or two, and move them to brighter, indirect light.
- Keep the soil consistently moist but not soggy. This is the trickiest part! I check the soil daily. If the top inch feels dry, it’s time to water.
- Watch out for rot. The most common problem is overwatering, which leads to root rot. If you notice mushy stems or wilting that doesn’t improve with watering, it’s a sign of too much moisture. Ensure excellent drainage and avoid letting the pot sit in standing water.
- Patience is key. It can take several weeks, sometimes even a couple of months, for new roots to establish, especially with rhizome cuttings. Don’t give up if you don’t see results immediately!
Happy Growing!
See? It’s not so daunting, is it? Propagating Diplazium rosenstockii is a journey of observation and a little bit of faith in nature. Be patient with your new plants, give them the love they need, and soon you’ll be sharing these beautiful ferns with friends. Happy growing!
Resource: