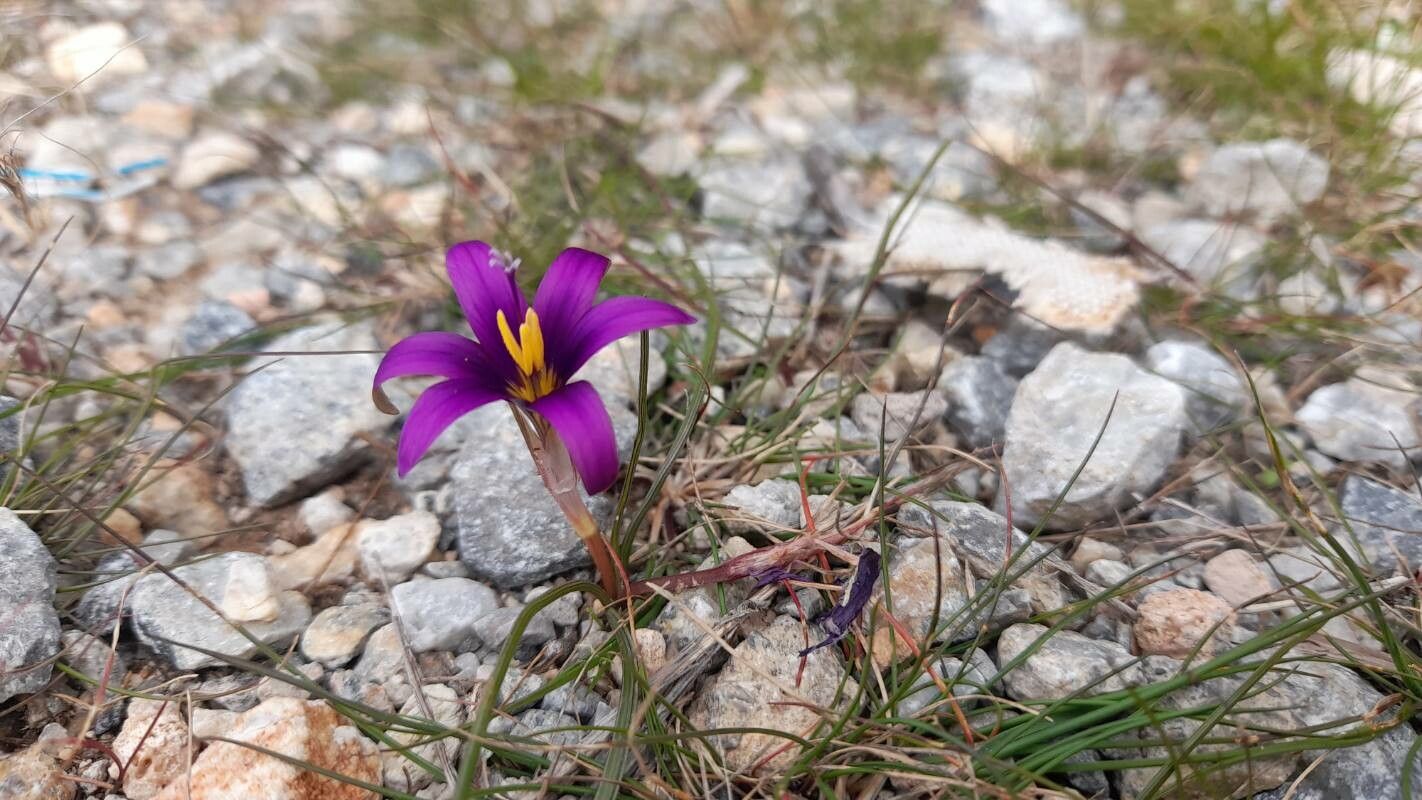
Hello fellow garden enthusiasts! It’s so lovely to connect with you today. I’m absolutely buzzing with excitement to talk about one of my favorite little gems: Romulea tempskyana. If you haven’t met this charmer yet, imagine delicate, jewel-toned blooms, often in shades of pink, purple, or white, unfurling on slender stems. They’re like tiny treasures that pop up in the garden, bringing a real sense of joy and surprise.
Now, why propagate them? Well, for starters, it’s incredibly satisfying to nurture a new plant from a tiny piece of the old. It’s a way to expand your collection, share the beauty with friends, or simply challenge yourself. For those of you just dipping your toes into the gardening pond, Romulea tempskyana can be a moderate challenge. They’re not the “set it and forget it” type, but with a little attention, you’ll find the rewards far outweigh any occasional fuss.
The Best Time to Start
Generally, the sweet spot for propagating Romulea tempskyana is when the plant is actively growing, but before it goes into its major flowering or dormancy phase. I find that late spring or early summer, typically after the main blooming period has finished, is your best bet. This is when the plant has stored up enough energy to dedicate to root development and new growth. Trying to take cuttings when the plant is stressed or winding down just won’t yield the results you’re hoping for.
Supplies You’ll Need
Gathering your tools beforehand makes the whole process smoother. Here’s what I usually have on hand:
- Sterile potting mix: A well-draining mix is key. I often use a blend of peat moss, perlite, and a little bit of coarse sand.
- Sharp, clean pruning shears or a knife: For making precise cuts and avoiding introducing disease.
- Small pots or seed trays: Something appropriate for the size of your cuttings.
- A rooting hormone (optional but helpful): Especially for any woody cuttings, it encourages faster root formation.
- A spray bottle: For lightly misting your cuttings.
- Clear plastic bags or a propagator: To create a humid environment for your cuttings.
- A dibber or pencil: For making holes in the soil.
Propagation Methods
Romulea tempskyana is most commonly propagated through division of its corms. Think of corms as little underground storage units, similar to bulbs but a bit different in structure.
Division of Corms:
- Excavate with Care: Gently dig up the parent plant. It’s best to do this when the foliage has started to yellow and die back, signaling the plant is going dormant. You want to avoid disturbing the roots too much.
- Locate the Corms: You’ll find small cormels attached to the mother corm. These are your baby plants! Carefully tease them apart. If they’re stubborn, a gentle twist or a clean knife can help.
- Prepare for Planting: Make sure each cormel has a bit of dried leaf attached or a discernible point where roots will emerge. Discard any that look damaged or diseased.
- Planting Time: Fill your pots with your well-draining potting mix. Make a small hole with your dibber or finger and plant the cormlet about 1-2 cm deep, with the pointed end facing upwards (if you can discern it; if not, don’t worry too much, they’ll usually find their way).
- Water Gently: Water the soil lightly. You want it moist, not waterlogged.
- Incubate: Place the pots in a warm, bright spot, but out of direct, scorching sun. You can cover them with a clear plastic bag or place them in a propagator to maintain humidity.
The “Secret Sauce” (Pro Tips)
My best advice? Patience is your gardening superpower. Don’t be discouraged if you don’t see growth immediately. These little ones take their time.
Another tip I swear by is to keep the cormlets slightly on the drier side once they’re planted. Overwatering at this stage is a fast track to rot. It’s better to err on the side of caution. And if you’re in a cooler climate and want to give them a little boost, consider using bottom heat. A seedling heat mat can significantly speed up root development and get your new plants off to a stronger start.
Aftercare & Troubleshooting
Once your Romulea tempskyana cuttings have rooted and you see signs of new growth (tiny leaves emerging!), it’s time to transition them. Gradually remove the plastic cover or open the propagator vents over a few days to acclimate them to normal humidity. Continue watering sparingly, allowing the soil to dry out slightly between waterings.
The biggest pitfall you might encounter is rot. If your cormlets turn mushy and dark, this is almost always a sign of too much moisture. Unfortunately, if rot sets in, it’s hard to save them. Watch out for yellowing leaves or wilting that isn’t related to natural die-back as the plant goes dormant. This could indicate insufficient watering or a lack of light.
Let the Gardening Adventure Begin!
Propagating Romulea tempskyana is a wonderfully rewarding process. It’s a chance to slow down, observe, and connect with the natural rhythm of these beautiful plants. Be patient with yourself and your little sprouts. Every gardener, no matter how experienced, has had their share of propagation triumphs and… well, learning opportunities! Enjoy the journey, and soon you’ll be surrounded by these delightful blooms. Happy gardening!
Resource:
https://identify.plantnet.org/k-world-flora/species/Romulea%20tempskyana%20Freyn/data