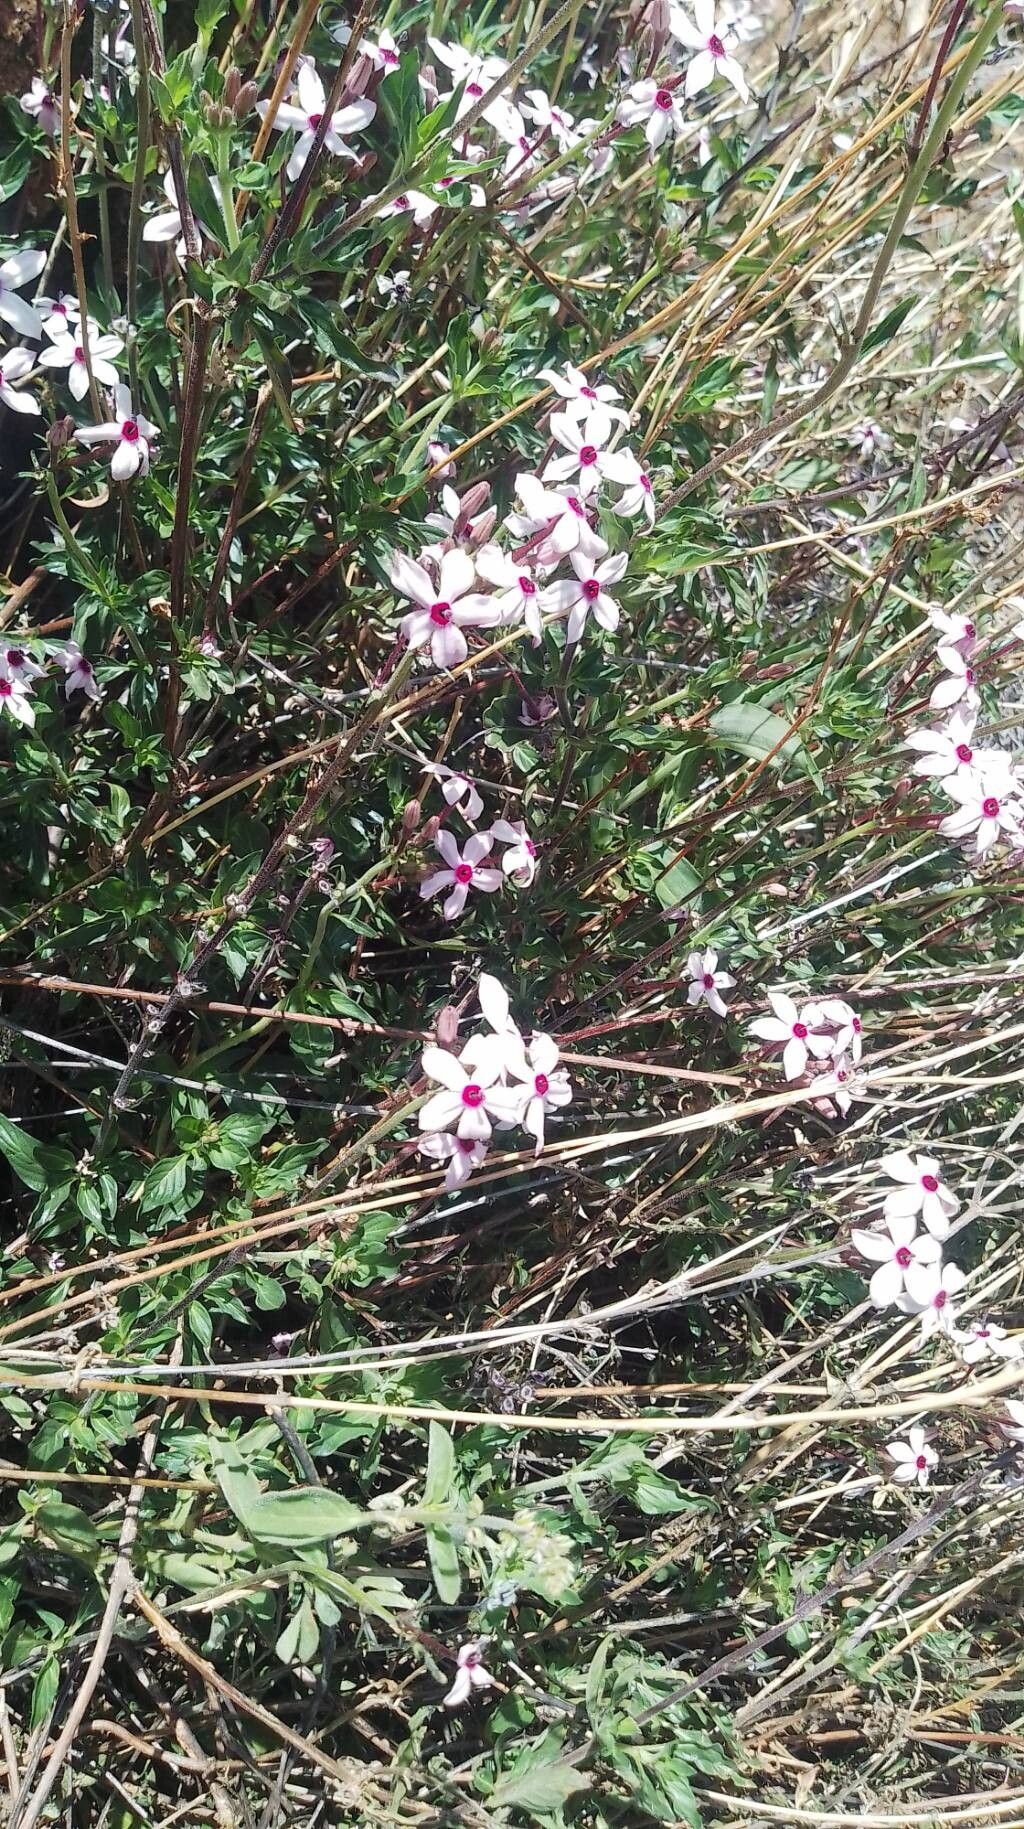
Oh, Otomeria oculata, isn’t she a stunner? Those delicate, bell-shaped flowers, often in the most enchanting shades of coral and rose, really do steal the show. They have this wonderfully airy quality, like little dancers in the breeze. And the best part? You can easily multiply that beauty! Propagating them is such a rewarding journey, watching a tiny cutting transform into a mature plant. While some plants can be a bit fussy, Otomeria oculata is generally quite agreeable, making it a lovely choice even for those dipping their toes into propagation for the first time.
The Best Time to Start
You’ll find the most success when you propagate Otomeria oculata during its active growing season. For most of us, this means spring and early summer. This is when the plant has plenty of energy to put into developing new roots. Look for healthy, non-flowering stems that are firm but not yet woody.
Supplies You’ll Need
Gathering your tools beforehand makes the whole process so much smoother. Here’s what I always have on hand:
- Sharp pruning shears or a clean craft knife: For making clean cuts.
- Seedling or propagation trays/small pots: Cleanliness is key!
- Propagation mix or a well-draining potting mix: A blend of peat moss, perlite, and a bit of sand works wonders. You want it to be light and airy.
- Rooting hormone (optional but recommended): This really gives cuttings a helpful boost.
- Plastic bags or a clear dome: To create a humid environment.
- Watering can with a fine rose spray: For gentle watering.
- Labels: To keep track of your plants and dates.
Propagation Methods
Let’s get our hands dirty! The most common and effective way to propagate Otomeria oculata is through stem cuttings.
Stem Cuttings
- Take the Cutting: Select a healthy stem that’s about 4-6 inches long. Look for a section that has at least two or three sets of leaves. Using your sharp shears or knife, make a clean cut just below a leaf node (where a leaf attaches to the stem). This is where roots are most likely to form.
- Prepare the Cutting: Gently remove the lower leaves from the cutting, leaving only the top two sets. If the remaining leaves are very large, you can even cut them in half horizontally to reduce water loss through transpiration.
- Apply Rooting Hormone (Optional): If you’re using rooting hormone, dip the cut end of the stem into the powder or gel according to the product’s instructions. Tap off any excess.
- Plant the Cutting: Fill your small pots or tray with your propagation mix, making sure it’s moist but not soggy. Create a small hole in the center of the mix with your finger or a pencil. Insert the cut end of the stem into the hole, ensuring at least one leaf node is below the surface of the soil. Gently firm the mix around the stem.
- Create Humidity: Water your newly potted cuttings gently. Then, cover the pots with a clear plastic bag or place them under a clear dome. This traps moisture, crucial for cuttings that haven’t yet developed roots. Make sure the leaves aren’t touching the plastic if possible.
- Placement: Place the pots in a warm location with bright, indirect light. Avoid direct sunlight, which can scorch the delicate cuttings.
The “Secret Sauce” (Pro Tips)
Here are a couple of things I’ve learned over the years that really make a difference:
- Bottom Heat is Your Friend: While not strictly essential, placing your propagation tray on a gentle heat mat can significantly speed up root development. It mimics the warmth of spring soil and gives those roots a happy little nudge. Just make sure the heat isn’t too intense!
- Air the Young Ones Out: Even though the humidity is important, it’s a good idea to remove the plastic bag for an hour or so each day to allow for some air circulation. This helps prevent fungal diseases, which can be a real problem for tender cuttings. Keep an eye out for any signs of mold.
Aftercare & Troubleshooting
Patience is key here! You should start to see signs of new growth or feel a slight resistance when you gently tug on the cutting (don’t pull it out, though!) within 3-6 weeks.
Once roots have formed and you see new leaves emerging, it’s time to gradually acclimate your new plant to normal conditions. Start by removing the plastic bag for longer periods each day over the course of a week. Then, you can move them into slightly larger pots with regular potting mix. Keep them in bright, indirect light and water when the top inch of soil feels dry.
The most common issue you might encounter is rot. This usually happens if the cuttings are kept too wet and don’t have enough air circulation. Signs of rot include mushy stems or leaves that turn yellow and drop off quickly. If you spot rot, try to remove the affected cutting immediately to prevent it from spreading. Ensure your potting mix is well-draining and your humidity isn’t excessive.
A Little Encouragement
There you have it! Propagating Otomeria oculata is a delightful way to expand your collection and share the plant-loving bug with others. Don’t be discouraged if every single one doesn’t make it. Gardening is all about learning and trying. Enjoy the process, celebrate the successes, and know that each new little plant is a testament to your green thumb’s growing wisdom. Happy propagating!
Resource:
https://identify.plantnet.org/k-world-flora/species/Otomeria%20oculata%20S.Moore/data