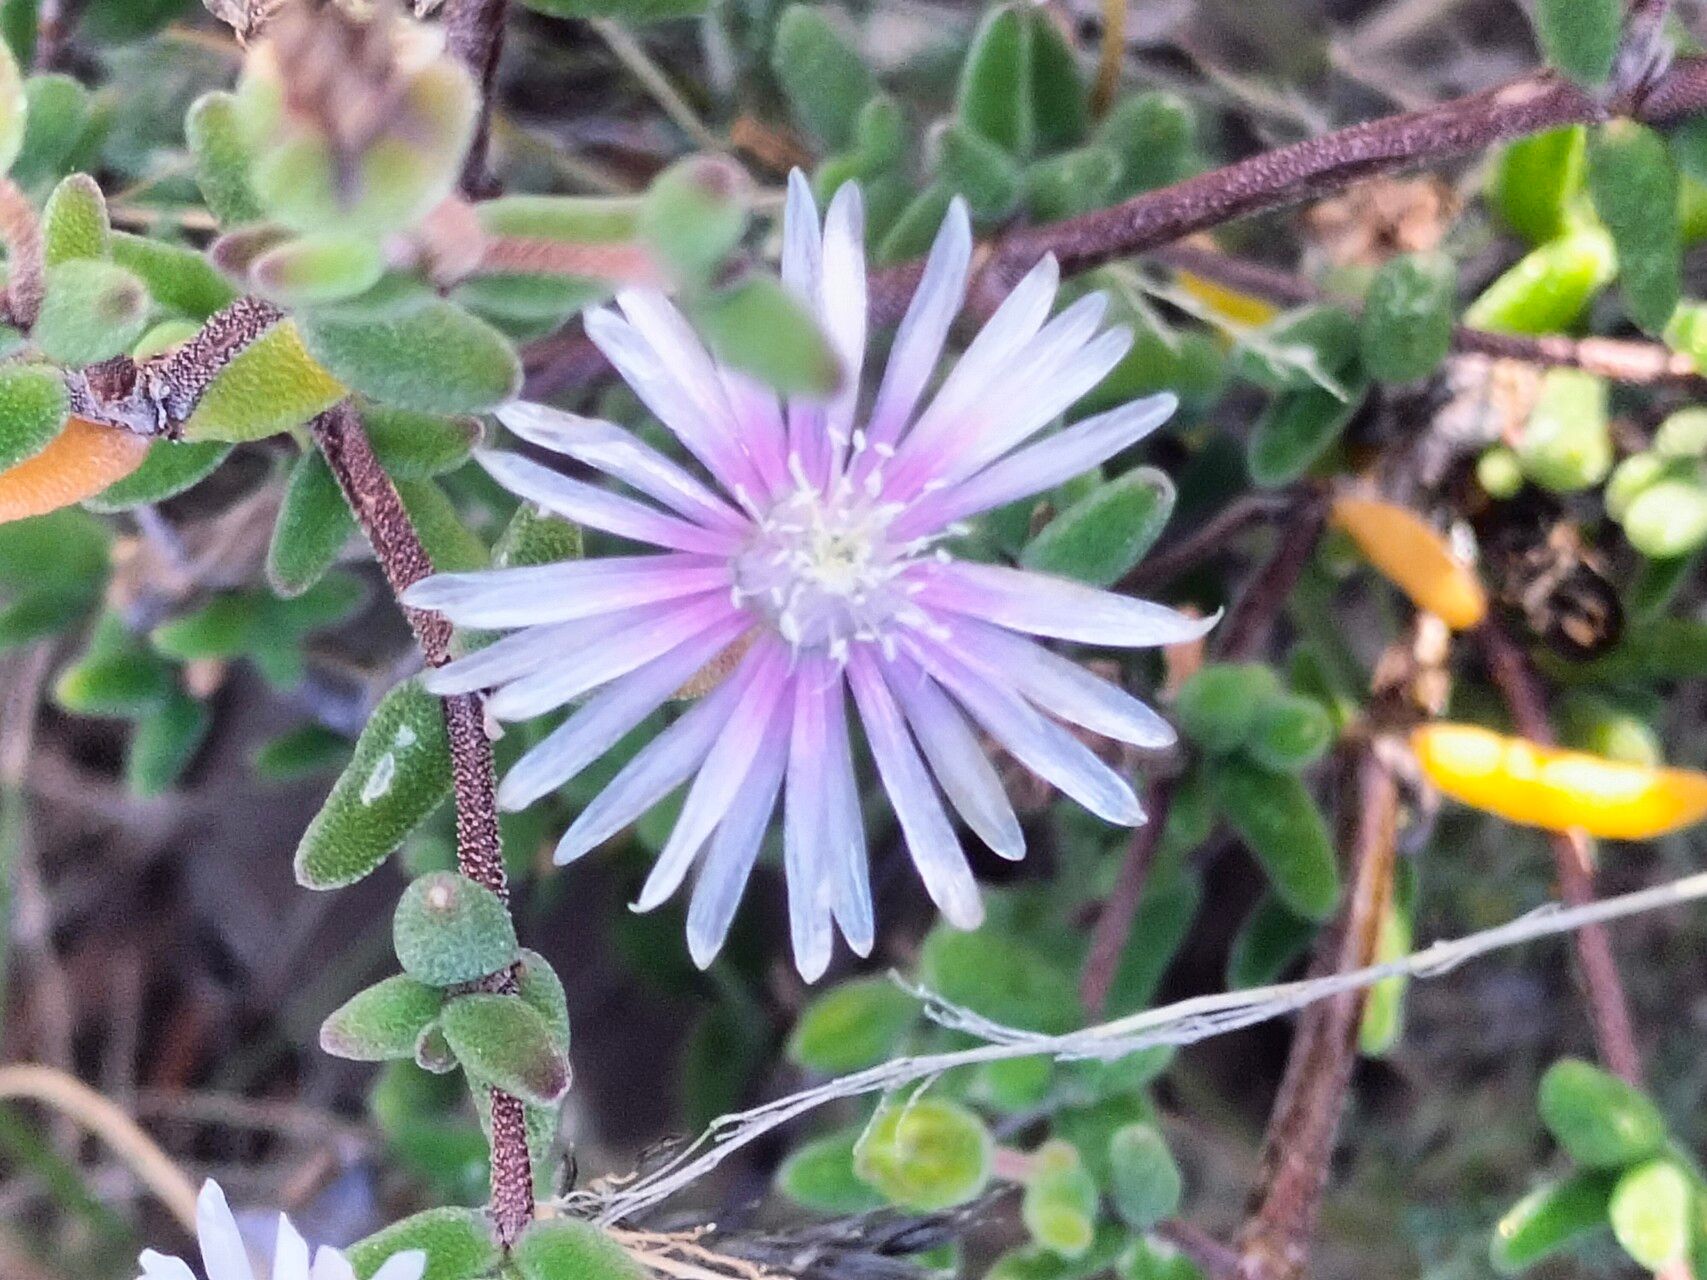
Oh, hello there! Come on in, pull up a chair. I’m so glad you’re interested in Drosanthemum lique. If you’ve ever seen these little beauties shimmering in the sun, you know what I’m talking about. They’re those delightful succulents with the tiny, crystal-like leaves that just sparkle. They truly add a touch of magic to any garden, or even a sunny windowsill. And guess what? Propagating them is surprisingly rewarding, and I’d say it’s a very beginner-friendly task. You’ll feel like a magic-maker yourself when you see those little bits of plant turn into more!
The Best Time to Start
For Drosanthemum lique, my favorite time to get propagating is in the late spring or early summer. This is when the plant is really in its growing stride after the cooler months. The stems are plump with energy, and the warmer temperatures give any new roots a fantastic boost. You want to be working with healthy, actively growing material.
Supplies You’ll Need
Here’s what I always have on hand:
- Sharp, clean pruning shears or a craft knife: For making those clean cuts.
- A well-draining potting mix: I usually use a blend of perlite, coarse sand, and a little bit of succulent or cactus soil. About a 50/50 mix of perlite and succulent soil works wonders.
- Small pots or trays: Terracotta pots are great as they breathe well.
- Rooting hormone (optional but recommended): A little dip can really speed things up.
- A watering can with a fine rose or a spray bottle: To water gently.
- Labels and a pen/pencil: To keep track of what you’ve planted and when.
- A sunny spot: But not intense, direct midday sun, especially for the very young cuttings.
Propagation Methods
Let’s dive into how we can get more of these sparkly treasures.
Stem Cuttings
This is my go-to method for Drosanthemum lique. It’s straightforward and usually yields excellent results.
- Take your cuttings: Look for healthy stems that are at least 2-3 inches long. Using your clean shears or knife, make a cut just above a leaf node (where a leaf joins the stem). You want to remove the very tip if it seems a bit too soft.
- Prepare the cuttings: Gently remove the leaves from the bottom inch or so of the stem. This is crucial! Those lower leaves will likely rot if buried in the soil.
- Let them callous: This is a vital step for succulents! Place your prepared cuttings on a dry surface in a well-ventilated spot, out of direct sun, for 2-3 days. You’ll see a dry, scab-like layer form over the cut end. This prevents rot.
- Apply rooting hormone (optional): If you’re using rooting hormone, dip the calloused end into the powder or gel.
- Pot them up: Fill your small pots or trays with your well-draining mix. Make a small hole in the center of the soil with your finger or a pencil.
- Insert the cuttings: Gently place the calloused end of each cutting into the hole, ensuring the severed stem is buried in the soil. Firm the soil around the stem gently.
- Water sparingly: Give them a very light watering. You want the soil to be barely moist, not wet. A light misting with a spray bottle is often enough.
- Find a good spot: Place your pots in a bright location that gets plenty of indirect sunlight. Avoid intense, direct sun, which can scorch the tender cuttings.
Water Propagation
While stem cuttings in soil are my preference for Drosanthemum lique, you can try water propagation.
- Prepare your cuttings: Follow steps 1 and 2 from the stem cutting method – make clean cuts and remove lower leaves.
- The water step: Place the cuttings in a small jar or glass of water. Crucially, ensure that no leaves are touching the water. Only the stem should be submerged.
- Placement: Put the jar in a bright, indirect light location.
- Change the water: Change the water every few days to keep it fresh and prevent bacterial growth.
- Wait for roots: You should see tiny roots emerging from the submerged stem within a couple of weeks.
- Pot them up: Once the roots are about an inch long, carefully transplant them into your well-draining potting mix as described in step 5 of the stem cutting method. Water very lightly afterwards.
The “Secret Sauce” (Pro Tips)
As a seasoned gardener, I’ve learned a few things that make a big difference.
- Gentle Roots are Key: When propagating, think “tender loving care.” These little ones are fragile. Avoid overwatering, which is the quickest way to invite rot. A slightly dry spell is much better than a soggy situation.
- The Power of a Humid Dome (for soil cuttings): If you’re feeling a bit fancy, or if your home is particularly dry, you can create a mini-greenhouse effect. Place a clear plastic bag or a plastic dome loosely over your pots after planting. This traps humidity, which is fantastic for encouraging root development. Just lift it daily for a few minutes to let in fresh air and prevent mildew.
- Bottom Heat is Your Friend: If you happen to have a heat mat that you use for seed starting, placing your pots on it can dramatically speed up root formation. Succulents love a bit of warmth beneath their roots. You don’t want it too hot, just comfortably warm.
Aftercare & Troubleshooting
Once you start seeing tiny roots emerging, congratulations! You’re on your way.
- Gradual Acclimation: If you used a humidity dome, start removing it gradually. First, lift it for a few hours each day, then leave it off for longer periods. This helps your new plant adjust to the regular air.
- Watering: Once your cuttings have established a root system (you’ll see new growth start to appear), you can water them a bit more regularly, but still err on the side of caution. Let the soil dry out between waterings.
- Signs of Trouble: The most common issue is rot. If you see your cutting turning mushy, brown, or black, it’s likely suffered from too much moisture or wasn’t allowed to callous properly. Unfortunately, if rot sets in, it’s usually a goner. Prevention is key here! Another sign of failure is if the cutting just shrivels up and dries out completely. This can happen if it’s too dry or not getting enough light.
A Little Encouragement
Propagating plants is all about patience and observation. Some cuttings will take off like wildfire, while others might take their sweet time. Don’t get discouraged if not every single one makes it. The joy is in the process, in learning, and in watching these tiny pieces of plant life grow into something beautiful. So go ahead, get your hands dirty, and enjoy the magic of creating more Drosanthemum lique! You’ve got this.
Resource: