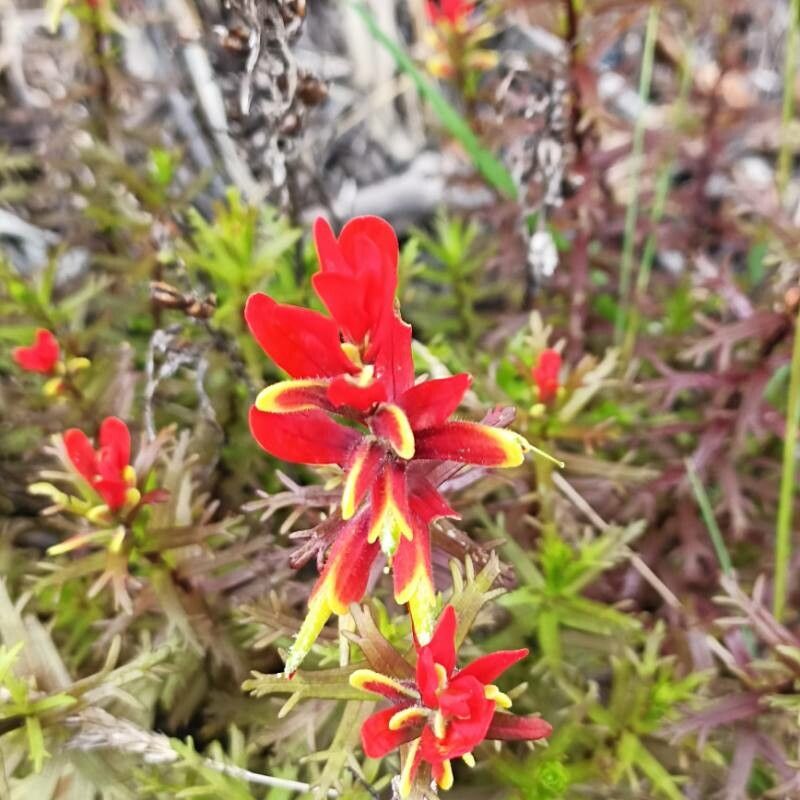
Hello, fellow garden enthusiasts! If you’ve ever admired the striking beauty of Castilleja irasuensis, with its vibrant, almost otherworldly blooms, then you’re in for a treat. I’m here to share my passion for propagating this unique plant. It’s a real joy to see new life sprout from a parent plant, and Castilleja irasuensis is a particularly rewarding one to work with, though I wouldn’t classify it as a beginner’s absolute easiest task. It requires a little patience and understanding, but the results are absolutely worth it.
The Best Time to Start
For Castilleja irasuensis, the sweet spot for propagation is generally in the late spring or early summer. This is when the plant is actively growing, producing new shoots that have the best chance of rooting successfully. Avoid trying to propagate during extreme heat or when the plant is dormant. We want that vibrant energy!
Supplies You’ll Need
Gathering your supplies beforehand makes the whole process smoother. Here’s what you’ll want to have on hand:
- Sharp, clean pruning shears or a sharp knife: Essential for making clean cuts. Sterilize them with rubbing alcohol to prevent disease.
- Propagation substrate: A well-draining mix is crucial. I like a blend of perlite and coco coir, in roughly a 1:1 ratio. Some people also add a little horticultural grit.
- Small pots or trays: With drainage holes, of course!
- Rooting hormone (optional but recommended): A good rooting powder or gel can give cuttings a significant boost. Look for one with IBA (indole-3-butyric acid).
- Plastic bags or a propagation dome: To maintain humidity around your cuttings.
- Watering can or spray bottle: For gentle watering.
- Patience: This is probably the most important tool of all!
Propagation Methods
While Castilleja irasuensis can sometimes be a bit finicky, stem cuttings are generally the most reliable method I’ve found.
Method: Stem Cuttings
- Select your cuttings: Look for healthy, non-flowering shoots that are about 4-6 inches long. These should be semi-hardwood – not too soft and new, but not woody either. A flexible stem that snaps cleanly if bent is often a good indicator.
- Make the cut: Using your sharp, sterilized shears, make a clean cut just below a leaf node. A leaf node is where a leaf attaches to the stem, and it’s where root formation is most likely to occur.
- Prepare the cutting: Gently remove the lower leaves from the cutting, leaving just a few at the top. This prevents them from rotting in the substrate.
- Apply rooting hormone: If you’re using rooting hormone, dip the cut end of the stem into it, tapping off any excess.
- Plant your cuttings: Fill your small pots with the propagation substrate. Make a hole in the center with your finger or a pencil. Insert the cut end of the stem into the hole and gently firm the substrate around it.
- Water gently: Water the substrate thoroughly but gently, ensuring it’s moist but not waterlogged.
- Create humidity: Cover the pot with a plastic bag and secure it loosely with a rubber band, or place it under a propagation dome. Make sure the leaves don’t touch the plastic bag, as this can encourage rot. If they do, prop up the bag with a small stake.
- Place in a bright, indirect light: Find a warm spot that receives bright, filtered light. Avoid direct sun, which can scorch the delicate cuttings.
The “Secret Sauce” (Pro Tips)
Here are a couple of tricks I’ve learned over the years that can really make a difference:
- Bottom Heat is Your Friend: Castilleja irasuensis loves warmth. Placing your pots on a heated propagation mat can significantly speed up rooting. It mimics the warmth of summer soil and encourages those roots to develop.
- Don’t Fuss Too Much: Once your cuttings are set up with the right humidity and light, resist the urge to constantly check them. Frequent disturbance can be detrimental. Let them do their thing! Check for moisture periodically, but otherwise, let them sit.
- A Gentle Breeze Helps: While we want to maintain humidity, occasional ventilation is important to prevent fungal issues. You can lift the plastic bag for a few minutes each day or open the vents on a propagation dome.
Aftercare & Troubleshooting
Once you start to see signs of new growth – tiny leaves emerging or a slight tug on the cutting when you gently test it – that’s a good indication that roots have formed!
- Gradual Acclimation: When roots are established, gradually acclimate your new plants to normal conditions. Over a week or two, gradually open the plastic bag or dome more each day, and expose them to slightly more light.
- Repotting: Once they have a decent root system and are growing well, you can pot them into slightly larger containers with a good quality potting mix.
- Troubleshooting Rot: The most common problem you’ll encounter is rot. If you see your cuttings turning black and mushy, it’s usually a sign of too much moisture and not enough air circulation. If you can catch it early, you might be able to trim away the rotted parts and try again, but often, it’s best to start fresh. Ensure your substrate is well-draining and don’t overwater.
Happy Propagating!
Growing plants from cuttings is a journey of observation and a little bit of faith. Be patient with your Castilleja irasuensis, celebrate every tiny success, and don’t be discouraged by the occasional setback. The satisfaction of nurturing new life is one of the greatest joys of gardening. Happy propagating!
Resource:
https://identify.plantnet.org/k-world-flora/species/Castilleja%20irasuensis%20Oerst./data