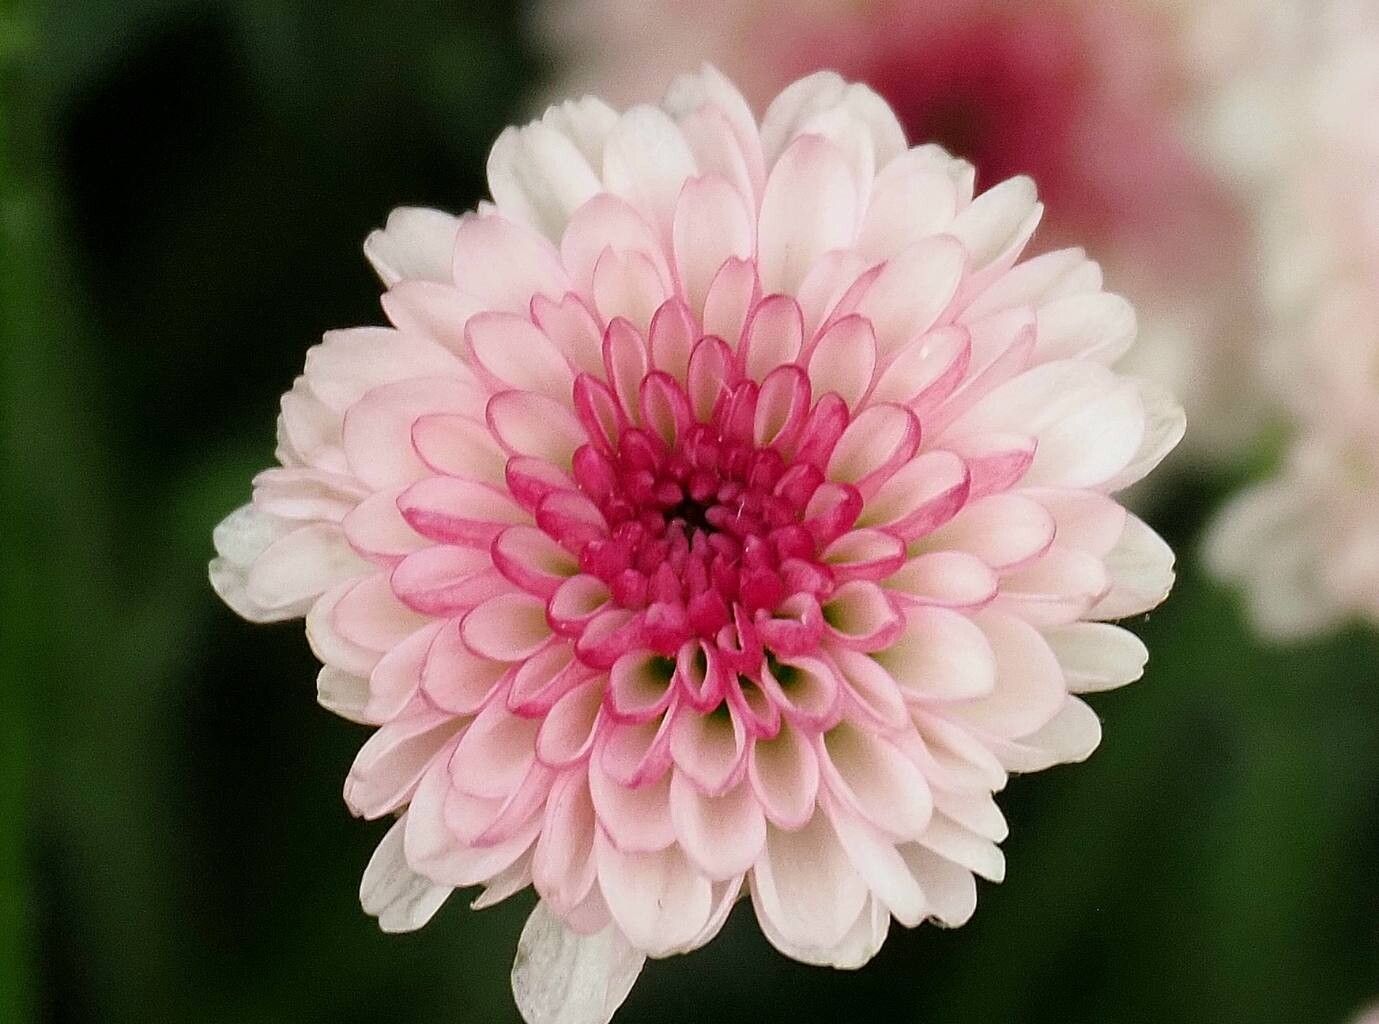
Oh, hello there! So glad you’ve stopped by. Let’s talk about a flower that brings sheer joy to any garden, and even more so when you’ve grown it yourself. I’m talking about Callistephus chinensis, or as many of us fondly call them, China Asters.
These beauties are just bursting with color and come in such a delightful array of sizes and forms. From delicate, wispy singles to those glorious, pom-pom doubles, they add a wonderful splash of late-season cheer. And let me tell you, there’s a special kind of satisfaction in coaxing a new life from a parent plant. Don’t be intimidated by propagation; China Asters are surprisingly beginner-friendly when it comes to starting new plants, especially from seed.
The Best Time to Start
For the most success with China Asters, starting them from seed indoors is your golden ticket. You’ll want to sow those little seeds about 6 to 8 weeks before your last expected frost. This gives them a strong start and ensures they’re ready to hit the ground running when the weather warms up. True cuttings are a bit trickier with these annuals, so we’ll focus on the seed method, which is where the real magic happens.
Supplies You’ll Need
Gathering your supplies makes the whole process so much smoother! Here’s what I usually have on hand:
- Seed starting trays or small pots: Nothing too big to start.
- Sterile seed starting mix: This is crucial! It’s light and airy and prevents damping-off. Regular garden soil is too heavy.
- China Aster seeds: Of course! Choose varieties you love.
- Watering can with a fine rose or a spray bottle: Gentle watering is key.
- Labels and a permanent marker: You don’t want to forget what you planted!
- A warm, bright location: A sunny windowsill or a spot under grow lights works wonders.
- Optional: A heat mat: This can really speed up germination, especially in cooler homes.
Propagation Methods (The Seed Starting Saga)
Since China Asters are typically grown as annuals and are easiest to start from seed, here’s how we do it:
- Prepare your trays: Fill your seed starting trays or small pots with the sterile seed starting mix. Gently press it down to remove large air pockets, but don’t compact it too firmly.
- Sow the seeds: Place 2-3 seeds on the surface of the soil in each cell or pot. Asters can have varying germination rates, so a little insurance is good.
- Cover lightly: Sprinkle a very fine layer of more seed starting mix over the seeds, just enough to cover them. A thickness of about 1/8 inch is plenty. You want light to reach them.
- Water gently: Mist the surface with your spray bottle or use the fine rose on your watering can to moisten the soil thoroughly. Be careful not to dislodge the seeds.
- Provide warmth and light: Place your trays in a warm spot. If you have a heat mat, this is the time to use it. Once you see the first little green shoots emerge (germination usually takes 7-14 days), move them to a bright location where they’ll get plenty of indirect sunlight or under grow lights.
- Thinning is kind: Once the seedlings have their first set of true leaves (these look different from the initial seed leaves), it’s time to thin them out. Gently snip off the weaker seedlings at the soil line with small, sharp scissors. Leave just the strongest one in each pot or cell. This gives it room to grow without competition.
The “Secret Sauce” (Pro Tips)
Now for a couple of little tricks I’ve picked up over the years that can really make a difference:
- Don’t overwater, but don’t let them dry out: This is a balance, I know! The soil should feel damp to the touch, like a wrung-out sponge. If you see the soil pulling away from the sides of the pot, it’s too dry. If it’s soggy and pooling, it’s too wet. Look for that sweet spot.
- Keep them cool once they sprout: While they need warmth to germinate, once those little guys pop up, they actually do better with slightly cooler temperatures (around 60-70°F / 15-21°C). This encourages stronger, stockier growth and prevents them from getting leggy and weak. If they stretch towards the light excessively, they’re not getting enough.
Aftercare & Troubleshooting
Once your little asterlings have a few sets of true leaves and are looking strong, you’ll want to start hardening them off before planting them outside. This means gradually introducing them to outdoor conditions over a week or two. Start with an hour or two in a sheltered spot and increase the time each day.
The most common issue you might face is damping-off. This is a fungal disease that attacks seedlings when the soil stays too wet and the air circulation is poor. It causes the stem to rot at the soil line, and the seedling wilts and dies. Using sterile seed starting mix and avoiding overwatering are your best defenses. If you see it happening, remove the affected seedlings immediately to prevent it from spreading.
A Little Bit of Encouragement
Growing plants is a journey, and with China Asters, it’s a wonderfully rewarding one. Be patient with your seedlings. They’re tiny and delicate at first, but with a little care and attention, they’ll transform into magnificent blooms. Enjoy the process, learn from each sprout, and soon you’ll have your own beautiful China Asters to admire and share. Happy gardening!
Resource:
https://identify.plantnet.org/k-world-flora/species/Callistephus%20chinensis%20(L.)%20Nees/data