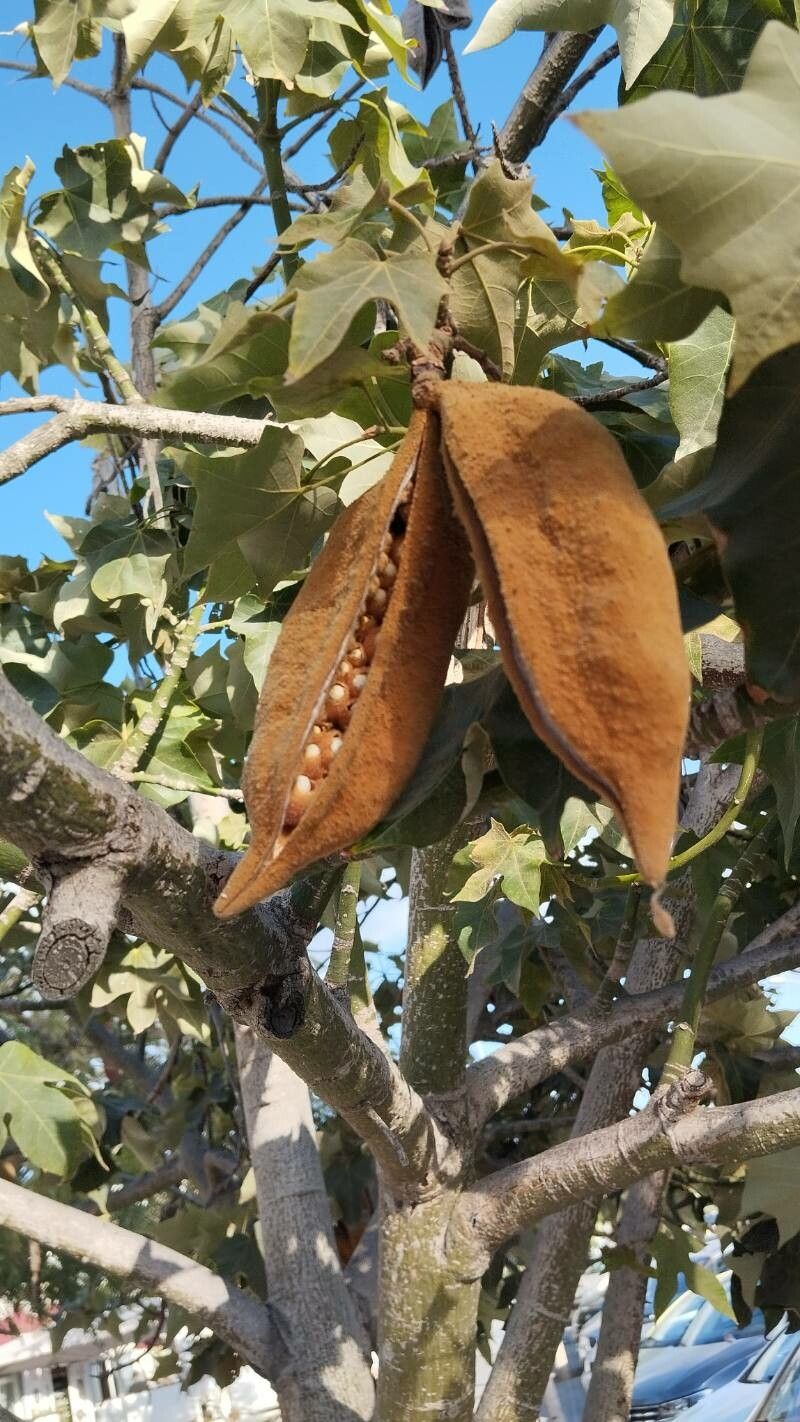
Oh, hello there! I’m so glad you’ve stopped by. Today, we’re going to talk about a simply gorgeous tree: Brachychiton discolor, also known as the Flame Tree or Lace-Flowering Kurrajong. Its stunning pink, bell-shaped flowers bloom prolifically, creating a breathtaking display. If you’ve ever admired one of these beauties, you might be wondering if you can grow your own. And the wonderful news is, yes, you can! Propagating Brachychiton discolor is a truly rewarding experience. It’s not the absolute easiest plant for a complete beginner, but with a little patience and the right approach, you’ll be well on your way.
When to Give It a Go
The best time to get serious about propagating your Brachychiton discolor is during its active growing season. For most of us, this means late spring through summer. You’re looking for healthy, semi-hardwood cuttings – not brand new, floppy growth, nor old, woody stems. Think of a stem that’s just starting to firm up, like a pencil.
What You’ll Need for Your Propagation Station
Setting yourself up for success is half the battle! Here’s what I always have on hand:
- Sharp pruning shears or a clean, sharp knife: For making clean cuts. Sterilize them between each cut to prevent disease.
- Rooting hormone: This is a helpful little boost, especially for woody cuttings. Look for one containing indole-3-butyric acid (IBA).
- Well-draining potting mix: A 50/50 blend of perlite and peat moss is my go-to. You can also use a mix specifically formulated for cuttings.
- Small pots or seed trays: Choose something with drainage holes.
- Plastic bags or a clear plastic dome: To create a mini-greenhouse effect.
- Watering can with a fine rose: For gentle watering.
- A warm, bright location: Out of direct, scorching sun.
Letting Nature Do Its Thing: Propagation Methods
For Brachychiton discolor, I find stem cuttings to be the most reliable method.
- Take Your Cuttings: On a mild day during the growing season, select a healthy branch that’s about pencil-thick. Using your clean shears, take cuttings that are 6-8 inches long. Make a clean cut just below a leaf node (where a leaf attaches to the stem).
- Prepare the Cuttings: Gently strip off the lower leaves, leaving just a few at the very top. This prevents them from rotting once in the soil. You can make a slight slit on the bottom inch of the stem to expose more surface area for root development.
- Dip in Rooting Hormone: Dip the cut end of each cutting into your rooting hormone powder. Tap off any excess.
- Plant Them Up: Fill your pots or trays with your prepared, moistened potting mix. Make a hole with a pencil or your finger and insert the cutting, ensuring the leaf nodes are below the soil surface. Gently firm the soil around the stem.
- Create a Humid Environment: Water gently. Then, cover the pots with a clear plastic bag (propped up with stakes so it doesn’t touch the leaves) or place them under a clear plastic dome. This will maintain high humidity, which is crucial for cuttings that can’t yet absorb water through roots.
- Find the Right Spot: Place your pots in a warm, bright location that receives indirect sunlight. Direct sun will scorch the young cuttings.
My Little Secrets (The “Secret Sauce”)
Over the years, I’ve learned a few tricks that really seem to make a difference:
- Bottom Heat is Your Friend: Cuttings root much faster and more successfully when they have a bit of warmth from below. A heated propagator mat is fantastic for this. It mimics the warmth of summer soil.
- Don’t Drown Them: While humidity is key, overwatering is the enemy of cuttings. The soil should be consistently moist but never waterlogged. If you see water pooling, you’ve gone too far.
- Patience, Patience, Patience: This is the biggest one! Brachychiton discolor can be a bit slower to root than some other plants. Don’t be discouraged if you don’t see immediate results.
What Happens Next and What to Watch For
Once your cuttings have rooted, you’ll start to see new leaf growth at the top. Another good sign is a gentle tug – if there’s resistance, roots are forming. This usually takes several weeks to a few months.
When you see those first signs of life, it’s time to gradually introduce them to less humid conditions. Start by removing the plastic bag or dome for a few hours each day. Water them as you would a young seedling, letting the soil dry out slightly between waterings. Once they seem to be thriving, you can transplant them into slightly larger individual pots.
Signs of failure typically involve the cuttings wilting and not recovering, or developing black, mushy spots, which indicates rot. This is often due to: overwatering or poor drainage.
Go Forth and Grow!
Propagating Brachychiton discolor is a wonderful way to connect with nature’s cycle and fill your garden with its magic. Be patient with the process, celebrate each tiny sign of growth, and most importantly, enjoy the journey. Happy propagating!
Resource:
https://identify.plantnet.org/k-world-flora/species/Brachychiton%20discolor%20F.Muell./data