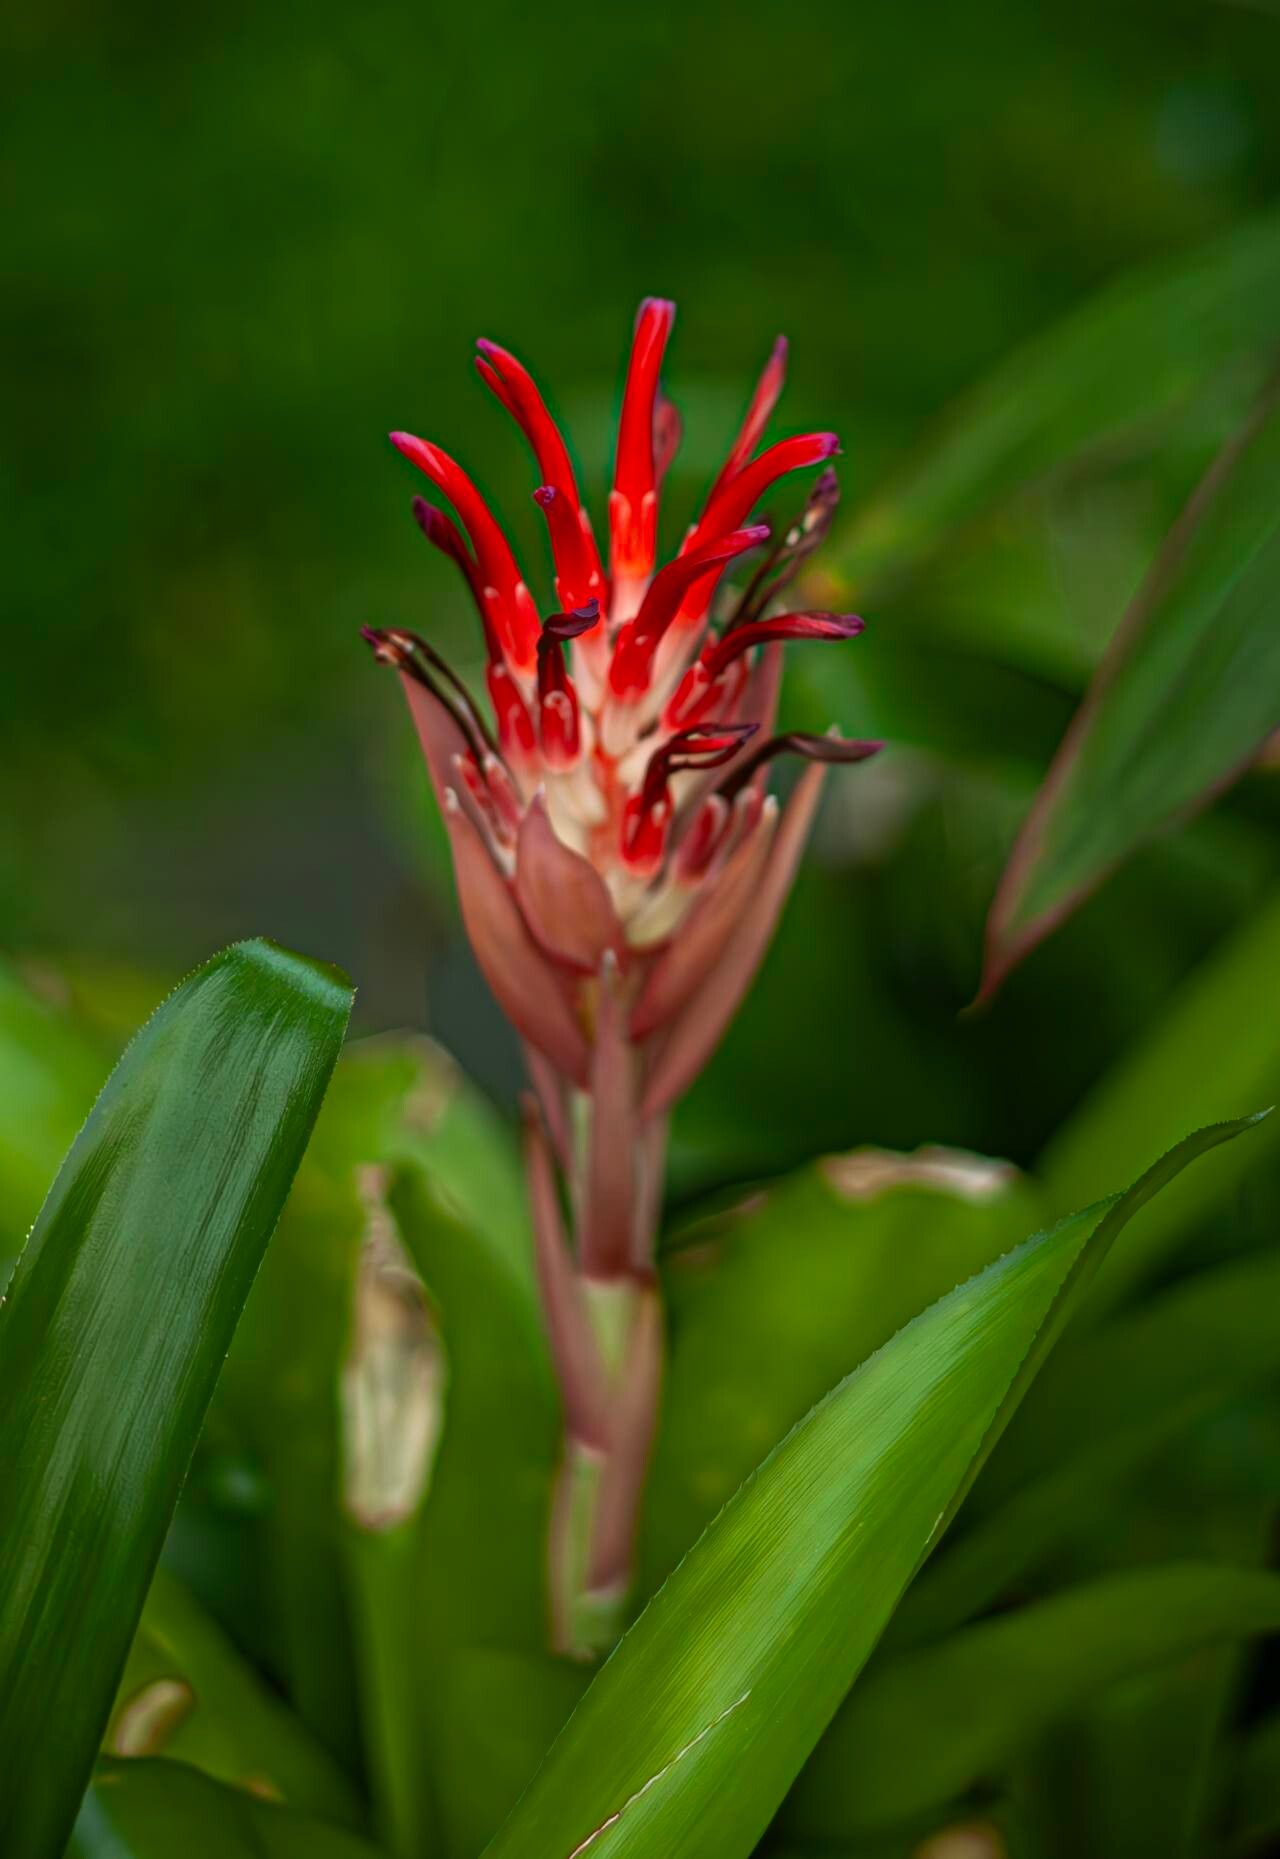
Hey there, fellow plant lovers! It’s so good to have you here. If you’re anything like me, you’ve probably fallen head over heels for the vibrant beauty of Billbergia pyramidalis. Those striking, upright rosettes adorned with fiery red and yellow blooms are just sensational, aren’t they? They add such a tropical flair to any space. And the best part? They’re quite rewarding to propagate, letting you share that joy with friends or simply expand your own green family! Honestly, for a bromeliad, Billbergia pyramidalis is surprisingly straightforward. Beginners, you can absolutely do this!
The Best Time to Start
When it comes to giving your new Billbergia pups the best shot at success, spring and early summer are your golden ticket. This is when the plant is actively growing and has plenty of energy to put into new roots. You’ll have the most luck when the parent plant has produced mature pups – those little babies growing at the base have reached a decent size, at least a third or half the size of the mother plant.
Supplies You’ll Need
Gathering your tools beforehand makes the whole process much smoother. Here’s what I like to have on hand:
- Sharp, sterile pruning shears or a clean knife: For making clean cuts and preventing disease.
- Rooting hormone powder (optional but helpful): Encourages faster root development.
- Fast-draining potting mix: A blend of orchid bark, perlite, and peat moss works wonders. You can also just use a good quality cactus or succulent mix.
- Small pots or containers: Terracotta pots are great as they allow the soil to dry out quickly.
- Spray bottle: For misting, not for soaking!
- Labeling stakes and a pen: So you don’t forget what you planted and when.
Propagation Methods
Let’s get our hands dirty with the most common and effective ways to grow more Billbergia pyramidalis.
Division: The Most Common Method
This is truly the easiest way to go. Billbergia pyramidalis naturally produces offsets, or “pups,” around the base of the parent plant.
- Gently remove the parent plant from its pot. If it’s a very large plant, you might need to loosen the soil around the edges of the pot first.
- Inspect the base of the plant. You’ll see the pups growing.
- Carefully separate the pups from the mother plant. Use your sterile shears or knife to make a clean cut. Make sure each pup has some roots attached. If a pup has no visible roots, don’t worry, it can still root!
- Allow the cut end to callous over for a day or two in a dry, airy spot. This helps prevent rot.
- Pot up the pups in their own small containers, using your well-draining potting mix. Plant them just deep enough so they stand upright.
Water Propagation (for pups with no roots)
If you have a pup that detached without any roots, don’t despair!
- Prepare your pup as described above, letting the cut end callous.
- Fill a small jar or glass with fresh water.
- Place the pup so that the cut end is submerged in the water. Crucially, don’t let the leaves touch the water – only the stem base should be submerged. This prevents leaf rot.
- Change the water every few days to keep it fresh and oxygenated.
- Place the container in bright, indirect light.
- Be patient! Roots can take several weeks to appear. Once you have a good network of roots, you can pot it up in your well-draining mix.
The “Secret Sauce” (Pro Tips)
Here are a couple of tricks I’ve learned over the years that can make a big difference:
- Bottom Heat is Your Friend: If you’re propagating in cooler weather, or if your pups are taking their time, placing them on a seedling heat mat can really speed things up. It mimics the warmth of a tropical environment and encourages root growth. Just set it to a low setting.
- Don’t Overwater, Ever! This is the cardinal sin with bromeliads. They absorb moisture and nutrients through their leaves and roots, but they hate sitting in soggy soil. Let the potting mix dry out considerably between waterings. A light misting is usually sufficient for newly potted pups.
- Embrace the “Shake Test”: Once you think your pup is rooted (after a few weeks, or after it’s been potted up), give it a gentle tug. If you feel resistance, it’s a good sign the roots have taken hold.
Aftercare & Troubleshooting
Once your new little Billbergia has started to establish roots, treat it like a miniature version of the parent plant. Keep it in bright, indirect light. Water sparingly, allowing the soil to dry out between waterings.
The most common thing you’ll encounter is rot. If you see mushy, dark stems or leaves, or if the pup just seems to be disintegrating, it’s likely due to too much moisture. Sadly, a rotted pup is usually a goner. Prevention is key here – ensure excellent drainage and let the soil dry out. If you see a little bit of yellowing on the leaves, it might just be adjusting to its new environment; don’t panic unless it progresses quickly.
A Bit of Patience Goes a Long Way
Propagating plants is such a beautiful part of gardening, a chance to bring forth new life from something you already cherish. Don’t get discouraged if your first attempt isn’t perfect. Every plant, and every propagation, is a learning experience. Just keep at it, be gentle, and enjoy the process of watching those new roots unfurl and your Billbergia family grow. Happy gardening!
Resource:
https://identify.plantnet.org/k-world-flora/species/Billbergia%20pyramidalis%20(Sims)%20Lindl./data